38
❑ At this time you should mark and cut out the areas of the cowling necessary to give you access to your engine's high and low
speed needle valves and choke lever (if featured). You should also install a fueling valve into a convenient location on the side
of the cowling, so that you can fill the fuel tank.
❑ To strengthen the holes in the fuselage that the wood screws will thread into, carefully apply a couple of drops of thin C/A into
the holes and let it dry completely before installing the cowling.
❑ Connect the fuel lines from the fuel tank to your engine's carburetor,
muffler and fueling valve.
❑ Slide the cowling into position and realign it. Install and tighten the
four M3 x 5mm wood screws to hold the cowling firmly in place.
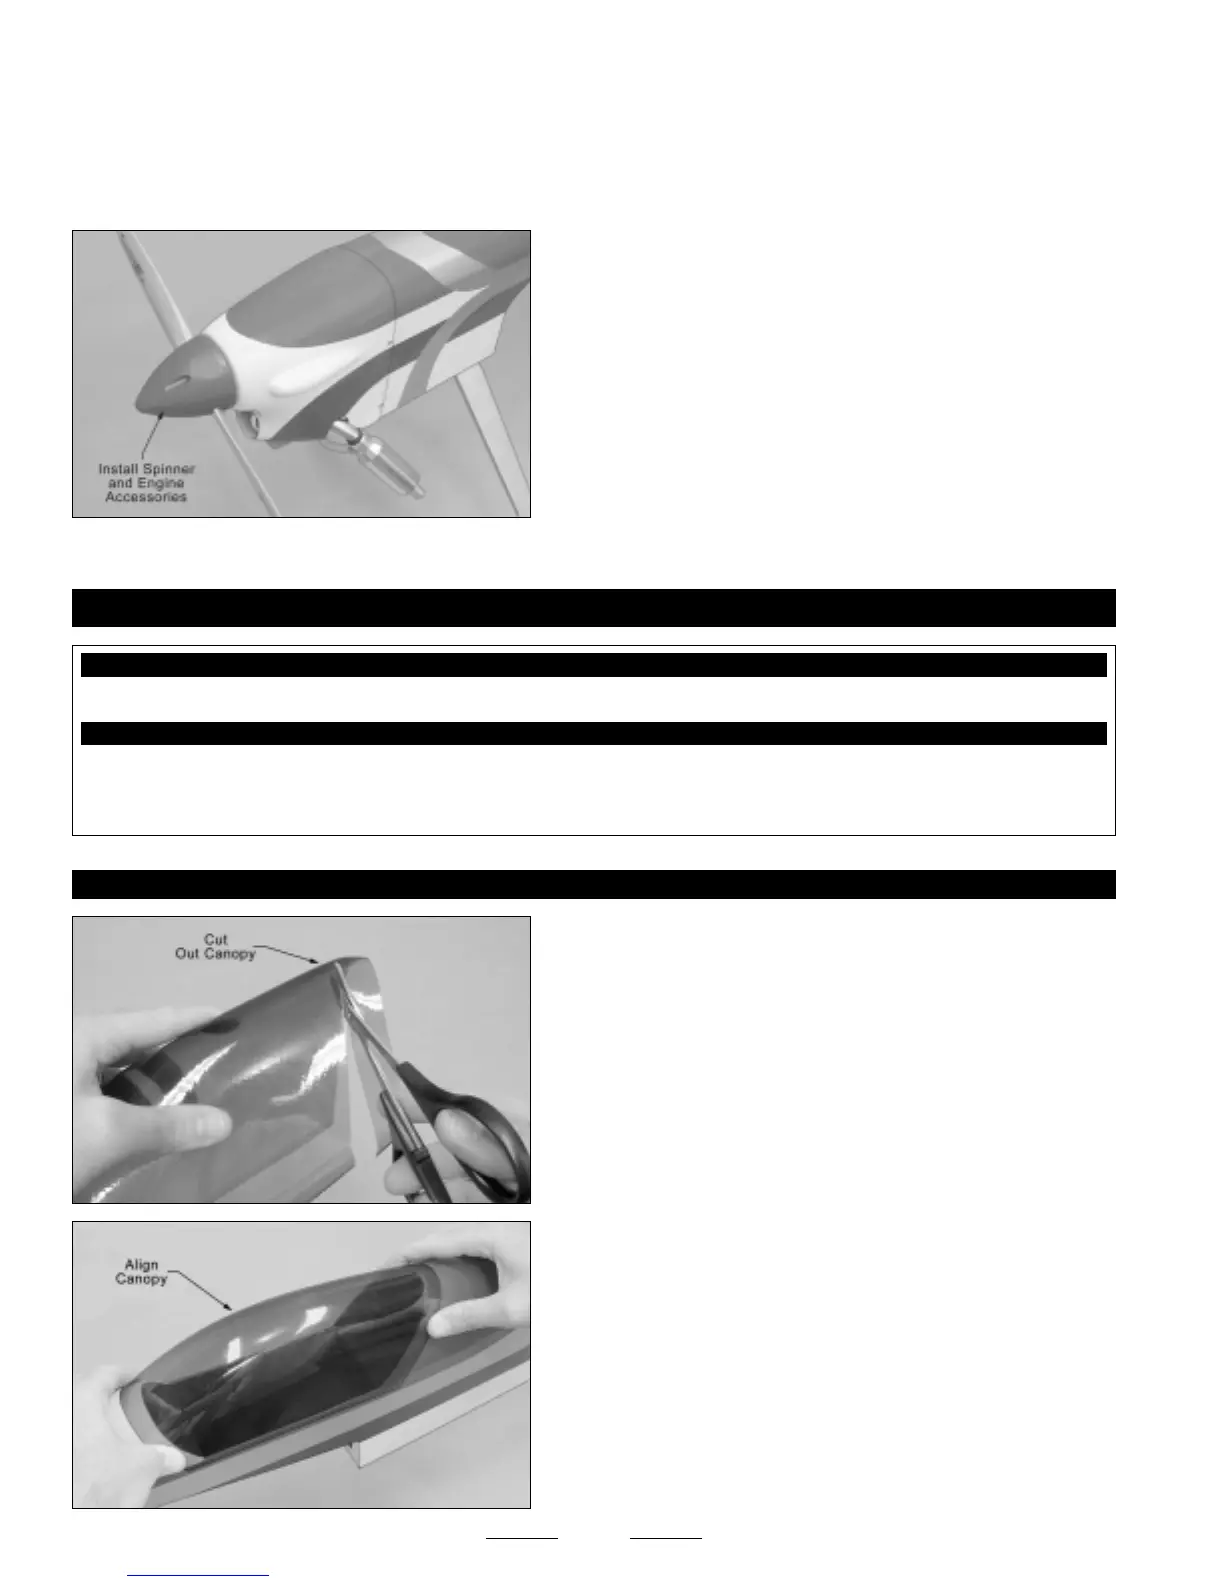
❑ Install your high speed needle valve and propeller, then install the
spinner cone, using the two screws provided.
❑ Pacer Formula 560 Canopy Glue
❑ Scissors
❑ 220 Grit Sandpaper w/Sanding Block
❑ Masking Tape
❑ Paper Towels
YOU'LL NEED THE FOLLOWING PARTS FROM THE KIT:
YOU'LL NEED THE FOLLOWING TOOLS AND SUPPLIES:
SECTION 19: CANOPY INSTALLATION
❑ (1) Molded Canopy
STEP 1: ALIGNING AND INSTALLING THE CANOPY
❑ Using a pair of scissors, carefully cut out the canopy along the molded
scribe line.
❑ Using 220 grit sandpaper with a sanding block, carefully sand the
edges of the canopy smooth and straight.
❑ Set the canopy onto the fuselage and align it. When aligned
properly, the edges of the canopy should be centered over the cockpit
area and the canopy should be centered from side-to-side when viewed
from the front.
Continued On Next Page
☛☛
☛☛
☛