-20-
Revision 2/F3509
6.1 FAULT DIAGNOSIS
Incorrect electrical supply
Check that the voltage across phase and
neutral (L1 and L2) terminals of terminal block
is the voltage as stated on the unit’s electrical
rating plate.
If incorrect, check electrical connection of
supply wiring and / or check electrical supply.
6.1.1 OVEN DOES NOT OPERATE / START
Power switch faulty
Check if power switch latches. If the switch
does not latch, then switch is faulty—replace.
With switch latched, check voltage across
terminal one to terminal three or four. If there
is no voltage, check for fault in wiring.
Check voltage across terminal two to terminal
three or four. If there is no voltage, then
switch is faulty—replace.
NOTE: When power switch is latched, it
should illuminate if operating cor-
rectly.
6.1.2 FAN DOESN’T OPERATE
Fan motor faulty
Check the supply voltage across motor termi-
nals. If there is no voltage then check the
electrical connections of supply wiring.
If voltage is correct then check the oven fan
for free rotation. Remove any obstruction.
If fan is free to spin and the voltage supply is
correct, then the motor is faulty—replace.
Fan switch faulty
Check that the thermostat has power to termi-
nal 5 on switch body on the front of the ther-
mostat when power switch is ON. If no volt-
age check wiring. Check that terminal P5 has
power switched to it when the thermostat is
turned on. If no power to terminal P5 switch is
faulty and thermostat c/w switch needs to be
replaced.
6.1.3 OVEN LIGHTS NOT ILLUMINATING—
DOOR OPEN (AUTOMATICALLY ON)
No power to lights
Check the supply voltage across lamp hous-
ing terminals at RH side rear of oven. If the
voltage is correct, replace the bulb (if faulty).
If the bulb is OK, check lamp housing.
6.1.4 OVEN LIGHTS NOT ILLUMINATING—
DOOR CLOSED (MANUALLY SWITCHED
ON)
Light switch faulty
Check voltage to the bottom terminal of the
switch. If there is no voltage, then check
wiring.
With switch depressed, check voltage at top
terminal. If there is no voltage, then replace
the switch.
If voltage is correct, then check wiring to light.
NOTE: Alternately, perform a continuity test
across the terminals with the light
switch depressed.
6.1.5 NO WATER INJECTION / STEAM
Fault with water valve
Check voltage supply across the water valve
solenoid coil with the steam switch depressed.
If there is no power supply then check the
control panel steam switch.
Check voltage to the bottom terminal of the
switch. If there is no voltage, then check
wiring.
With switch depressed, check for voltage at
top terminal. If there is no voltage then
replace switch. If voltage correct, check wir-
ing to solenoid coil.
If power supply to the coil is correct,
disconnect wiring to coil and check the
resistance of the coil windings.
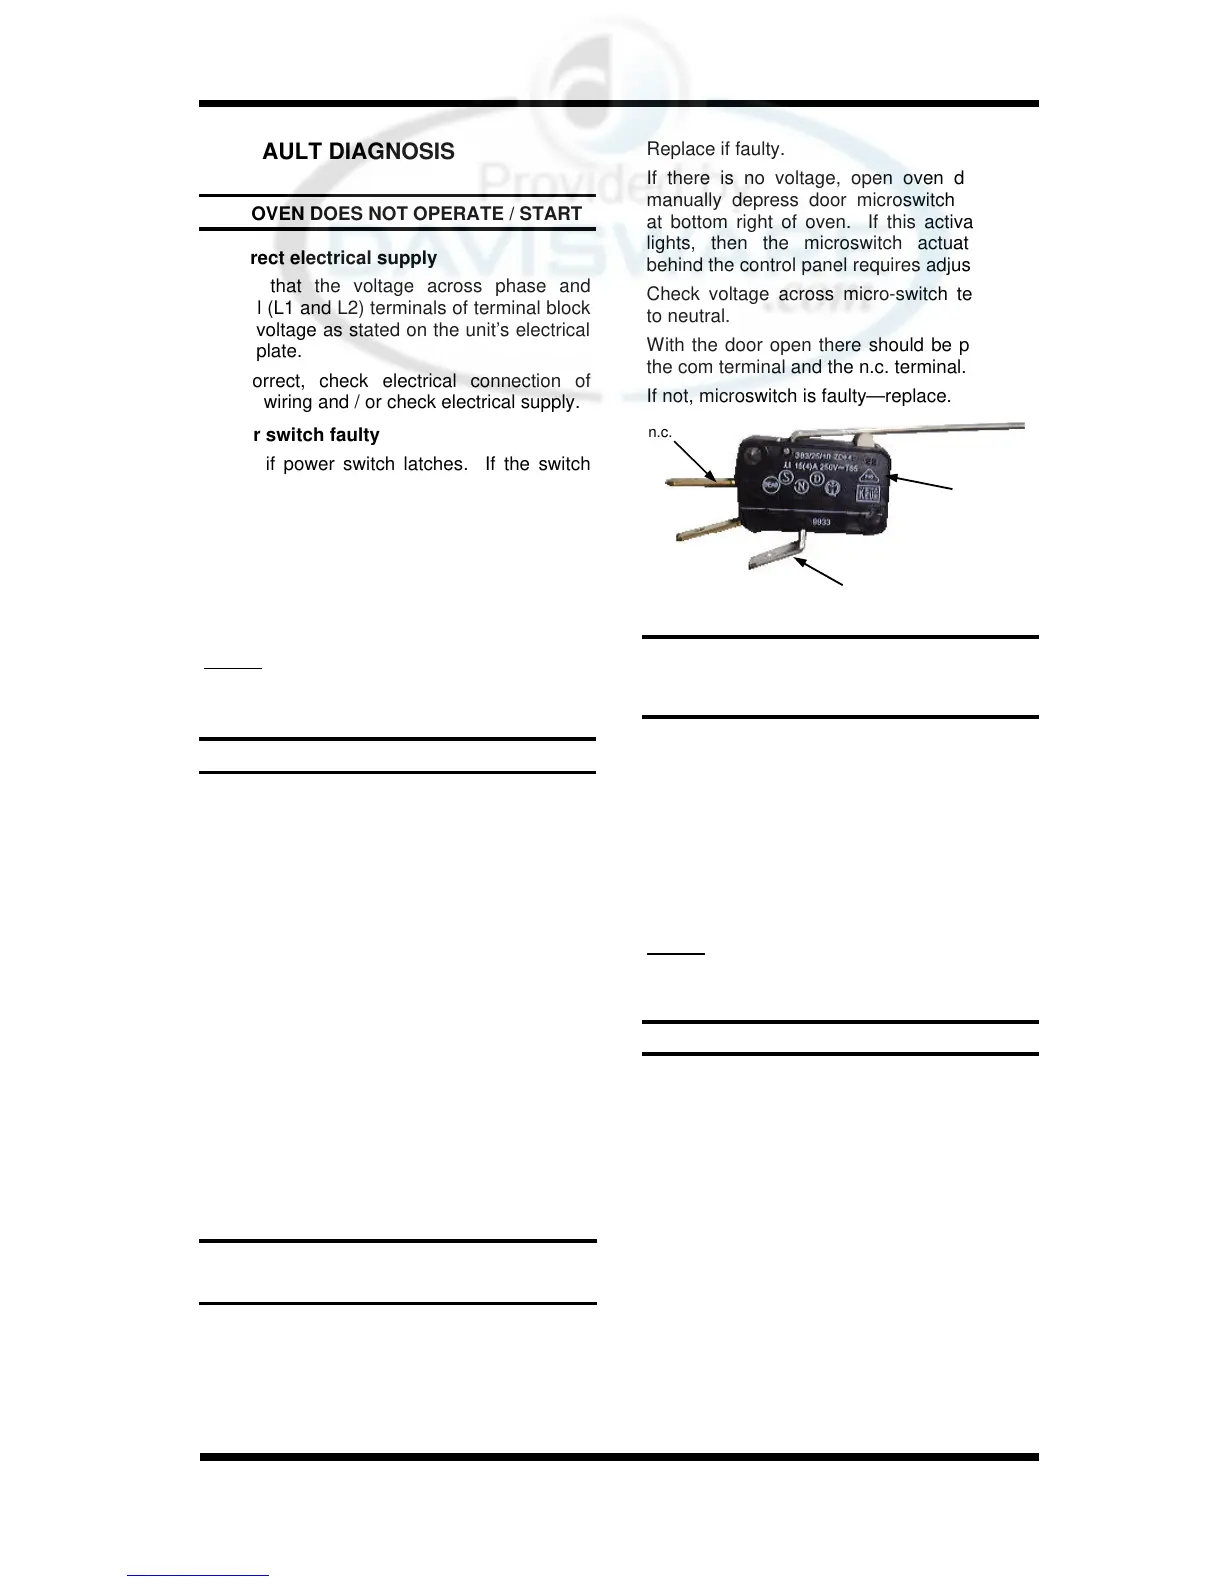
Microswitch
com
n.c.
Figure 6.1.1
Replace if faulty.
If there is no voltage, open oven door and
manually depress door microswitch actuator
at bottom right of oven. If this activates the
lights, then the microswitch actuator arm
behind the control panel requires adjustment.
Check voltage across micro-switch terminals
to neutral.
With the door open there should be power to
the com terminal and the n.c. terminal.
If not, microswitch is faulty—replace.