-27-
Revision 2/F3509
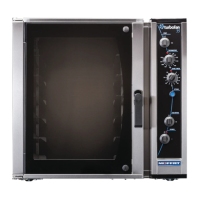
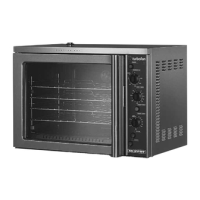
6.3.10 HOLD THERMOSTAT
5) Withdraw old thermostat phial through
side of oven. Note position in phial
bracket.
6) Remove fibreglass sleeving from old
thermostat and fit to replacement
thermosat.
7) Insert new thermostat.
8) Re-assemble in reverse order.
NOTE: Ensure that the thermostat phials are
located in their correct positions. The
main thermostat probe must be on the
side closest to the door. The hold thermo-
stat must be on the side closest to the fan
and elements.
Fibreglass Sleeve
Thermostat Phial
Figure 6.3.11
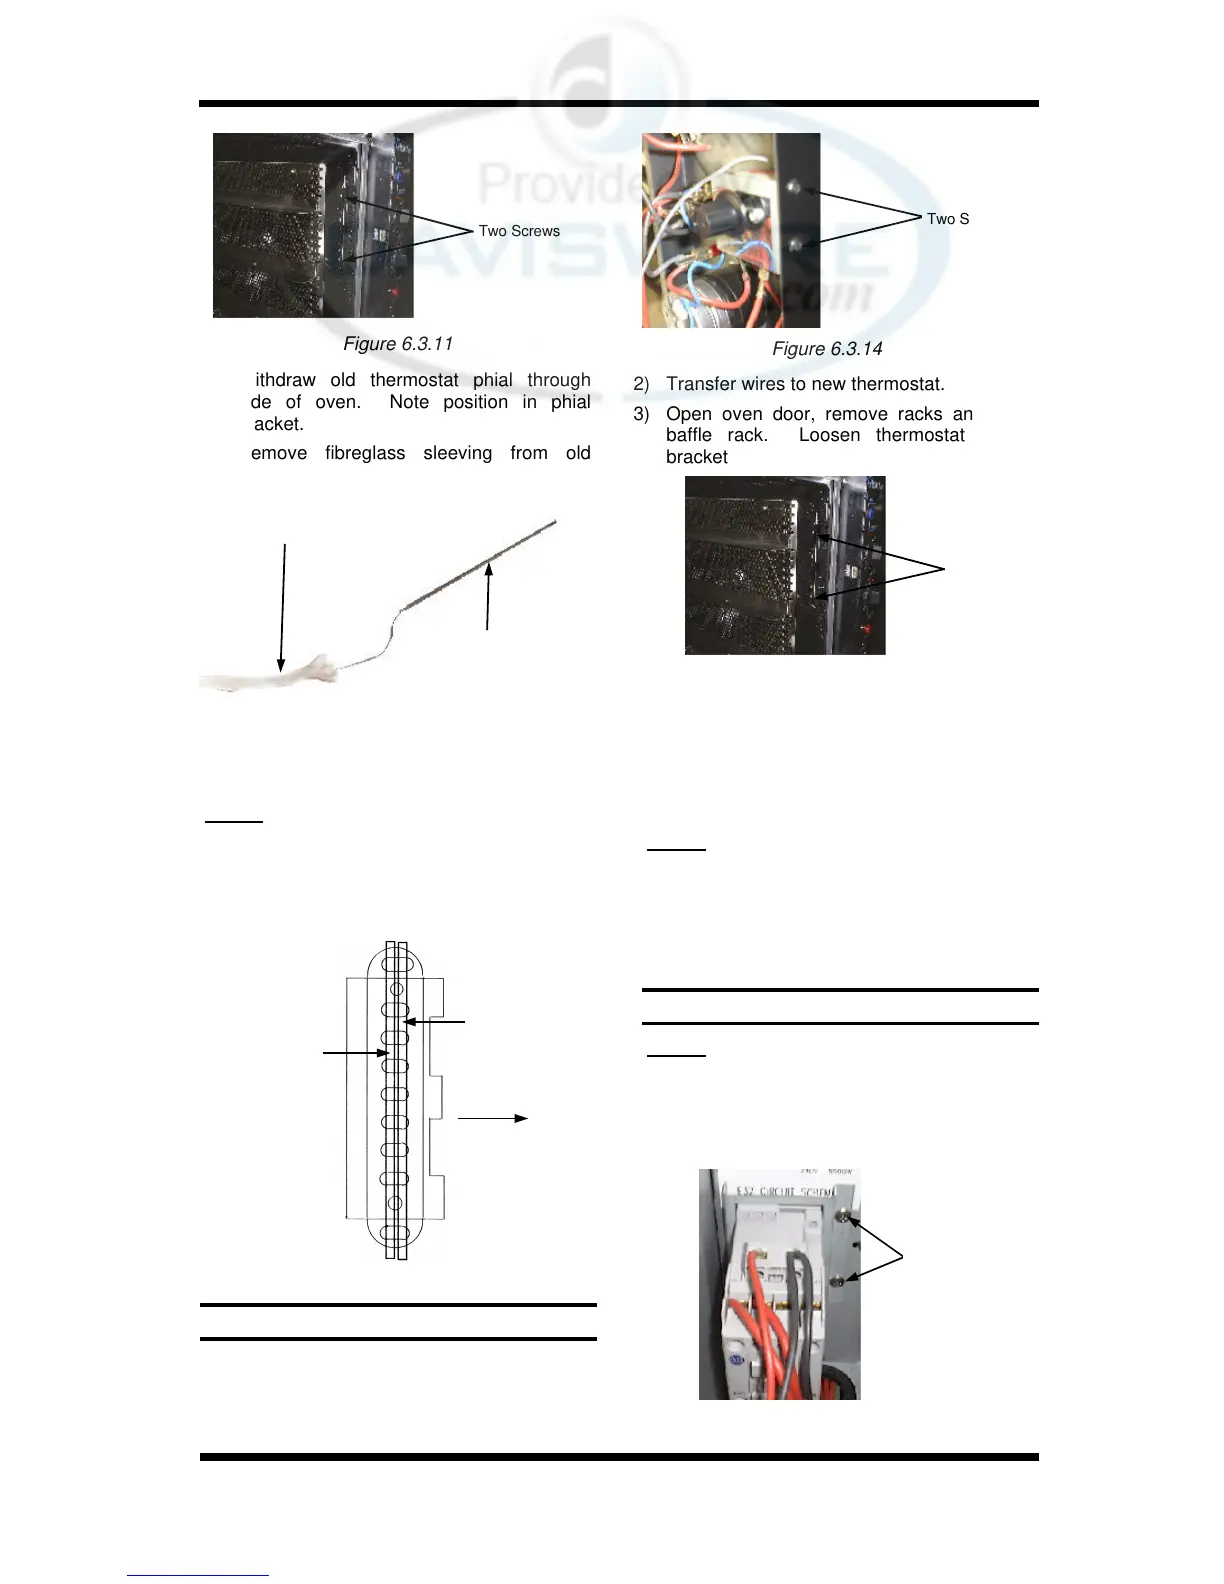
1) Open control panel (refer 6.2.1) and undo
two screws securing hold thermostat
bracket.
2) Transfer wires to new thermostat.
3) Open oven door, remove racks and fan
baffle rack. Loosen thermostat phial
bracket
4) Withdraw old thermostat phial through
side of oven. Note position in phial
bracket
5) Insert new thermostat.
6) Re-assemble in reverse order.
NOTE: Ensure that the thermostat phials are
located in their correct positions. The
main thermostat probe must be on the
side closest to the door. The hold thermo-
stat must be on the side closest to the fan
and elements (refer figure 6.3.13).
Figure 6.3.14
Figure 6.3.15
Figure 6.3.12
Two Screws
Two Screws
Two Screws
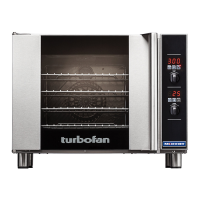
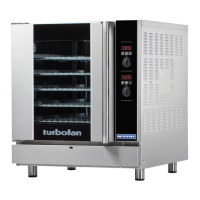
6.3.11 HEATING CONTACTOR
NOTE: For models using earlier relays and
contactors (not shown) refer to appendix.
1) Open control panel (refer 6.2.1) and undo
two screws securing heating contactor
bracket to oven.
Two Screws
Figure 6.3.16
Control thermostat
phial
Hold thermostat
phial
Towards
the
door
Figure 6.3.13