ImageXpress Micro High Content Imaging System Options User Guide
64 5014166 D
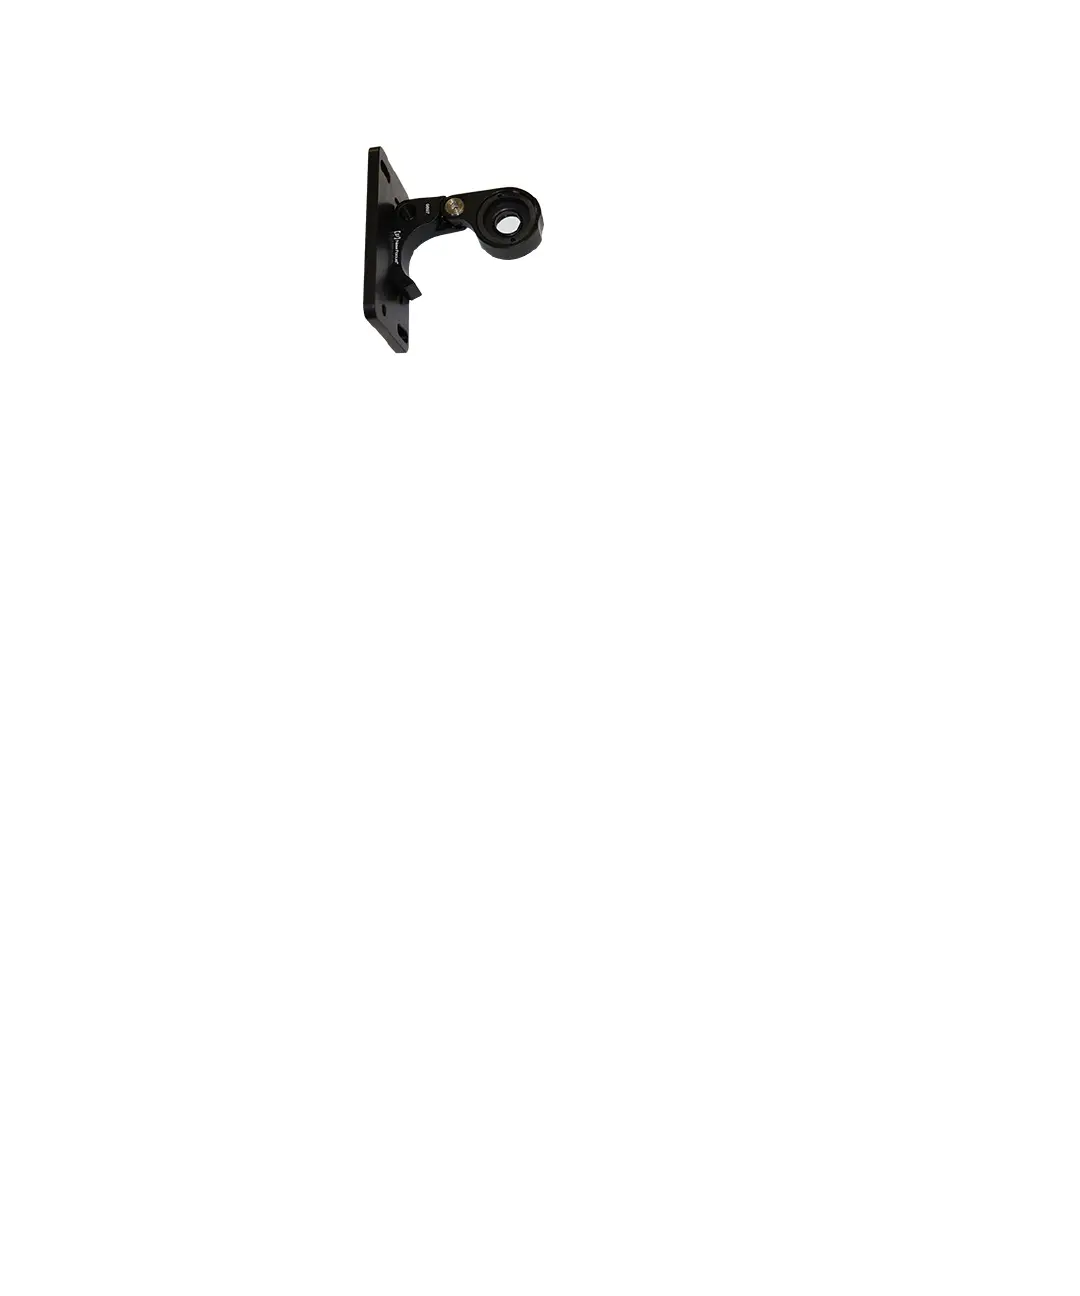
Figure 4-11: Flip-in lens extended for phase ring alignment
7. Slide the flip-in lens assembly onto the optics cover with the
flip-in lens on the inside for the phase ring alignment.
8. Install the washers and tighten the thumbscrews to hold the
flip-in lens assembly in position for phase ring alignment.
9. Adjust the phase ring. See
To align the phase ring on page 67.
10. After the phase ring has been adjusted, power off the
instrument.
11. Remove the two thumbscrews and their washers from the flip-in
lens mounting plate.
12. Remove the flip-in lens assembly from the instrument.
13. Move the flip-in lens into it fully closed position.
14. Cover the flip-in lens with the protective cloth bag.
15. Mount the flip-in lens assembly on the optics cover with the
closed and covered flip-in lens on the outside.
16. Install the washers and tighten the thumbscrews.
17. Use a Phillips screwdriver to install both of the left side panels on
the instrument.
ImageXpressOptionsUserGuide.book Page 64 Wednesday, September 9, 2015 3:54 PM