– 5 –
∗
∗∗
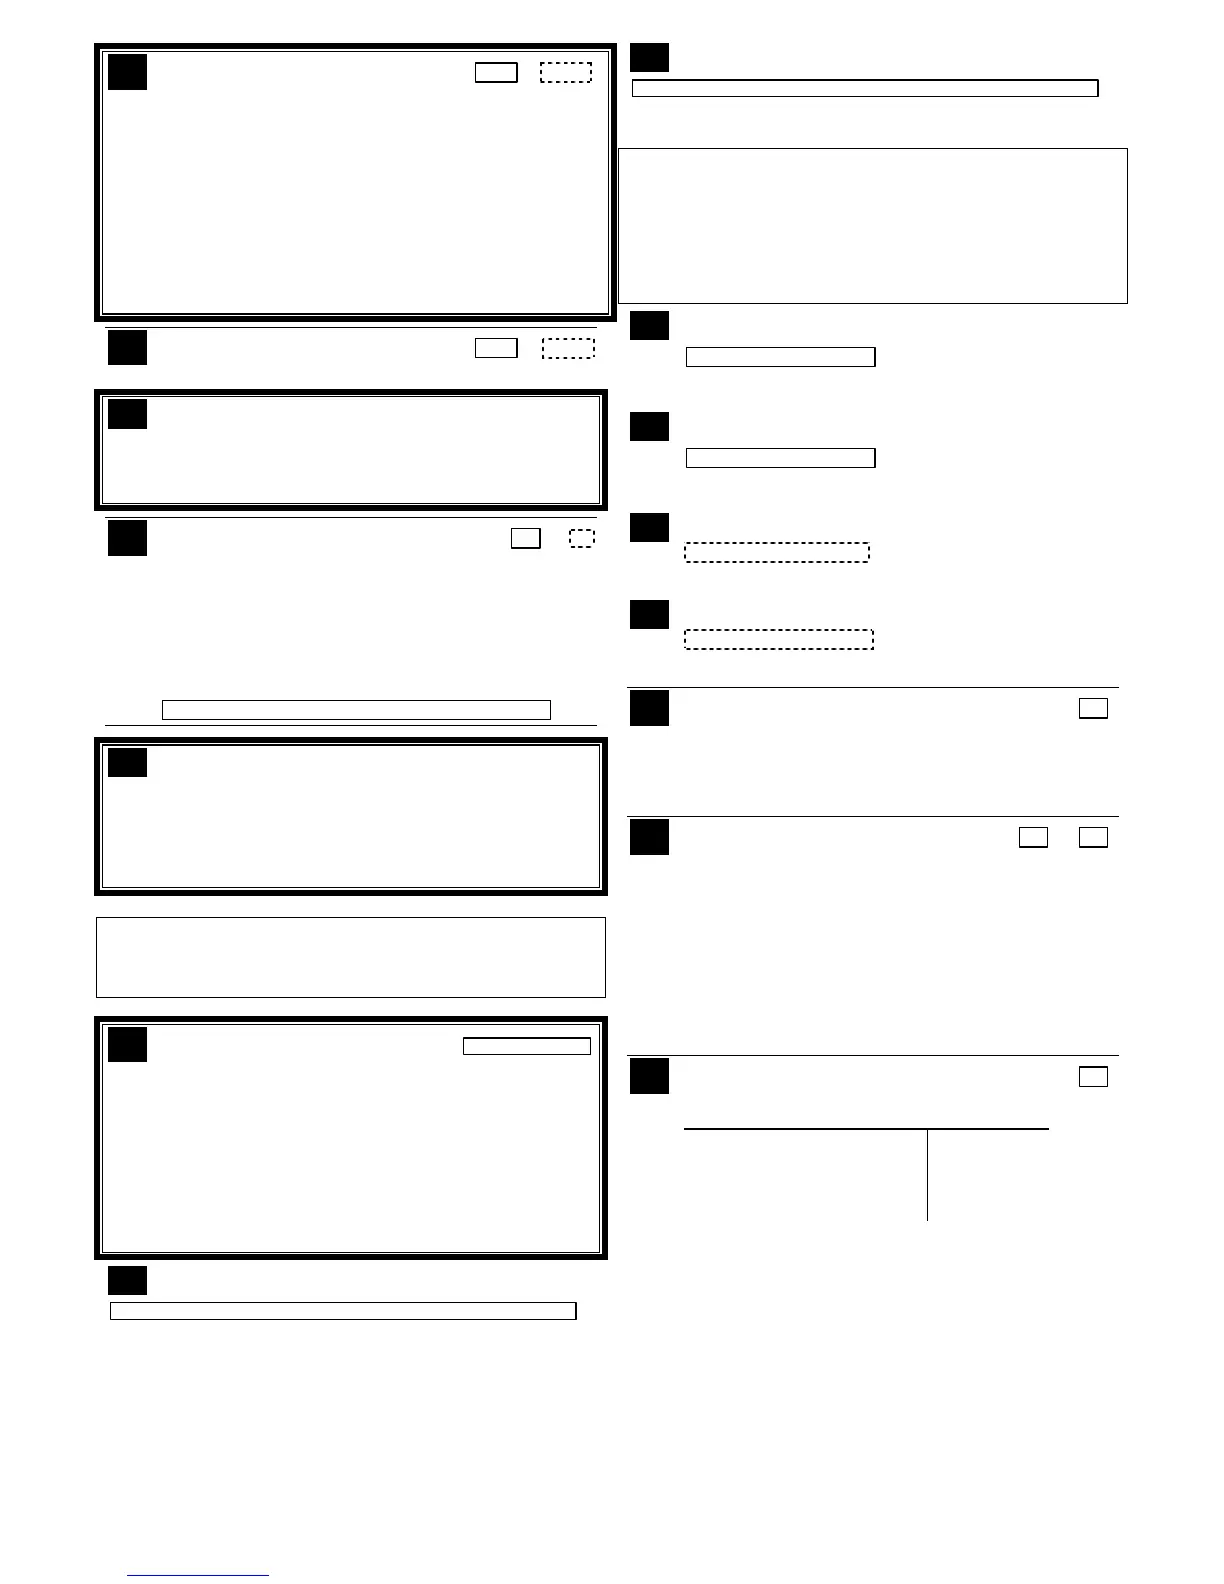
∗35 Entry Delay #1
[30,30]
| |
30 - 96 = 30 - 96 seconds Part. 1 Part. 2
97 = 120 secs
98 = 180 secs
99 = 240 secs
Upon entering, the system must be disarmed before the time
entered expires, otherwise it sounds an alarm.
NOTE: Entries less than 30 will result in a 30-second delay.
Common zones use same delay as partition 1.
For UL Residential Burglary Alarm installations, must be set
for a maximum of 30 seconds; entry delay plus dial delay
should not exceed 1 min. For UL Commercial Burglar Alarm,
total entry delay may not exceed 45 seconds.
∗
∗∗
∗36 Entry Delay #2
[30,30]
| |
See *35 Entry Delay 1 for entries. Part. 1 Part. 2
∗
∗∗
∗37 Audible Exit Warning
N/A
Feature always enabled; field removed in this control.
Warning sound consists of slow continuous beeps until the
last 10 seconds, and then it changes to fast beeps. Sound
ends when exit time expires.
∗
∗∗
∗38 Confirmation Of Arming Ding
[0,0]
0 = no Part. 1 Part. 2
1 = yes (wired keypads and RF)
2 = yes, RF only (except 5827, 5827BD)
Confirmation of arming is 1/2-sec external sounder “ding.”
If 1 selected, ding occurs when closing report is sent if
open/close reporting is enabled, or at the end of Exit Delay.
If 2 selected, ding occurs upon reception of the wireless
arming command.
UL: must be “1” for UL Commercial Burglar Alarm inst.
∗
∗∗
∗39 Power Up In Previous State
N/A
Feature always enabled; field removed in this control.
When the system powers up armed, an alarm will occur 1
minute after arming if a zone is faulted. Note that if the
previous state was armed Away or Stay, the system ignores
sensor changes for 1 minute, which allows sensors such as
PIRs to stabilize.
DIALER PROGRAMMING (
✱
40 –
✱
42)
Do not fill unused spaces. Enter 0–9; #+11 for '
✱
'; #+12 for '#'; #+13
for a 2-second pause. If fewer than the maximum digits entered, exit
the field by pressing [✶]. The next data field number is displayed.
∗
∗∗
∗40 PABX Access Code or
| | | | |
Call Waiting Disable
Enter up to 6 digits. To clear entries, press ✱40✱. If call
waiting is used, enter call waiting disable digits “∗ (#+11) 70”
plus “# + 13” (pause) and also set Call Waiting Disable
option in field *91.
NOTES: 1. The call waiting disable feature cannot be used on a
PABX line.
2. Using Call Waiting Disable on a non-call waiting line
will prevent successful communication to the central
station.
∗
∗∗
∗41 Primary Phone No.
| | | | | | | | | | | | | | | | | | |
Can be changed by corporate installer code only. Enter up to
20 digits. To clear entries, press ∗41∗ .
∗
∗∗
∗42 Secondary Phone No.
| | | | | | | | | | | | | | | | | | |
Can be changed by corporate installer code only. Enter up to
20 digits. To clear entries, press
∗
42
∗
.
NOTE: Entry of a number other than one specified will give
unpredictable results.
For fields *43 thru *46: Enter 0–9; #+11 for B; #+12 for C; #+13 for
D; #+14 for E; #+15 for F. Enter [
✱
]
as the fourth digit if a 3-digit
account number (for 3+1 dialer reporting format) is used. Enter 0 as
the first digit of a 4-digit account number for Nos. 0000-0999. Exit
field by pressing
✱
if only 3 digits are used. E.g., For Acct. B234,
enter: #+11 2 3 4 .
∗
∗∗
∗43 Partition 1 Primary Acct. No.
| | | / | | | | |
[FFFFFFFFFF]
Enter 4 or 10 digits, depending on selection in *48 Report
Format. See box above. To clear entries, press
*
43
*.
∗
∗∗
∗44 Partition 1 Secondary Acct. No.
| | | / | | | | | [FFFFFFFFFF]
Enter 4 or 10 digits, depending on selection in *48 Report
Format. See box above. To clear entries, press
*
44
*
.
∗
∗∗
∗45 Partition 2 Primary Acct. No.
| | | / | | | | | [FFFFFFFFFF]
Enter 4 or 10 digits, depending on selection in *48 Report
Format. See box above. To clear entries, press
*
45
*
.
∗
∗∗
∗46 Partition 2 Secondary Acct. No.
| | | / | | | | | [FFFFFFFFFF]
Enter 4 or 10 digits, depending on selection in *48 Report
Format. See box above. To clear entries, press
*
46
*
.
∗
∗∗
∗47 Phone System Select [3]
If Cent. Sta.
IS NOT
on a WATS line:
0=Pulse Dial; 1=Tone Dial;
if Cent. Sta.
IS
on
a WATS line:
2 = Pulse Dial ; 3 = Tone Dial
Select the type of phone service for the installation.
∗
∗∗
∗48 Report Format [7,7]
Primary Secondary
0 = 3+1, 4+1 ADEMCO L/S STANDARD
1 = 3+1, 4+1 RADIONICS STANDARD
2 = 4+2 ADEMCO L/S STANDARD
3 = 4+2 RADIONICS STANDARD
5 = 10-digit ADEMCO CONTACT ID® REPORTING
6 = 4+2 ADEMCO EXPRESS
7 = 4-digit ADEMCO CONTACT ID® REPORTING
8 = 3+1, 4+1 ADEMCO L/S EXPANDED
9 = 3+1, 4+1 RADIONICS EXPANDED
Select the format for primary/secondary phone numbers
∗
∗∗
∗49 Split/Dual Reporting [0]
0 = Standard/backup reporting only (all to primary)
Primary Phone No. 2nd Phone No.
1 = Alarms, Restore, Cancel Others
2 = All except Open/Close, Test Open/Close, Test
3 = Alarms, Restore, Cancel All
4 = All except Open/Close, Test All
5 = All All