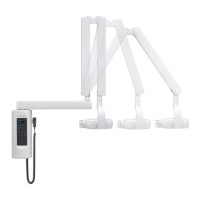
27
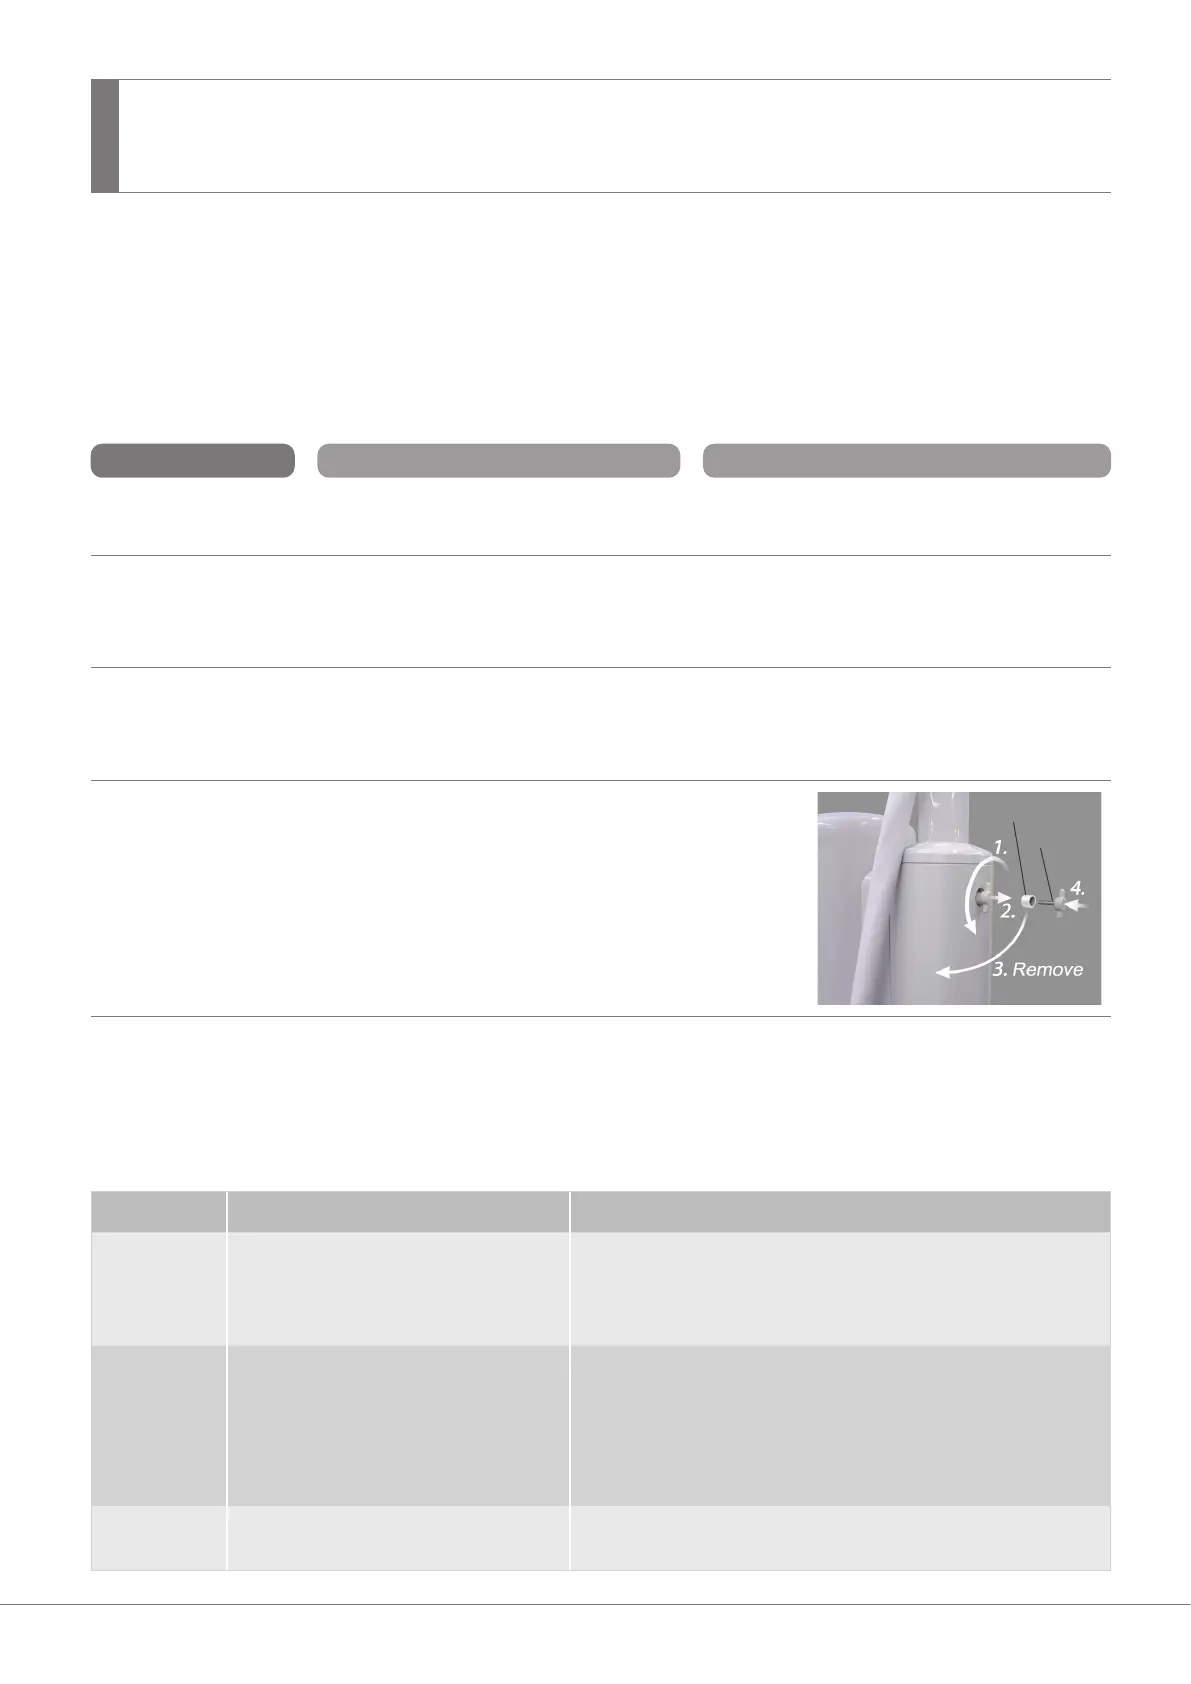
Screw
Spacer
Back of the Support Column
Operation 2018-10-22
Troubleshooting
If the equipment does not seem to be working properly, the user should rst try to inspect and adjust it himself.
* If the user is unable to inspect the equipment himself or if the equipment fails to work properly after being adjusted or after
parts are replaced, contact your local dealer or J. MORITA OFFICE.
* The inside parts of the equipment are charged with high voltage. Do not attempt to perform maintenance or adjustment that is
not described in the troubleshooting table.
* If an accident occurs, the equipment must not be used until repairs have been completed by a qualied and trained technician
provided by the manufacturer.
Problem Check Points Response
No power when power
switch is turned on.
• No power supply • Check the breaker on the distribution panel.
Cannot expose X-ray
even if emission key/
emission button is
pushed.
• Ready Indicator on the Control Panel is
ashing.
• Downtime until next emission operation.
Wait until Ready Indicator lights up.
Beep sounds and
setting value of
exposure time will be
set 2.0 sec. or 0.01 sec.
• Turn off the power supply. After all LEDs on the control panel are turned off, turn on the power
supply. (Abnormality of software or breakdown of control panel’s board.)
Pole goes down by
itself.
• Take out the screw in the back of the support column and
then remove the spacer. Replace the screw and use the
unit without the spacer.
(Do not use the unit this was too long; it could be damaged.
Have it repaired as soon as possible.)
⹅
Error Numbers
* Check the list below if an error number appears in the display on the control panel.
If other error No. is shown, turned the unit off, wait 1 minute, and then turn it on again
* Contact your local dealer or J. MORITA OFFICE if the apparatus does not work normally even after performing the steps
recommended below.
Error No. Possible Cause Remedy
E00 Emission key/ emission button is
released before the exposure end
To clear the message, press any key on the control panel (except
the Emission key).
Hold the emission key/ emission button down until the exposure
is completed.
E05 Abnormal Head Temperature The internal temperature of the head is out of the range.
If the head overheats due to repeated use, turn the unit off and
wait for it to cool down.
If the ambient temperature is low, heat the room and wait for the
unit to warm up.
Operating Ambient Temperature: +10°C to +40°C
E09 Inverter overheated. It is the overheating of the inverter due to repeated use. Turn the
unit off and wait for it to cool down.
 Loading...