December, 2009 68009328001-A
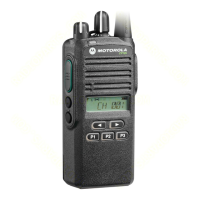
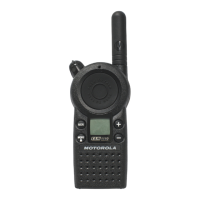
6-8 Full Keypad Model Disassembly and Re-assembly: Disassembling and Re-assembling the Radio — General
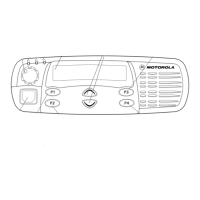
6.4.1.6 Chassis Disassembly
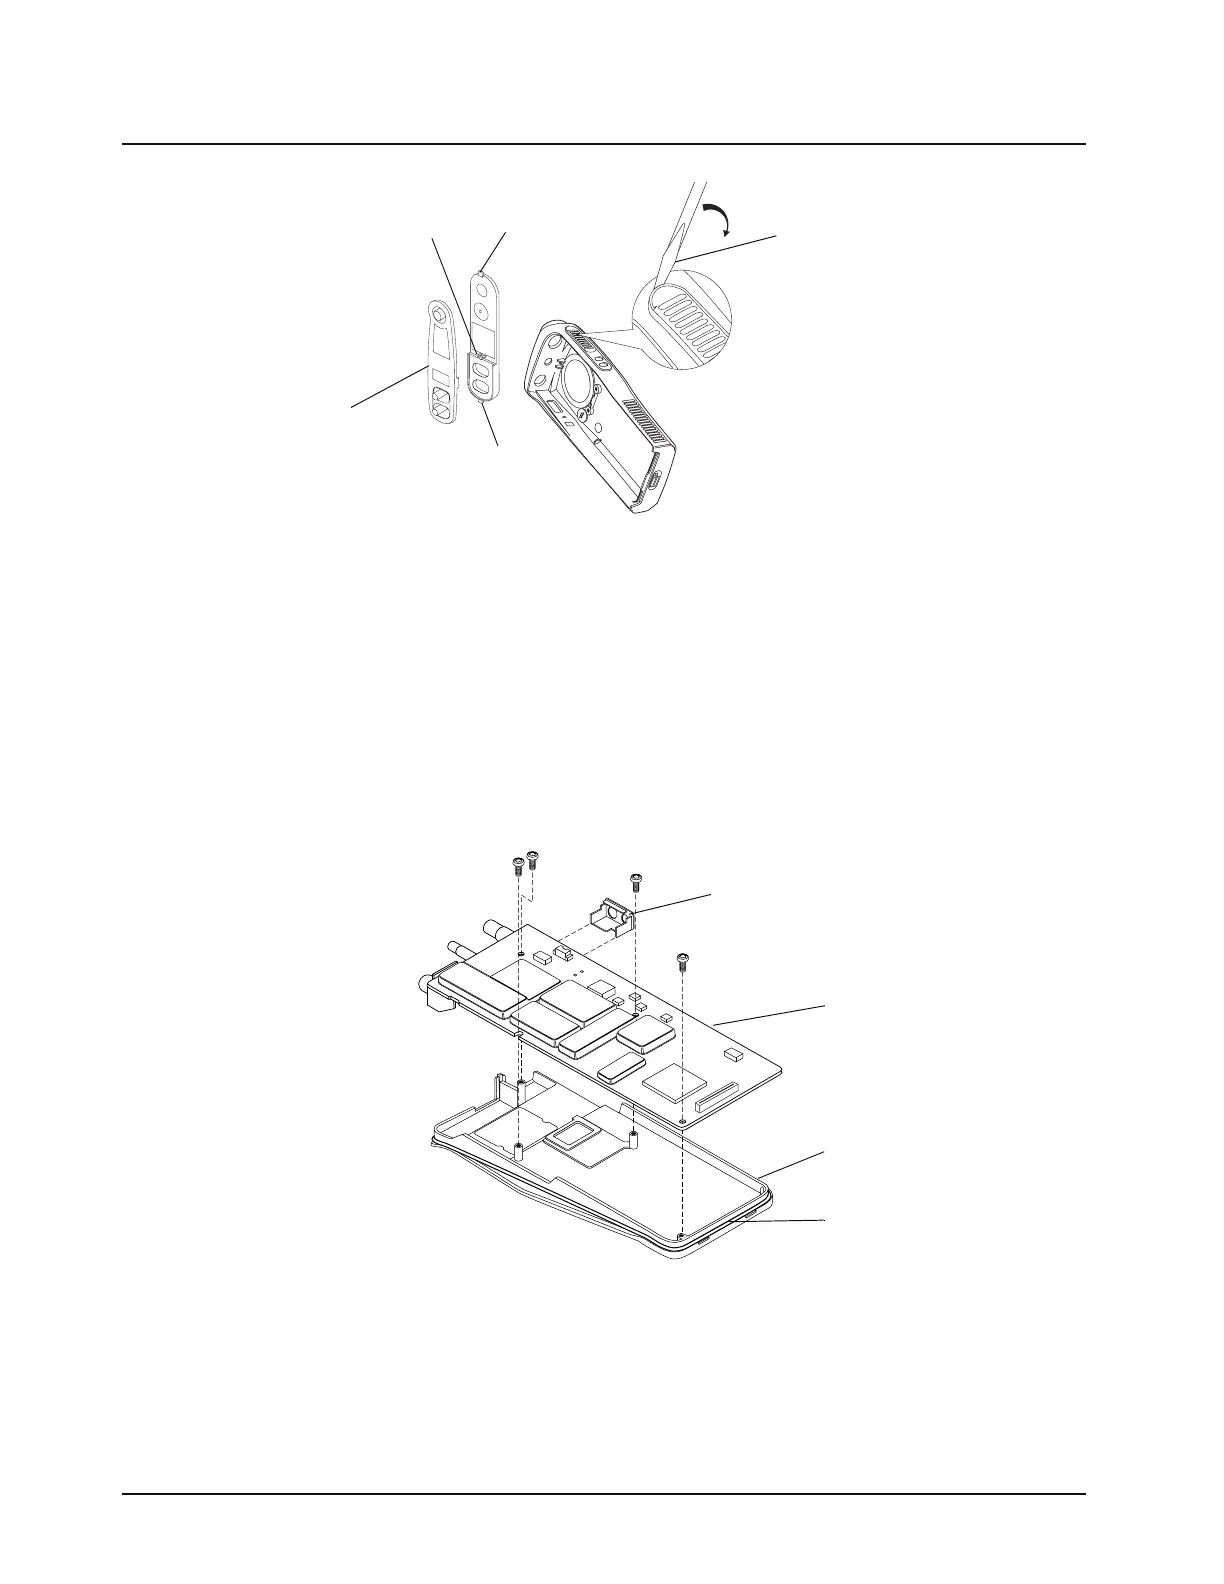
1. Remove the O-ring.
2. Use a Torx™ screwdriver with a T6 bit to remove the four screws (Figure 6-10) holding the main
board to the chassis.
3. The audio jack shroud can be removed from the main board.
4. Lift the main board from the chassis (Figure 6-10).
5. Remove the battery contact seal.
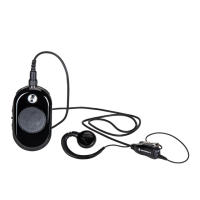
Figure 6-9. PTT Removal
Figure 6-10. Removal of Main Board from Chassis
Flat Blade
Screwdriver
PTT Seal
Tab
Tab
Hooks
Main Board
Radio Chassis
Audio Jack Shroud
O-Ring
 Loading...