68009328001-A December, 2009
Full Keypad Model Disassembly and Re-assembly: Disassembling and Re-assembling the Radio — General 6-11
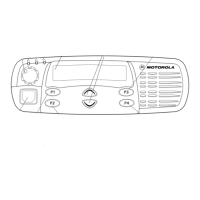
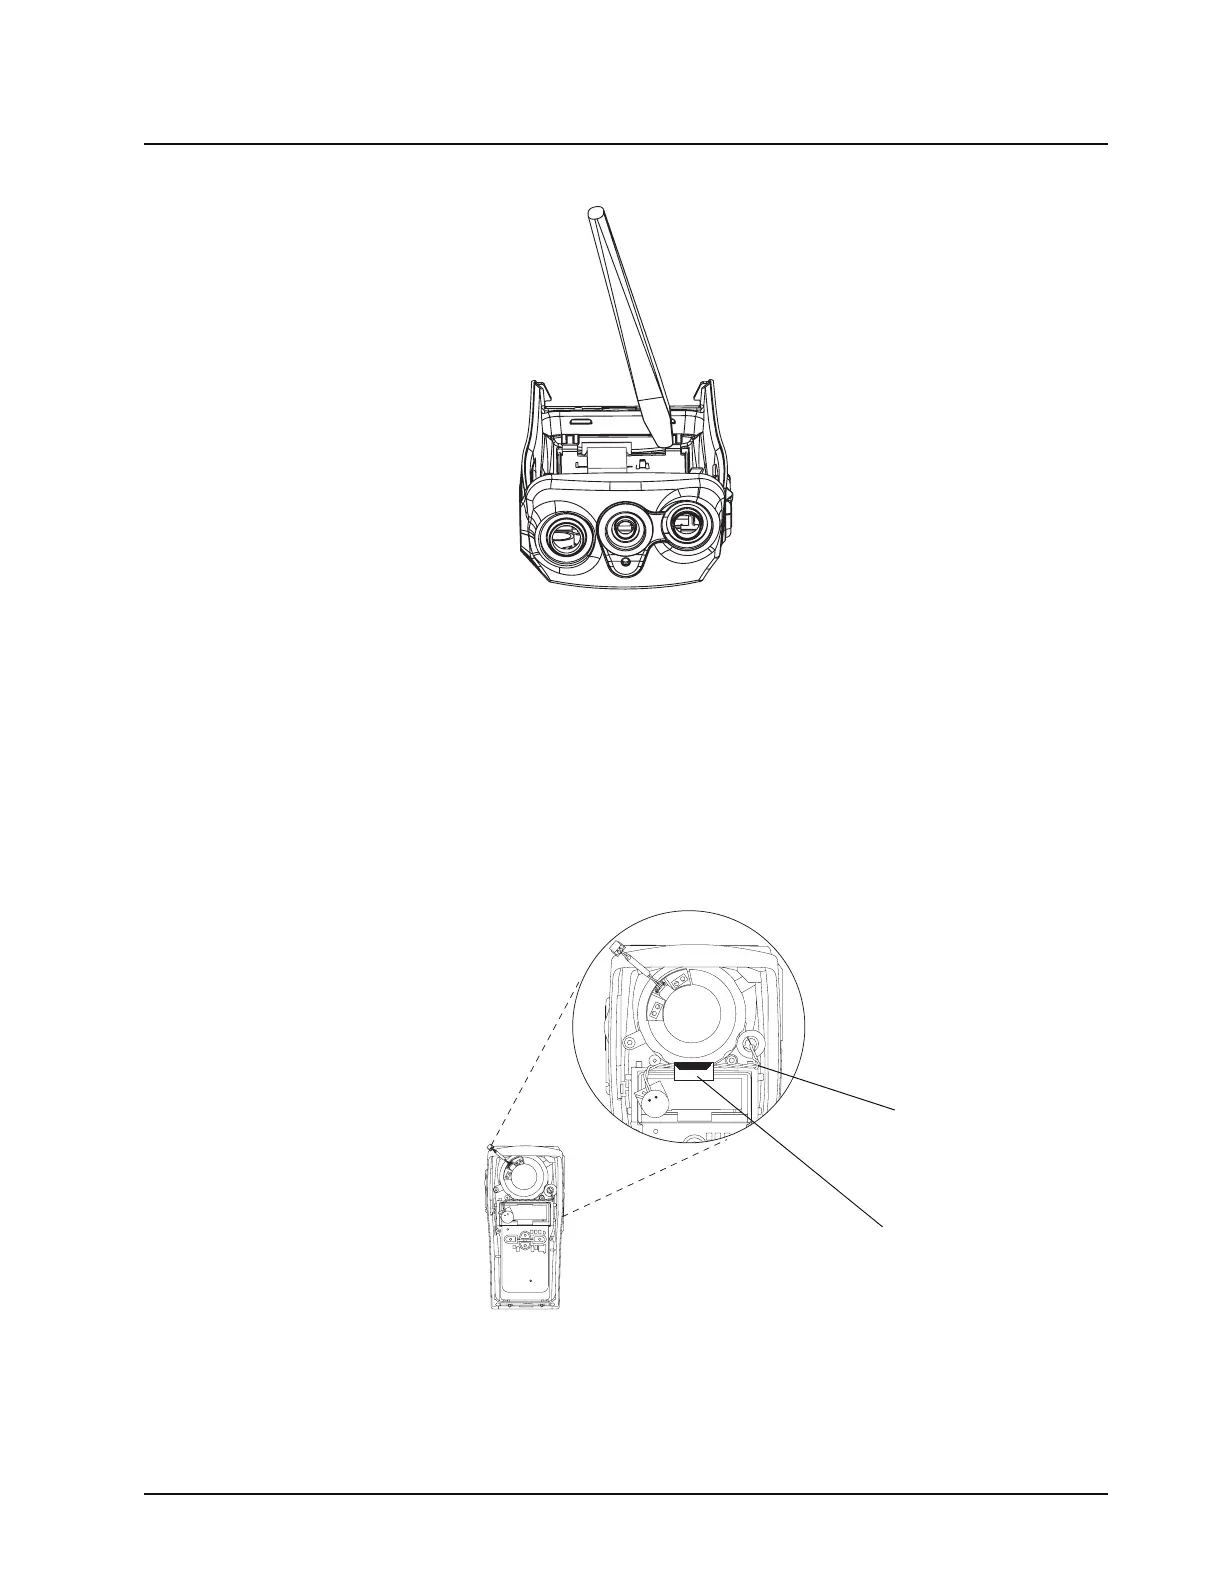
6.4.2.4 Microphone Re-assembly (assemble only after the Display/Keyboard Module is
assembled)
1. Check that the microphone felt is in position and not damaged. If damaged, replace felt.
2. Insert the microphone sub-assembly into the microphone boot.
3. Orientate the boot and microphone sub-assembly into the microphone recess in the housing, so
that the wires point at approximately 5 o'clock direction (Figure 6-15), then route wires as shown
in Figure 6-15.
4. Secure with Kapton tape in location shown in Figure 6-15.
Figure 6-14. Display/Keypad Module Re-assembly (2)
Figure 6-15. Microphone Re-assembly
Wires orientated at
5 o’clock direction
Kapton tape
 Loading...