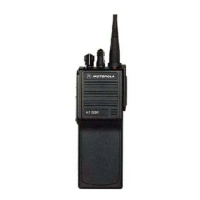
5. Separate the front cover assembly from the internal
electronics (chassis) (see Figure 40-5).
a. Insert a small, flat-blade screwdriver or like
instrument in the slotted area at the bottom cen-
ter of the radio. Take care not to mar the O-ring
sealing area on the housing.
b. Pry the bottom of the chassis free from the
cover by pushing the screwdriver down and
rotating the handle of the screwdriver over and
behind the base of the radio. This prying action
forces the thin inner plastic wall toward the base
of the radio, which releases the two chassis
base tabs.
NOTE
A flexible ribbon cable (front cover/display flex),
which connects to the front cover assembly and
the chassis, keeps you from completely separat-
ing the two units.
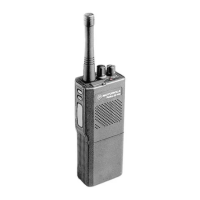
c. Lay the chassis down, and rotate the front
cover back and partially away from the chassis
(see Figure 40-6).
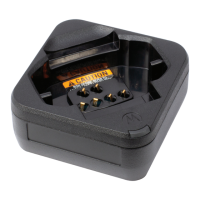
6. Disconnect the front cover display flex from the con-
nector on the chassis.
NOTE
A special locking connector secures the flex to the
chassis (see Figure 40-7).
18
 Loading...