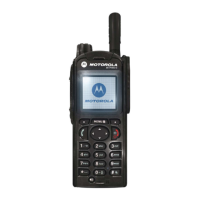
135
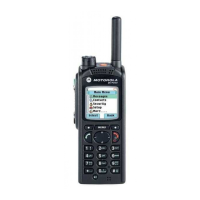
The Menu
Selecting a List with Scanning On
1. Select Select List.
2. To select a list other than the highlighted
one, scroll and press Select. The display
shows (for example) the Scanning Scan
List 1 message. The terminal will then try
to attach to this list.
Selecting a List with Scanning Off
1. Select Select List.
2. To select a list other than the highlighted one, scroll and
press Select. The display shows (for example) the Scan
List 1 Selected message.
The Network List
Your terminal can scan (and attach) to a list belonging to
another infrastructure than the Dimetra infrastructure:
• Upon pressing Select, if the Network List is selected, only
this list will attach. If a user list is selected, then both the
Network List and the user list will be attached.
• In some cases part of the groups in the scan list could be
invalid for specific sites. In this case, when the terminal
tries attachment to the list, the infrastructure might partially
reject attachments. The terminal’s display shows: “List
partially attached”.
• When the Network List is empty, it will be displayed as No
List. Selecting No List will display the message No
Selected Scan List.
Viewing the Active Scan List
This sub-menu allows you to view the active scan list (Scan
List 1 in this example).
1. From the main menu, select More... > Group Setup
> Scan > Active List. Press View.
The display will show one of the following states:
Select Back
Scan Lists
Network List
Scan List 1
Scan List 2
Scan List 3