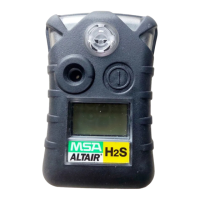
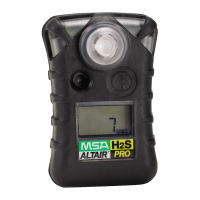
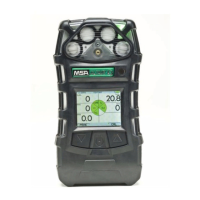
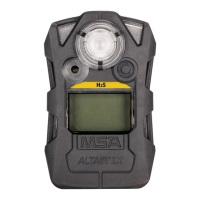
Changing Alarm Setpoints
NOTE: Alarm setpoints can only be changed manually during instru-
ment setup, which can be entered after battery attachment or
reattachment. See FIGURE 2-3 for details. Alarm setpoints can
also be changed electronically using the the MSA FiveStar
®
LINK
®
Software. The latest software version can be downloaded
from the MSA webpage (www.msanet.com).
To Change Alarm Setpoints Manually:
1. Ensure instrument is turned OFF before proceeding.
2. Remove and re-attach battery.
3. Turn instrument ON.
The unit must be turned ON before it can be used to warn the user
of a potentially hazardous condition.
a. To turn ON the personal protection instrument, press and hold
the "TEST" button for three seconds.
•"ON" displays during this time period.
NOTE: The Steel Mill version cannot be turned OFF without
removing the battery.
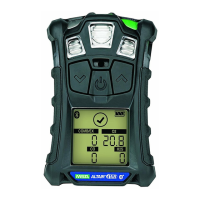
4. "ALARM", "SET", "?" displays for three seconds.
5. To change the alarm setpoints manually, press the button once
while "ALARM", "SET", "?" displays.
NOTE: If the TEST button is not pressed, the instrument turns ON,
as usual, after three seconds.
6. The Software Version displays for three seconds
7. The gas type displays for three seconds.
["CO", "CO+" (steel mill version), "H
2
S", or "O
2
", etc.].
8. Alarm Setpoints are displayed:
• Low Alarm Setpoint for three seconds
• LO and ALARM icons turn ON
a. To change the low alarm setpoint, press the TEST button
when "LO" "ALARM" displays:
• "LO" "ALARM" "SET" "?" displays.
b. Press the TEST button in rapid succession to increment
the low alarm value.
2-2