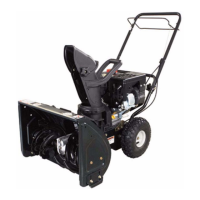
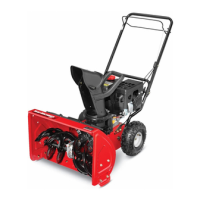
Model 380 Two Stage Snow Thrower
2
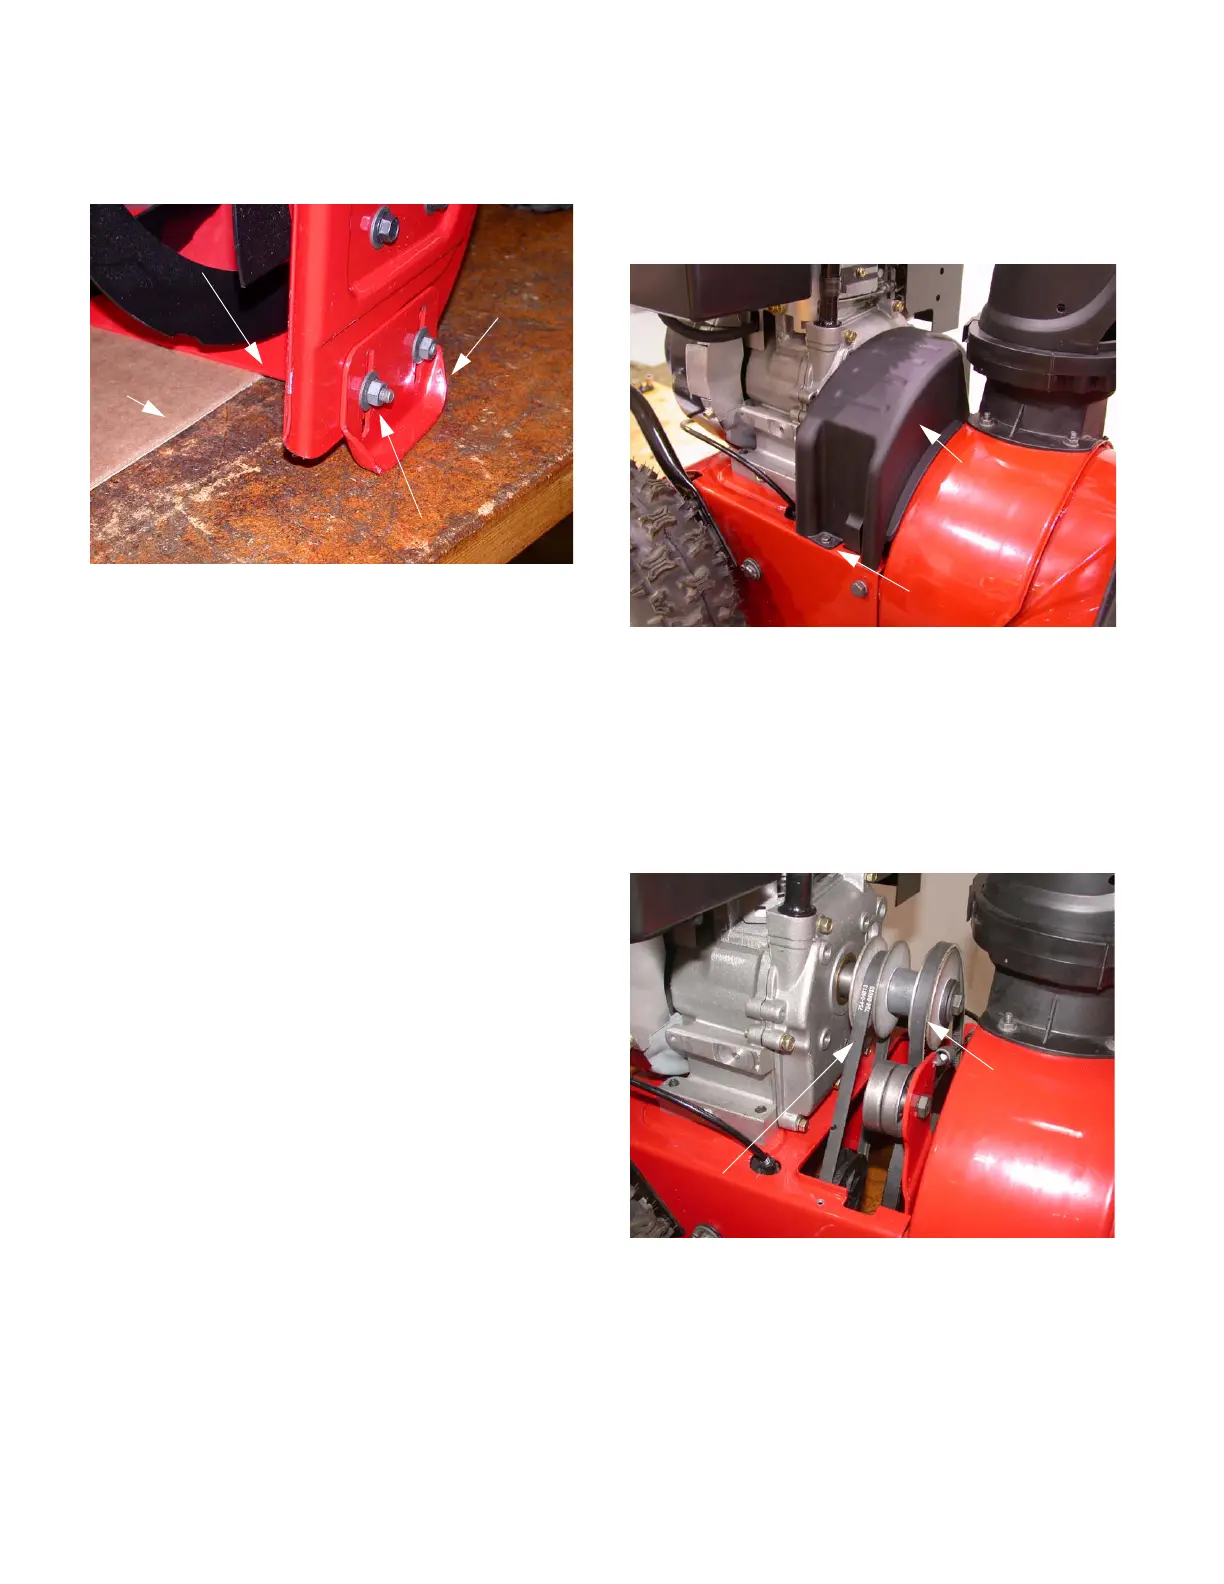
1.1. Place a piece of carton cardboard under the
shave plate. See Figure 1.1.
1.2. Loosen the two carriage bolts which secure each
skid shoe to the auger housing. Lower the skid
shoes to the ground and retighten the carriage
bolts.
2. SKID SHOE REMOVAL AND REPLACEMENT
2.1. Remove the two carriage bolts, bell washers and
hex nuts securing the skid shoes to the auger
housing. See Figure 1.1.
2.2. Reassemble new skid shoes with the hardware
just removed. Make sure the cupped side of the
washer goes against the skid shoe and that the
skid shoes are adjusted as described in Section
1.
3. SHAVE PLATE REMOVAL AND INSTALLA-
TION
3.1. Remove both skid shoes and hardware including
carriage bolts, bell washers and hex nuts which
attach shave plate to the snow thrower housing.
See Figure 1.1.
3.2. Reassemble new shave plate, making sure
heads of the carriage bolts are to the inside of
the housing. reinstall skid shoes and tighten
securely.
4. BELT REMOVAL AND REPLACEMENT
NOTE: There are two belts on the unit, the auger
belt and the drive belt. It is recommended that
you replace both belts at the same time.
AUGER BELT
4.1. Using a 5/16” socket, remove the screw securing
the right side of the belt cover to the drive hous-
ing. See Figure 4.1.
4.2. Press in on the tabs on each side of the cover
and lift upwards pulling the belt cover out from
around the engine.
4.3. Slip the front auger belt off the engine pulley
pushing it down between the idler bracket and
the engine pulley. See Figure 4.3.
Figure 1.1
Cardboard
Shave Plate
Skid Shoe
Carriage Bolt, Bell Washer, Hex Nut
Figure 4.1
Screw
Belt Cover
Figure 4.3
Auger Belt
Drive Belt
 Loading...