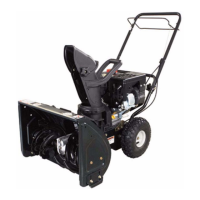
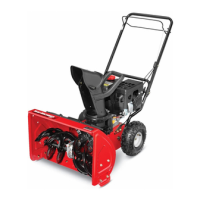
Model 380 Two Stage Snow Thrower
4
spring to increase the tension on the auger belt
when it is engaged. See Figure 6.3.
6.4. Reassemble the belt cover.
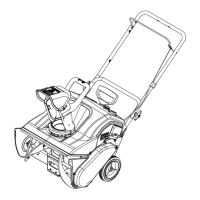
7. WHEEL REMOVAL
7.1. Tip the snow thrower up and forward so that it
rests on the auger housing. See Figure 7.1.
7.2. Using a 1/2” socket and ratchet, remove the lock
bolt and bell washer securing the wheel to the
axle.
7.3. Remove the wheel from the axle.
NOTE: The wheel hubs are made from a special
polymer. They will not rust or corrode.
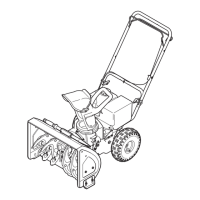
8. DRIVE AXLE REMOVAL
8.1. Remove the wheels as described in section 7.
8.2. Remove the cotter pin and clevis pin securing
the 70T gear to the axle shaft. See Figure 8.2.
8.3. Slide the axle from the drive housing as you
remove the gear from the axle shaft.
8.4. Remove the hex flange bearings from the drive
housing.
9. TRANSMISSION REMOVAL
9.1. Tip the unit up and forward on the auger hous-
ing.
9.2. Remove the wheels as described in section 7.
Figure 6.3
Auger Cable
Adjustment Hex Screws
Idler Arm
Figure 7.1
Lock Bolt and Bell Washer
Figure 8.2
Cotter Pin an Clevis Pin
70T Gear
Axle Shaft
Drive Axle Components
Hex Flange Bearings
70T Gear
Axle Shaft
Cotter Pin Clevis Pin
 Loading...