STARTER AND CHARGING SYSTEMS
43
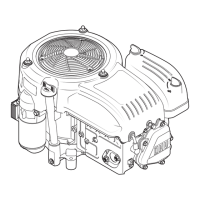
7. Install the handle and handle insert on the loose
end of the rope, again using a double half-hitch.
See Figure 6.5.
8. Remove the blocking tool and at a controlled
rate, let the rope rewind into the starter.
9. Give the starter a couple of test pulls to verify the
right amount of tension on the starter rope.
NOTE: If starter rope tension needs to be
adjusted, hook the rope into the notch in the pul
-
ley and wind the pulley a couple of turns to add
tension-.
See Figure 6.6.
10. Install the starter and tighten the starter nuts to a
torque of 53 - 71 in-lbs (6-8 Nm).
Figure 6.5
Figure 6.6
Rope-return tension may be increased by winding
the rope and pulley counter clockwise.
notch in pulley
Starter pulley and recoil spring
The recoil spring is nested within the starter pulley
and both parts are sold as a single part number.
If damage is suspected, the recoil may be disas-
sembled by:
1. Remove the starter by following the steps
described earlier in this chapter.
2. Relieve the spring tension by:
2a. Pull some slack in the rope, inside of the
starter
2b. Hook the rope into the notch in the starter
pulley.
2c. Wind the pulley clockwise until all tension is
removed.
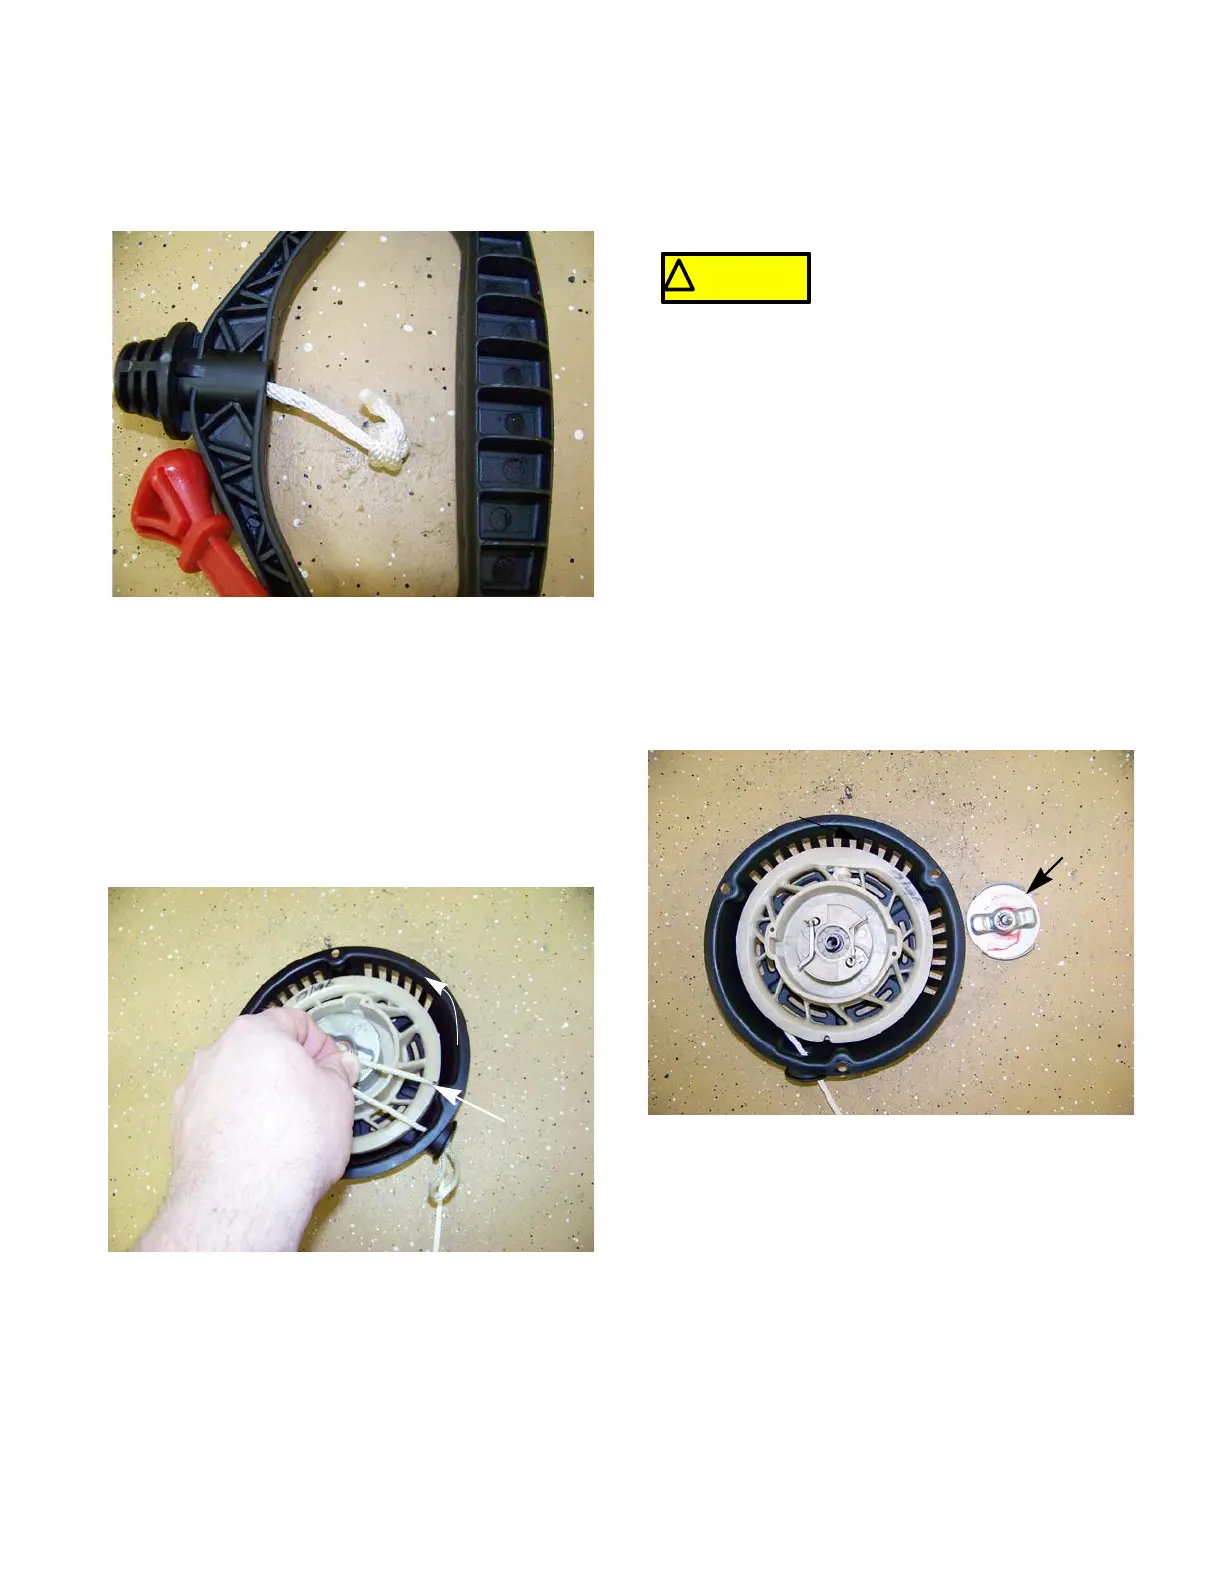
3. Remove the shoulder screw and pressure plate
using a 10 mm wrench.
See Figure 6.7.
NOTE: Beneath the pressure plate is a com-
pression spring and two starter pawls that are
held in the disengaged position by two torsion
springs.
! CAUTION! CAUTION
Eye protection should be worn if
the starter pulley is to be removed.
Figure 6.7
Pressure plate
 Loading...