P90 Series Vertical Shaft Engines
84
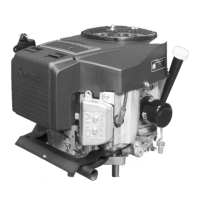
6. Remove the two screws, indicated by the arrows in
Figure 9.3, that secure the baffle to the cylinder
using an 8 mm wrench.
7. Remove the baffle.
8. Remove the spark plug using a 13/16” or 21mm
wrench.
9. Rotate the crankshaft until it is at TDC of the com-
pression stroke by following the steps described in
the valve lash section of Chapter 1: Introduction.
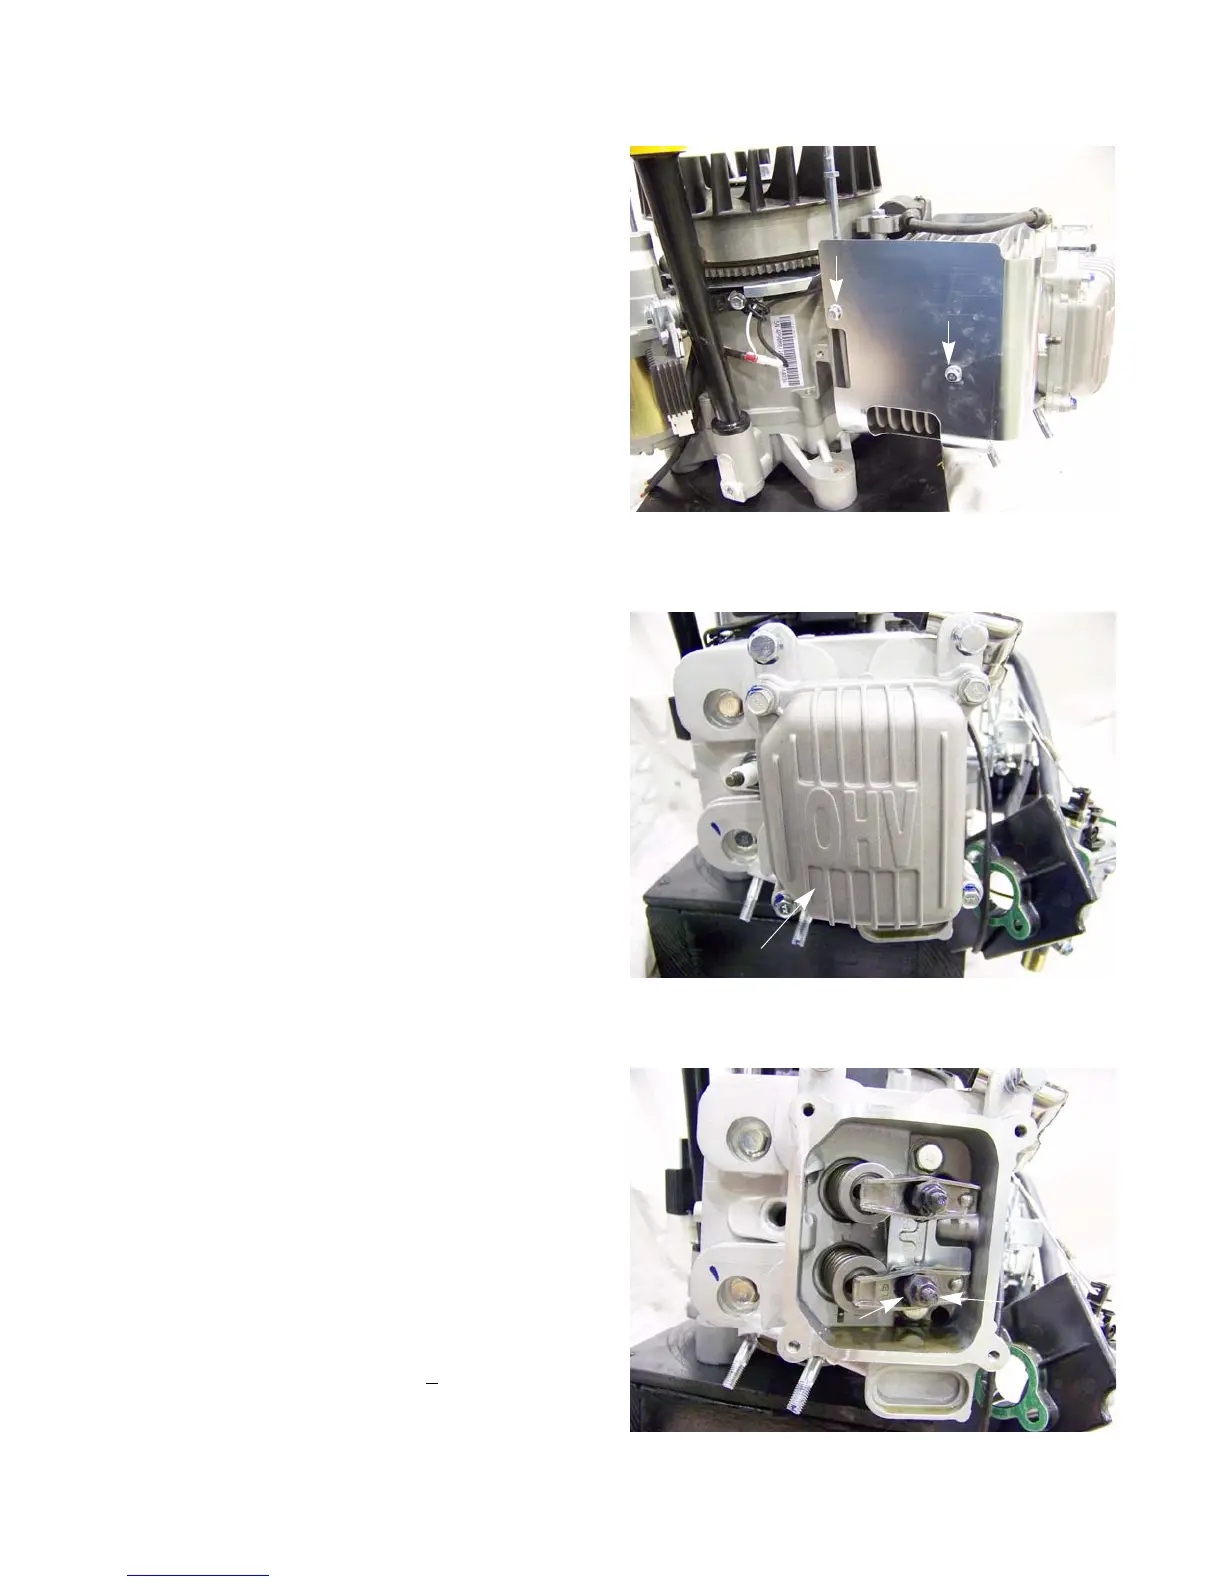
10. Remove the four screws securing the valve cover
using a 10mm wrench.
See Figure 9.4.
11. Loosen the jam nuts and fulcrum nuts that secure
the rocker arms using a 10mm wrench and a 14mm
wrench.
12. Pivot the rocker arms aside, or remove them com-
pletely, and remove the push rods.
NOTE: Once broken-in, the rocker arm should be
kept with its corresponding valve.
NOTE: The intake and exhaust push rods are iden-
tical and interchangeable. It is preferable,
but not absolutely necessary, to return the
same push rods to their original locations on
engine with substantial (
>100 hours) operat-
ing time.
13. Remove the head bolts using a 14 mm wrench.
Figure 9.3
Figure 9.4
Valve cover
Figure 9.5
Jam nut
Fulcrum nut
www.mymowerparts.com
For Discount Cub Cadet Parts Call 606-678-9623 or 606-561-4983
www.mymowerparts.com
For Discount Cub Cadet Parts Call 606-678-9623 or 606-561-4983

 Loading...