WTB-16PD TRACK-DRIVE POWER BUGGY • OPERATION MANUAL — REV. #0 (08/31/20) — PAGE 35
4. Coat the rubber seal (gasket) surface of the oil filter with
clean 15W-40 engine oil. See Figure 31.
5. Install the new oil filter first by hand until it makes
contact with the filter head surface. Tighten it another
3/4 turn using the filter socket. Tightening torque is
12 N·m (1.2 kgf·m, 9 lbf·ft).
IN-LINE FUEL FILTER (200 HOURS)
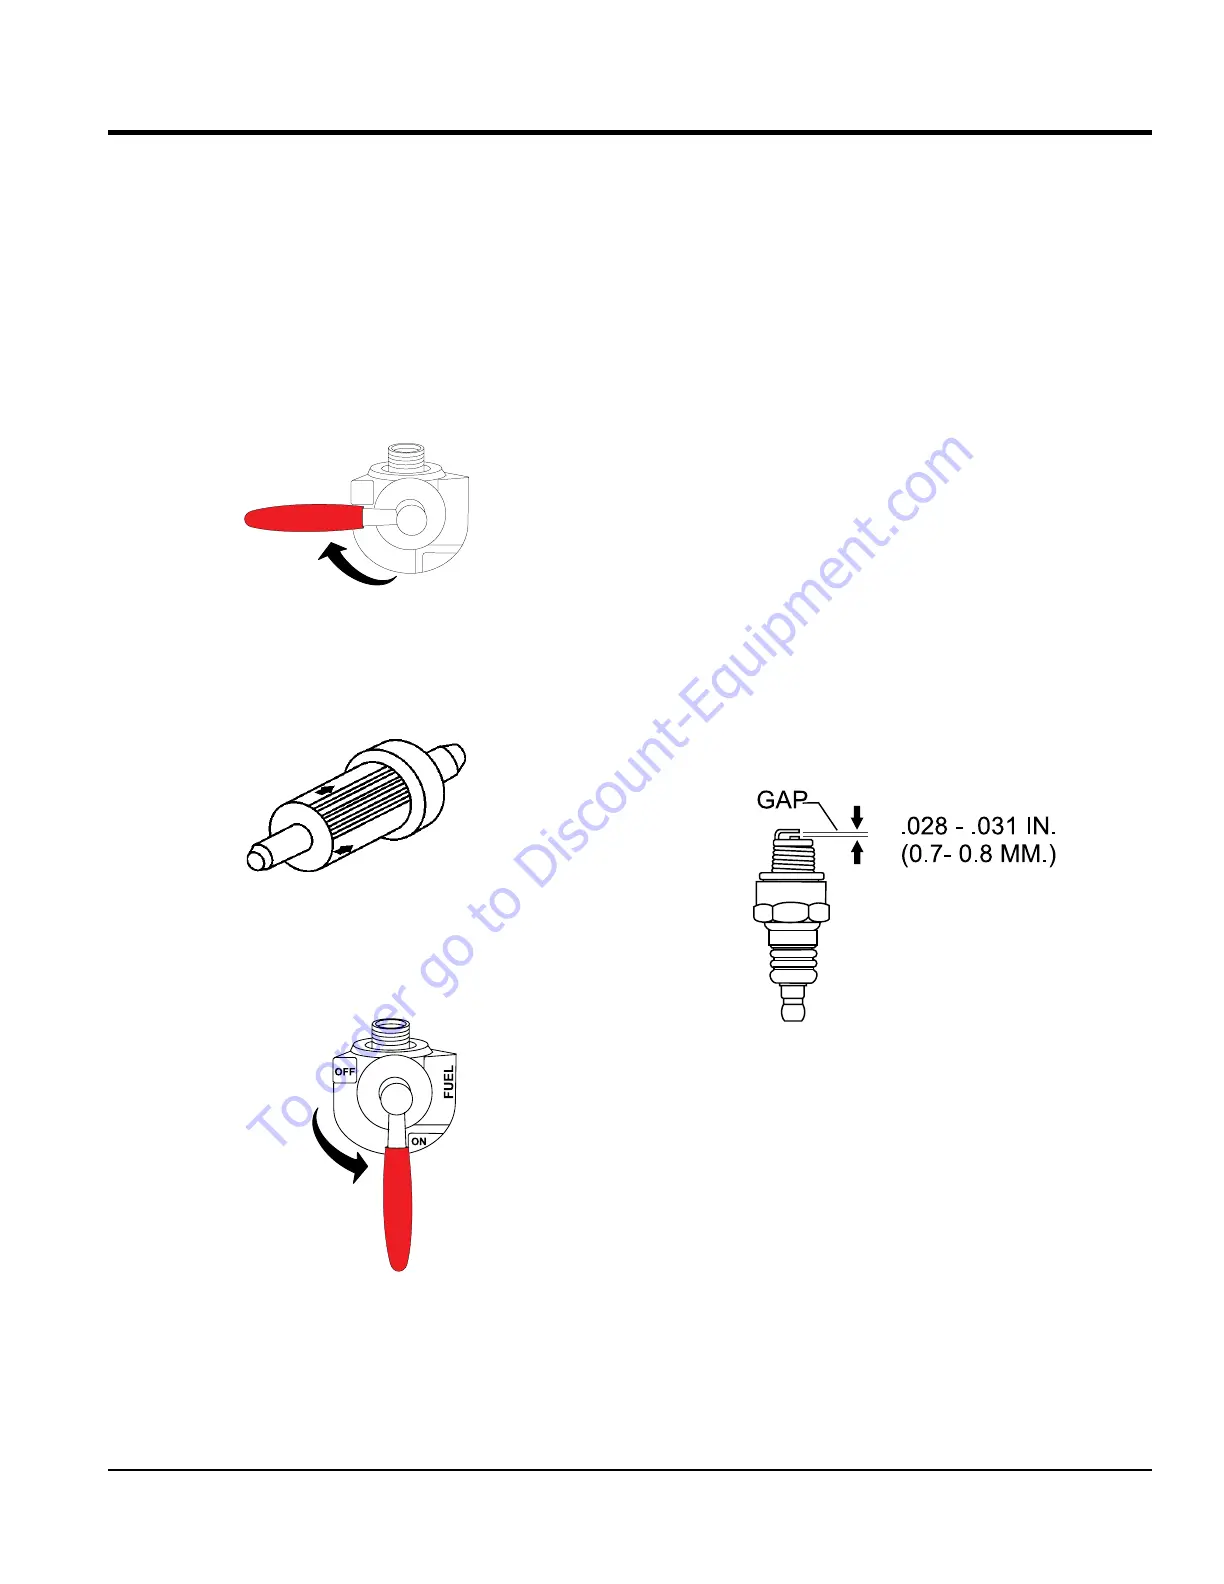
1. Place the fuel tank ON/OFF valve lever (Figure 32) in the
OFF position.
Figure 32. Fuel Tank Valve Lever (OFF)
2. Replace the engine in-line fuel filter (Figure 33) every 200
hours. When replacing the filter pay close attention to the
orientation of the arrows.
Figure 33. In-Line Fuel Filter
3. Return the fuel tank ON/OFF valve (Figure 34) to the
ON position.
Figure 34. Fuel Tank Valve Lever (ON)
OFF
OFF
FUEL
MAINTENANCE
Oil and Fuel Lines
Check the oil and fuel lines and connections regularly
for leaks or damage. Repair or replace as necessary.
Replace the oil and fuel lines every two years to maintain
the lines’ performance and flexibility.
SPARK PLUG ADJUSTMENT
1. Make sure the engine is cool before servicing the
spark plugs.
2. Disconnect the spark plug caps. Check for dirt and
remove any dirt from around the spark plug area.
3. Remove the spark plugs with a 5/8-inch spark plug
wrench.
4. If the spark plugs are damaged, the sealing washer
is in poor condition or the electrode is worn, replace
the spark plugs.
5. Measure the spark plug electrode gap (Figure 35) with
a wire-type feeler gauge. If needed, adjust the gap to
0.70–0.80 mm (0.028–0.031 in.) by carefully bending
the side electrode.
Figure 35. Spark Plug Gap
6. Install the spark plug carefully, by hand, to avoid
cross-threading.
7. After the spark plug is seated, tighten with a 5/8-inch
spark plug wrench to compress the sealing washer.
8. When installing a new spark plug, tighten 1/2 turn, after
the spark plug seats, to compress the washer.
9. When reinstalling the original spark plug, tighten
1/8 to 1/4 turn after the spark plug seats to compress
the washer.
10. Reattach the spark plug caps.
To order go to Discount-Equipment.com