2201Q4JE-MY-C9-N_2018.01.
Chapter 5 Maintenance and Inspection
Compound 2-stage Screw Compressor 4032**C 5.5 Reassembly
5-36
5.5.2 Bearing Head and Main Bearings
The main bearing (O-ring type) [27] is installed by a light press fit.
The size of O-ring [432-1] attaching on the low-stage main bearing has been changed to JIS B 2401
G200 from G210 according to the design modification in September 2012.
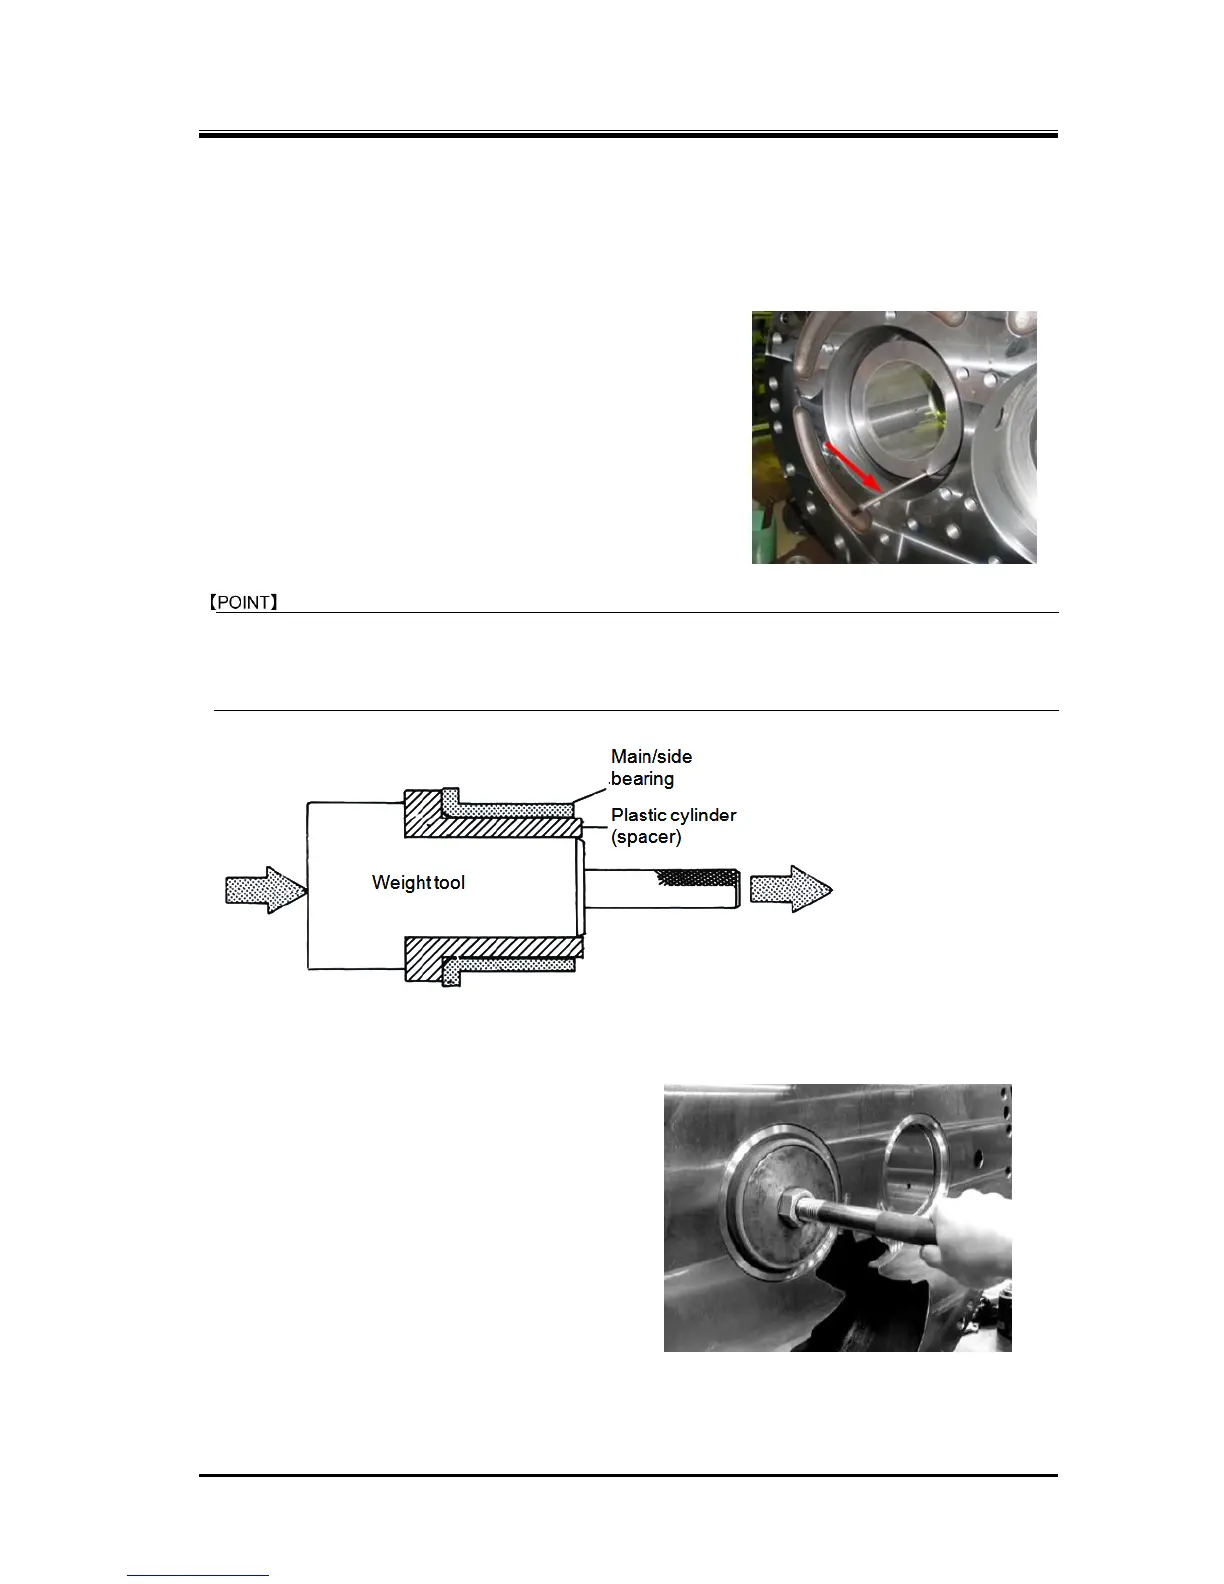
a) Align the notch on the main bearing with the spring pin [14]
that is driven in into the bearing head [11], and then drive it
in with a pad. For the alignment, it is convenient to use a
tool such as a guide bar (as a red arrow shown in the right
picture) .
b) After the bearing has been inserted, install the internal snap
ring [29] to retain the bearing in position.
Securely install the snap ring to be fully seated in the ring
groove, by pushing the snap ring with a guide bar or the like,
or by lightly hitting the guide bar with a hammer while
placing the guide bar on the snap ring.
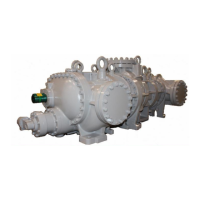
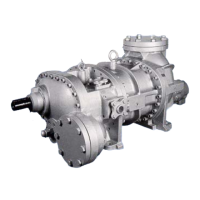
When press fitting the bearing, it is recommended to prepare a collared plastic cylinder (spacer) that
exactly fits inside the inner diameter of the bearing and also a collared weight that fits inside the
plastic cylinder as shown in Figure 5-17. Then, hit the top of the weight for easy press fitting of the
bearing.