ENGLISH
INTRODUCTION
GETTING STARTED
QUICK SETUP GUIDE
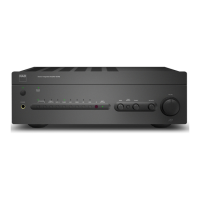
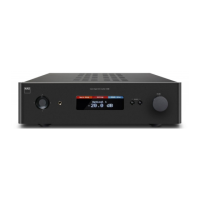
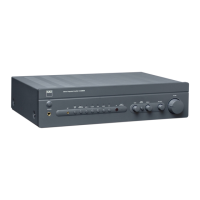
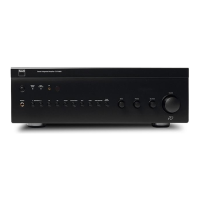
This simple guide will help you get started with your C 700 V2.
Your C 700 V2 can be connected to your home network via Wired or
Wireless connection.
IMPORTANT!
• For wired and wireless connection to be established, ensure that a
broadband router that supports Ethernet and/or Wi-Fi standards is
setup and available.
• Tablets, smartphones and other applicable devices that support iOS
(Apple) or Android operating system can be used as mobile device
controller. These devices are not supplied with your C 700 V2.
• Download and install the corresponding BluOS App for your device.
• The BluOS App for iOS/iPadOS and Android devices as well as Windows
and macOS desktops is available for download from their respective
Application stores and BluOS downloads page.
https://bluos.io/downloads
• When BluOS App is opened after network connection setup, the
congured C 700 V2 network ID or custom name may indicate a “NEEDS
SETUP” prompt. Select your C 700 V2 network ID or custom name
and follow the prompt instructions to complete the setup. Available
software upgrade will be automatically checked and loaded during
conguration.
A. WIRED CONNECTION
Using an Ethernet cable (not supplied), connect one end to C 700 V2’s LAN
port and the other end directly to your home network or router.
B. WIRELESS CONNECTION
Connect C 700 V2 to your wireless network using any of the following four
methods.
1 Wireless Accessory Configuration (WAC) using iOS/iPadOS device
2 Using iOS/iPadOS device
3 Using Android device
4 Wireless manual setup
Condition: C 700 V2 must be at hot spot mode. C 700 V2 default setting is
at hot spot mode.
IMPORTANT!
• Hotspot mode will time out after 15 minutes. To re-establish hotspot
mode, reboot C 700 V2 or power it down and wait at least 5 seconds
before powering it back up.
• The following procedures may change over time without notice. Always
check the C 700 V2 product page for the latest updates.
1 WIRELESS ACCESSORY CONFIGURATION (WAC) USING iOS/
iPadOS DEVICE
Wireless Accessory Configuration (WAC) setup mode is supported
by iOS/iPadOS application. At WAC setup mode, network name and
password are not required for the C 700 V2 to be connected to your
network.
a Select Settings menu of your iOS/iPadOS device.
b Go to Wi-Fi and select the network you would like to use with your
C 700 V2.
c Scroll down to SETUP NEW AIRPLAY SPEAKER. Select your C 700 V2
player indicated by C 700 V2-xxxx where xxxx corresponds to the last
4 digits of the Machine Access Control (MAC) address* of your C 700 V2.
d When AirPlay Setup screen comes up, select Next. Note that you
can also customize the name of your C 700 V2 by entering desired
name in the line item Speaker Name.
e Airplay Setup will proceed automatically. Follow setup process until
Setup Complete is shown. Select Done to exit setup mode.
2 USING iOS/iPadOS DEVICE
a Open BluOS App. Select Players icon in the bottom portion of the
App.
b From upper right corner of the App, select + to launch Easy Setup
Wizard.
c From My Players screen prompt, select your C 700 V2’s unique
network ID* under Needs Setup.
d When AirPlay Setup screen comes up, select Next. Note that you
can also customize the name of your C 700 V2 by entering desired
name in the line item Speaker Name.
e Airplay Setup will proceed automatically. Follow setup process until
Setup Complete is shown. Select Done.
f C 700 V2 will automatically enter Looking for Upgrade mode. If a
firmware upgrade is available, it will be installed automatically. Once
the upgrade is finished, select Finish to exit setup mode.
* The C 700 V2’s unique network ID is listed as the product name (i.e.,
C 700 V2) immediately followed by the last four digits in the MAC (Machine
Access Control) address (example: C 700 V2-ACF7).
3 USING ANDROID DEVICE
a Select your C 700 V2’s unique network ID* from the Wi-Fi Setup
connection settings menu of your Android device and connect/
join.
b Wait until Internet may not be available window appears. Select
Connect only this time.
c Open the BluOS App and wait for the New Player detected
window to appear (this may take some time). Select Setup now.
d Select your C 700 V2’s unique network ID* from My Players
window.
e Select your Home Wi-Fi Network from Choose WiFi Network drop
down menu.
i. If your Home Wi-Fi Network does not appear or is hidden, select
Manual SSID Entry.
ii. Enter SSID name.
iii. Select the Network Security your network uses under Choose
Security Method.
f Enter your home network’s Wi-Fi Password in the field provided
and select Continue.
g Select or enter preferred Name to customize your C 700 V2 for
easier identification in the Player Drawer. Select Continue.
h Network setup process proceeds automatically. As it advances, it
will automatically enter Looking for Upgrade mode. If a firmware
upgrade is available, it will be installed automatically.
i Network setup process is completed when Setup Complete is
shown in the App. Select Finish to exit the setup process.
5
 Loading...