Contents
Part 1 - Installation 8
Chapter 1 - Getting Started 9
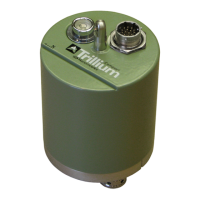
1.1 About the Trillium Compact 9
1.2 Unpacking and Handling a Trillium Compact seismometer 11
1.3 Cables and Accessories 12
1.4 Technical Support and Maintenance 16
1.4.1 Recording Your Serial Number and IP Address 17
Chapter 2 - Installing a Trillium Compact Posthole Seismometer 18
2.1 Installing a Trillium Compact Posthole 18
2.2 Selecting a Site for a Trillium Compact Posthole seismometer 18
2.3 Pre-Installation Preparation 19
2.4 Preventative Maintenance of Connectors 19
2.5 Connecting the Centaur digital recorder and the Trillium Compact 20
2.6 Verifying connection with the Centaur digital recorder 21
2.7 Installing a Trillium Compact Posthole Seismometer 21
2.7.1 Installing a Trillium Compact Posthole in an Uncased Hole (Direct Burial) 22
2.7.2 Installing a Trillium Compact Posthole in a Cased Hole 24
2.7.3 Lowering the Seismometer into a Deep Cased Hole 25
2.8 Aligning a Trillium Compact Posthole to North 27
2.8.1 Aligning the Trillium Compact Posthole using a Surface Line 27
2.8.2 Aligning the Trillium Compact Posthole using a Surface seismometer 28
2.9 Installation Checklist for the Trillium Compact Posthole seismometer 29
Chapter 3 - Installing a Trillium Compact Vault Seismometer 30
3.1 Installing a Trillium Compact surface vault seismometer 30
16889R10 • 2020-11-12 Page 4