NV10LT/NV7.5LT INSTALLATION MANUAL COMMISSIONING
VERSION 5.0 2021-03-01 PAGE 2.9.3
Commissioning
NOTE: The following procedures require the use of the transmitter’s front panel UI. If you require
assistance to navigate the front panel UI, refer to the NV10LT/NV7.5LT Operations & Maintenance
Manual for more information.
Turning on the Transmitter
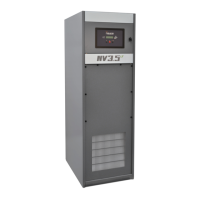
1. Switch on the ac power at the service entrance to turn on the transmitter. Confirm the ac voltage,
noting the CSA label on the back of the transmitter.
2. Follow the instructions on the front panel display (see Figure 2.9.1 on page 2.9.4) to perform the
first-time setup of the NV10LT/NV7.5LT, including selecting the frequency, output power and audio
source.
3. When selecting the audio source from the initial start-up screens, there are four options - AES,
MPX, Analog L/R and Audio Player. Use the up and down arrows to toggle between source
options, then press the checkmark button to select the desired source. Continue to the next
associated audio screens, noting they are different depending on the audio source type (see
Figure 2.9.2 on page 2.9.5 or Figure 2.9.3 on page 2.9.6). Edit values using the up and down
arrows, and select using the checkmark button. Press the X button to cancel a selection.
4. When the audio setup in Step 3 is complete, the front panel should display a setup completion
screen (see Figure 2.9.4 on page 2.9.6). Press the cancel (X) button to go back to the editing
screens. Press the checkmark button to finish the setup, which creates a new preset for the
NV10LT/NV7.5LT (preset 1 or P1). The top level screen (see Figure 2.9.5 on page 2.9.7) will be
displayed.