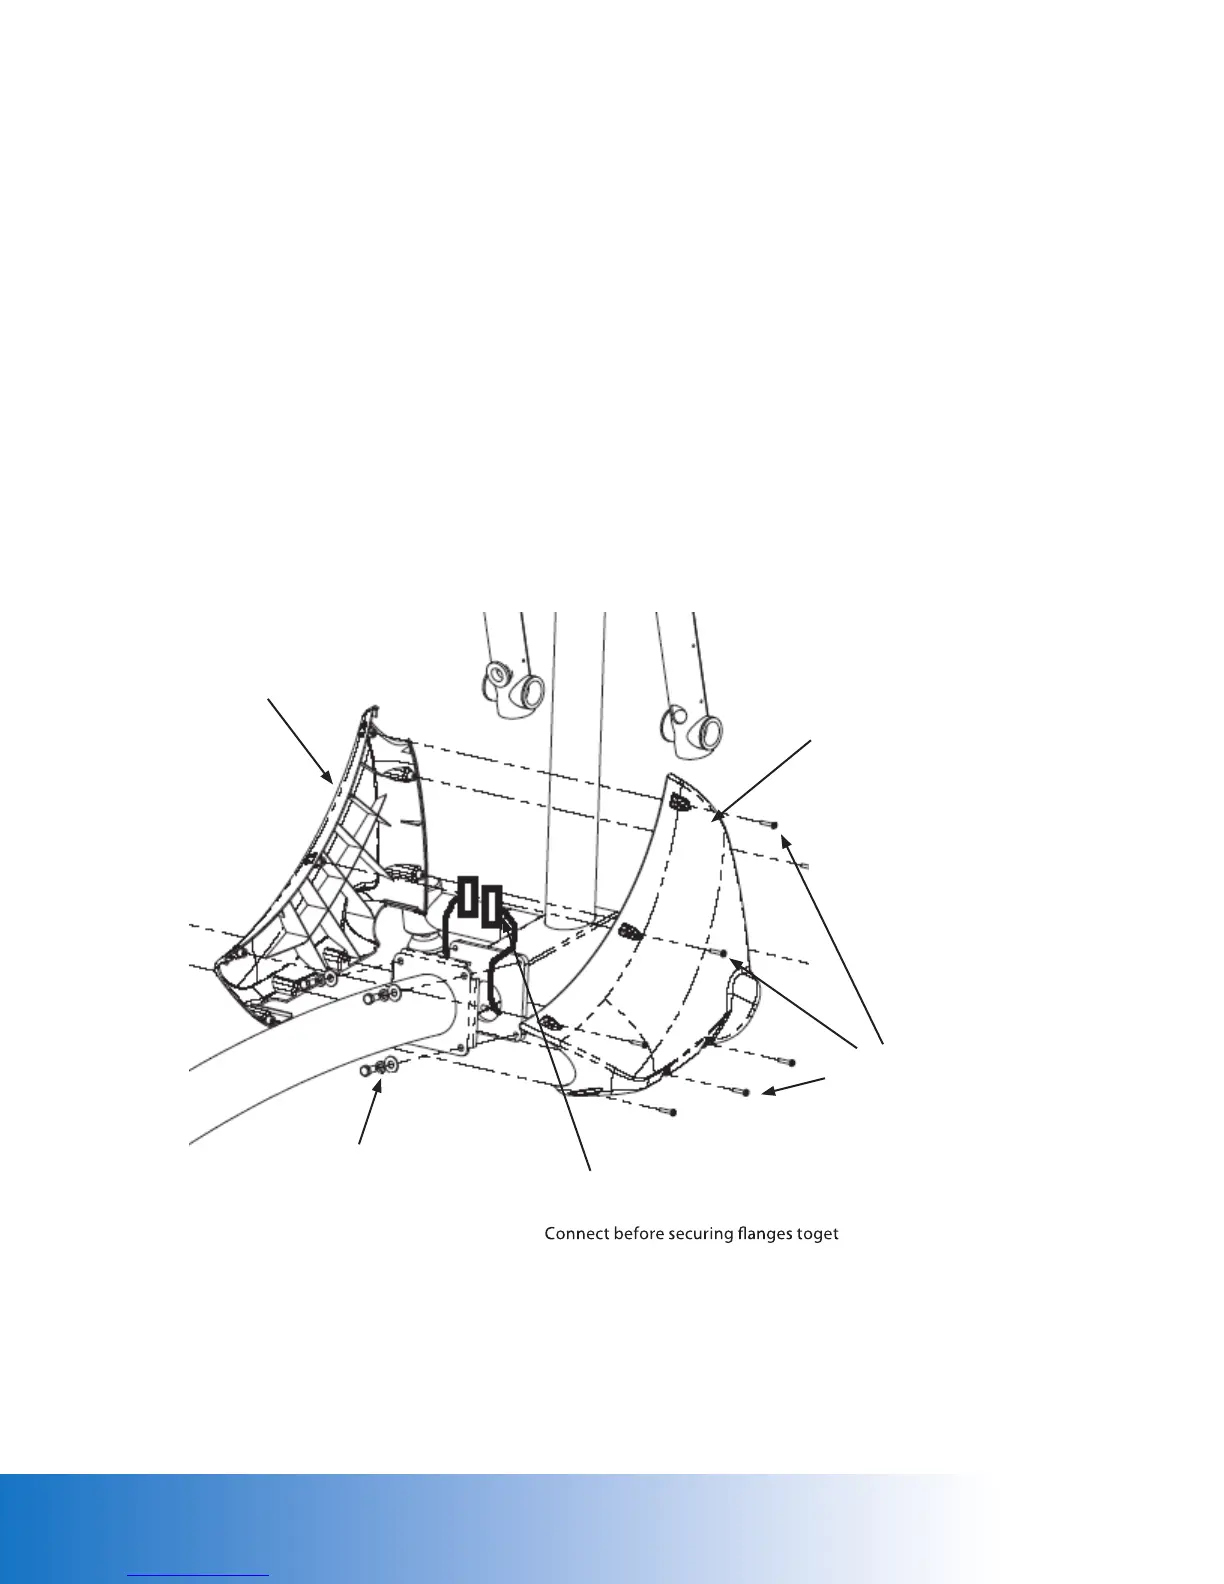
Electrical Cable
Take care not to pinch when assembling.
her.
• 3/8”-16 Hex Head Screw
• 3/8” Lock washer
• 3/8” Flat Washer
Front Right Cover
Front Left Cover
#10-32 Phillips Head Screws
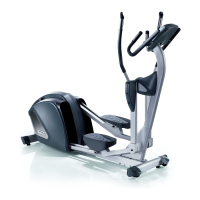
8. Move the mast assembly into position near the rear assembly as shown below in Figure 1.
Take care not to pinch the electrical harnesses.
9. Connect the mast assembly harness to the rear assembly harness (the connectors snap
together so that the color-coded wires will match). Make sure the connection is secure.
10. Secure the mast assembly to the rear assembly using the (4) 3/8-16 hex head screws, (4)
3/8 flat washers, and (4) 3/8 lock washers. Take care not to pinch the harnesses. Use the 9/16
socket and ratchet to tighten.
11. Identify the lefthand and righthand bottom covers. Position the bottom covers around the
assembly so that the holes are aligned. Secure the covers to the assembly using (10) 10-32
pan head screws. Use the #2 phillips head screwdriver to tighten.
Figure 1
assembly questions? call 800-235-2233 for help.