34
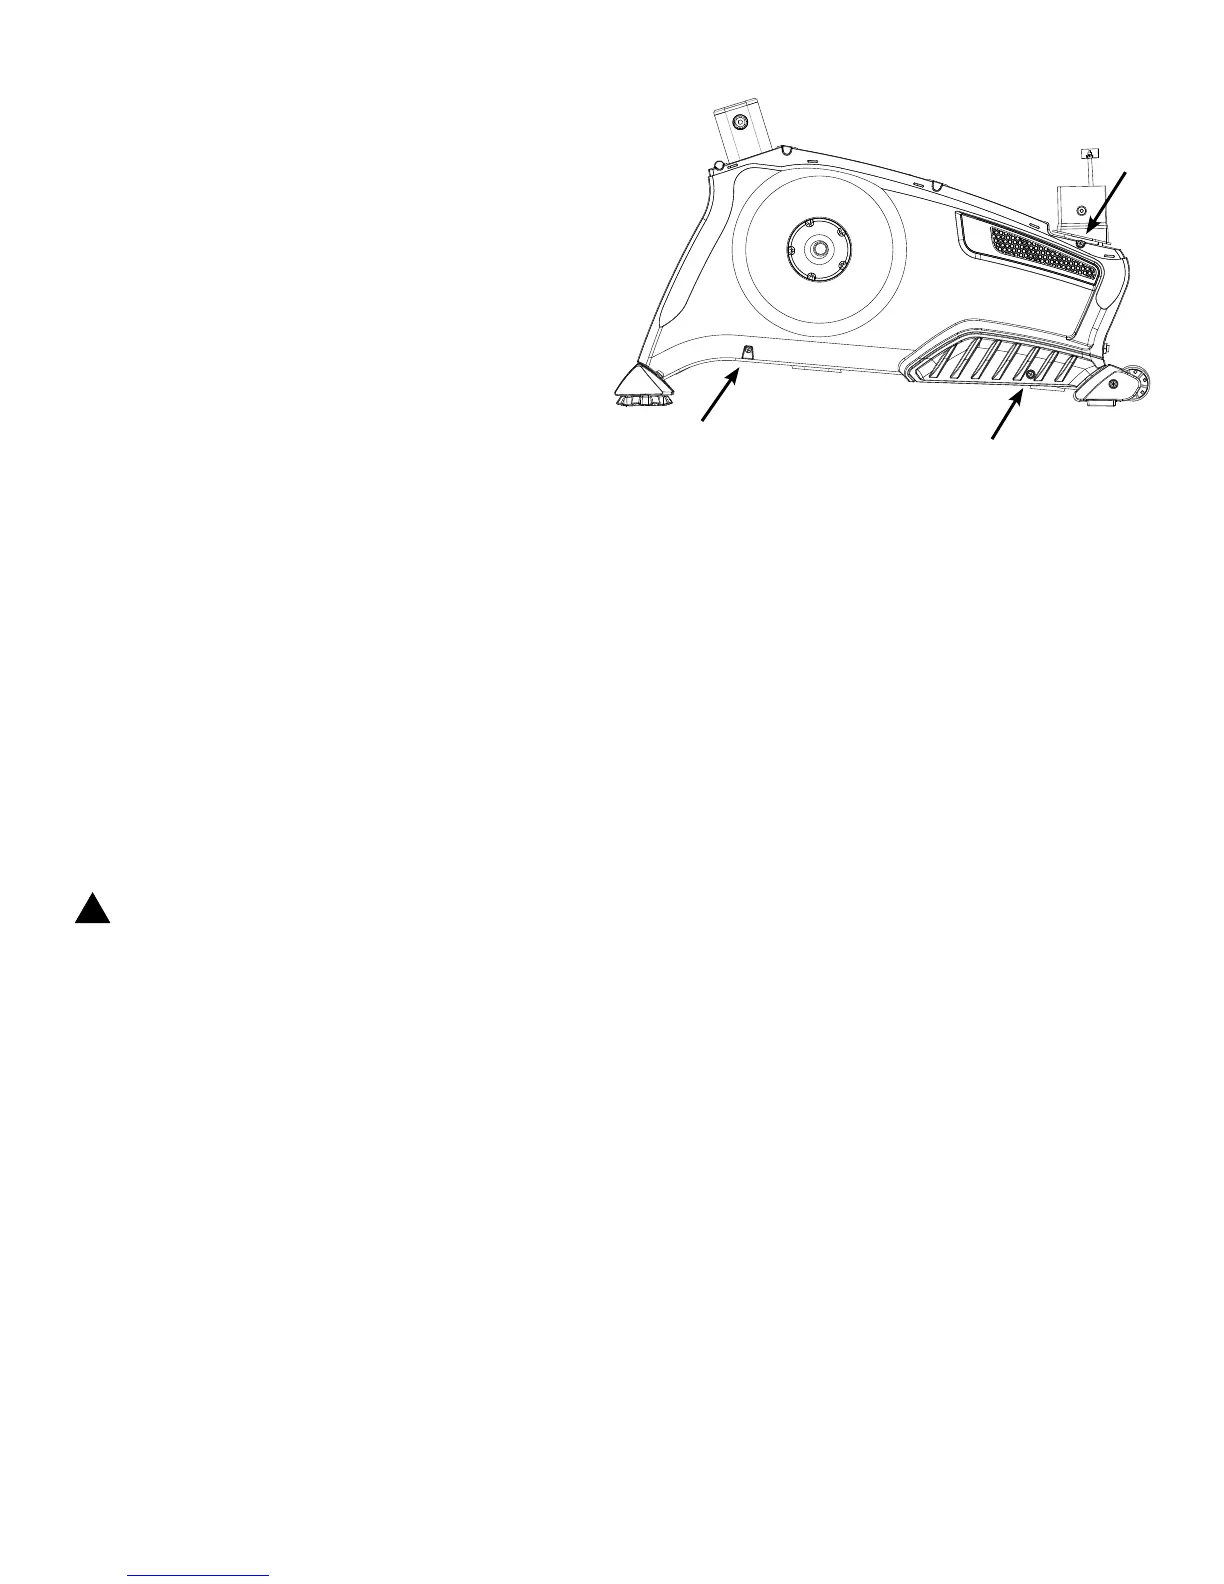
11. Using a #2 Phillips Screwdriver, remove the 3 screws
that secure the Right Shroud. Remove the bottom screws
rst,andthenthetopscrew.SlowlyremovetheRight
Shroud.
12. Installation is the reverse procedure. Put the Left Shroud
inpostionrsttoalignthescrewsfortheRightShroud.
Installthetopscrewsrst.
NOTICE: Be sure not to crimp any cables. Be sure the
tabs in the Top Shroud snap into the Main
Assembly.
BesuretheCrankArmsareconnectedat180°fromeach
other.
13. Final Inspection
Inspect your machine to ensure that all hardware is tight and
components are properly assembled.
!
Do not use until the machine has been fully
assembled and inspected for correct performance
in accordance with the Owner’s Manual.