107
5. Using On-Screen Menu
NOTE:
• When[ON]isselectedfor[CONTROLID],theprojectorcannotbeoperatedbyusingtheremotecontrolthatdoesnotsupport
theCONTROLIDfunction.(Inthiscasethebuttonsontheprojectorcabinetcanbeused.)
• Yoursettingwillnotbeaffectedevenwhen[RESET]isdonefromthemenu.
•PressingandholdingtheENTERbuttonontheprojectorcabinetfor10secondswilldisplaythemenuforcancelingtheControl
ID.
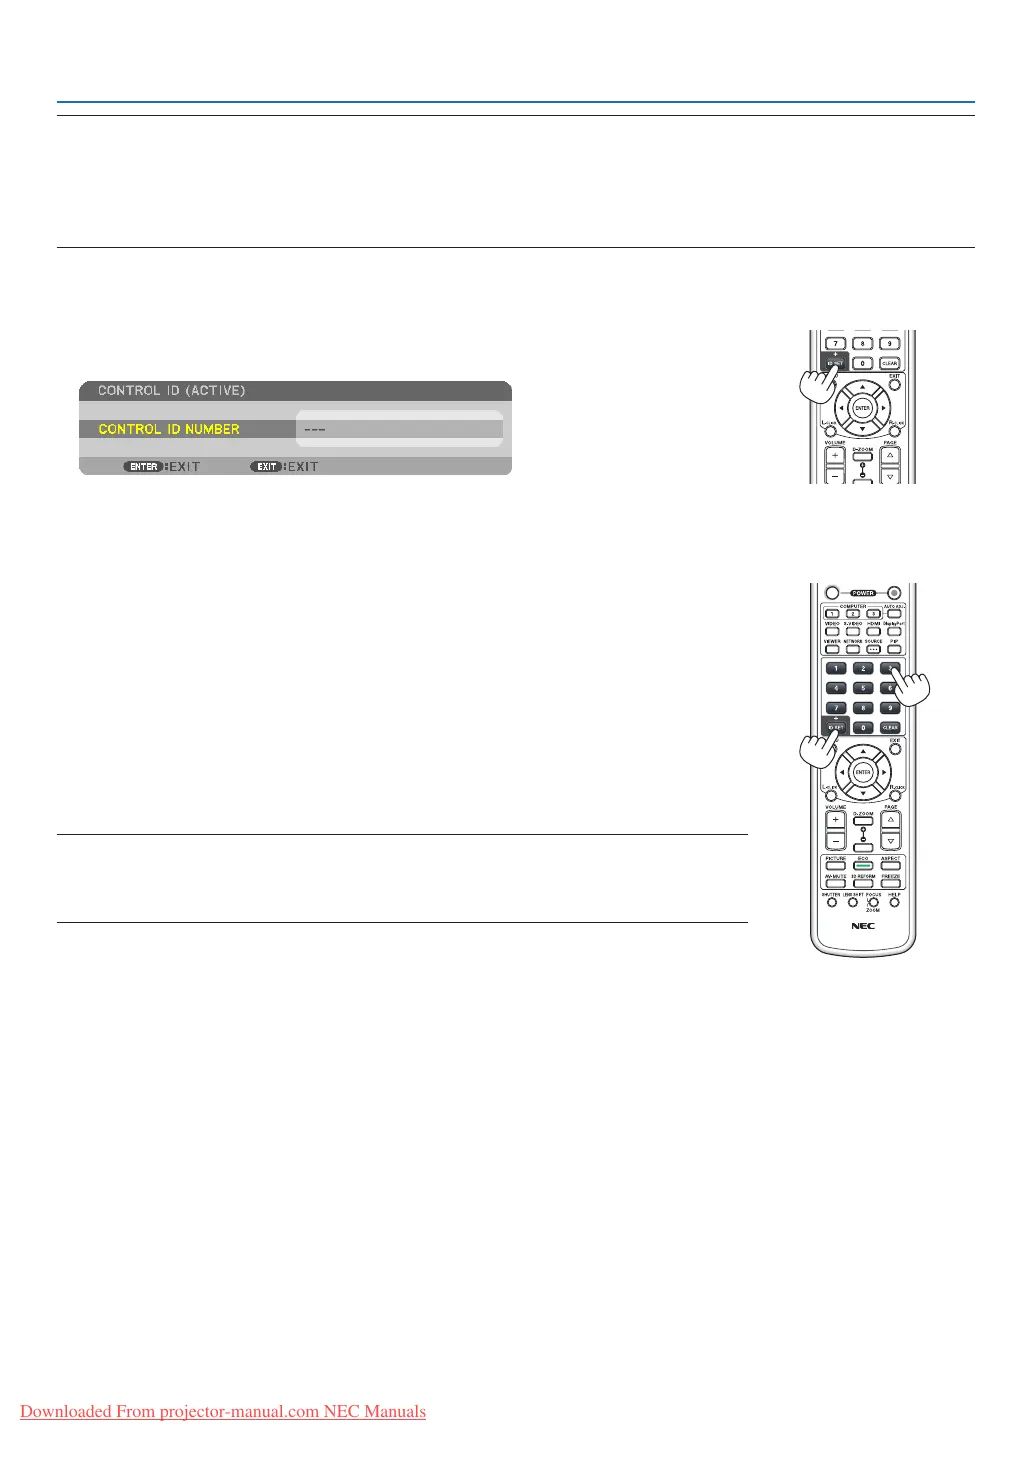
AssigningorChangingtheControlID
1. Turnontheprojector.
2. PresstheIDSETbuttonontheremotecontrol.
The CONTROL ID screen will be displayed.
If the projector can be operated with the current remote control ID, the [ACTIVE]
will be displayed. If the projector cannot be operated with the current remote control
ID, the [INACTIVE] will be displayed. To operate the inactive projector, assign the
control ID used for the projector by using the following procedure (Step 3).
3. PressoneofnumerickeypadbuttonswhilepressingandholdingtheIDSET
button on the remote control.
Example:
To assign “3”, press the “3” button on the remote control.
No ID means that all the projectors can be operated together with a single remote
control. To set “No ID”, enter “000” or press the CLEAR button.
TIP:TherangeofIDsisfrom1to254.
4. ReleasetheIDSETbutton.
The updated CONTROL ID screen will be displayed.
NOTE:
•TheIDscanbeclearedinafewdaysafterthebatteriesarerundownorremoved.
•Accidentallypressinganyoneofthebuttonsoftheremotecontrolwillclearcurrentlyspecied
IDwithbatteriesremoved.
Downloaded From projector-manual.com NEC Manuals

 Loading...