42
4.
After you have selected the record mode and option, choose the camera to be assigned in
any combination.
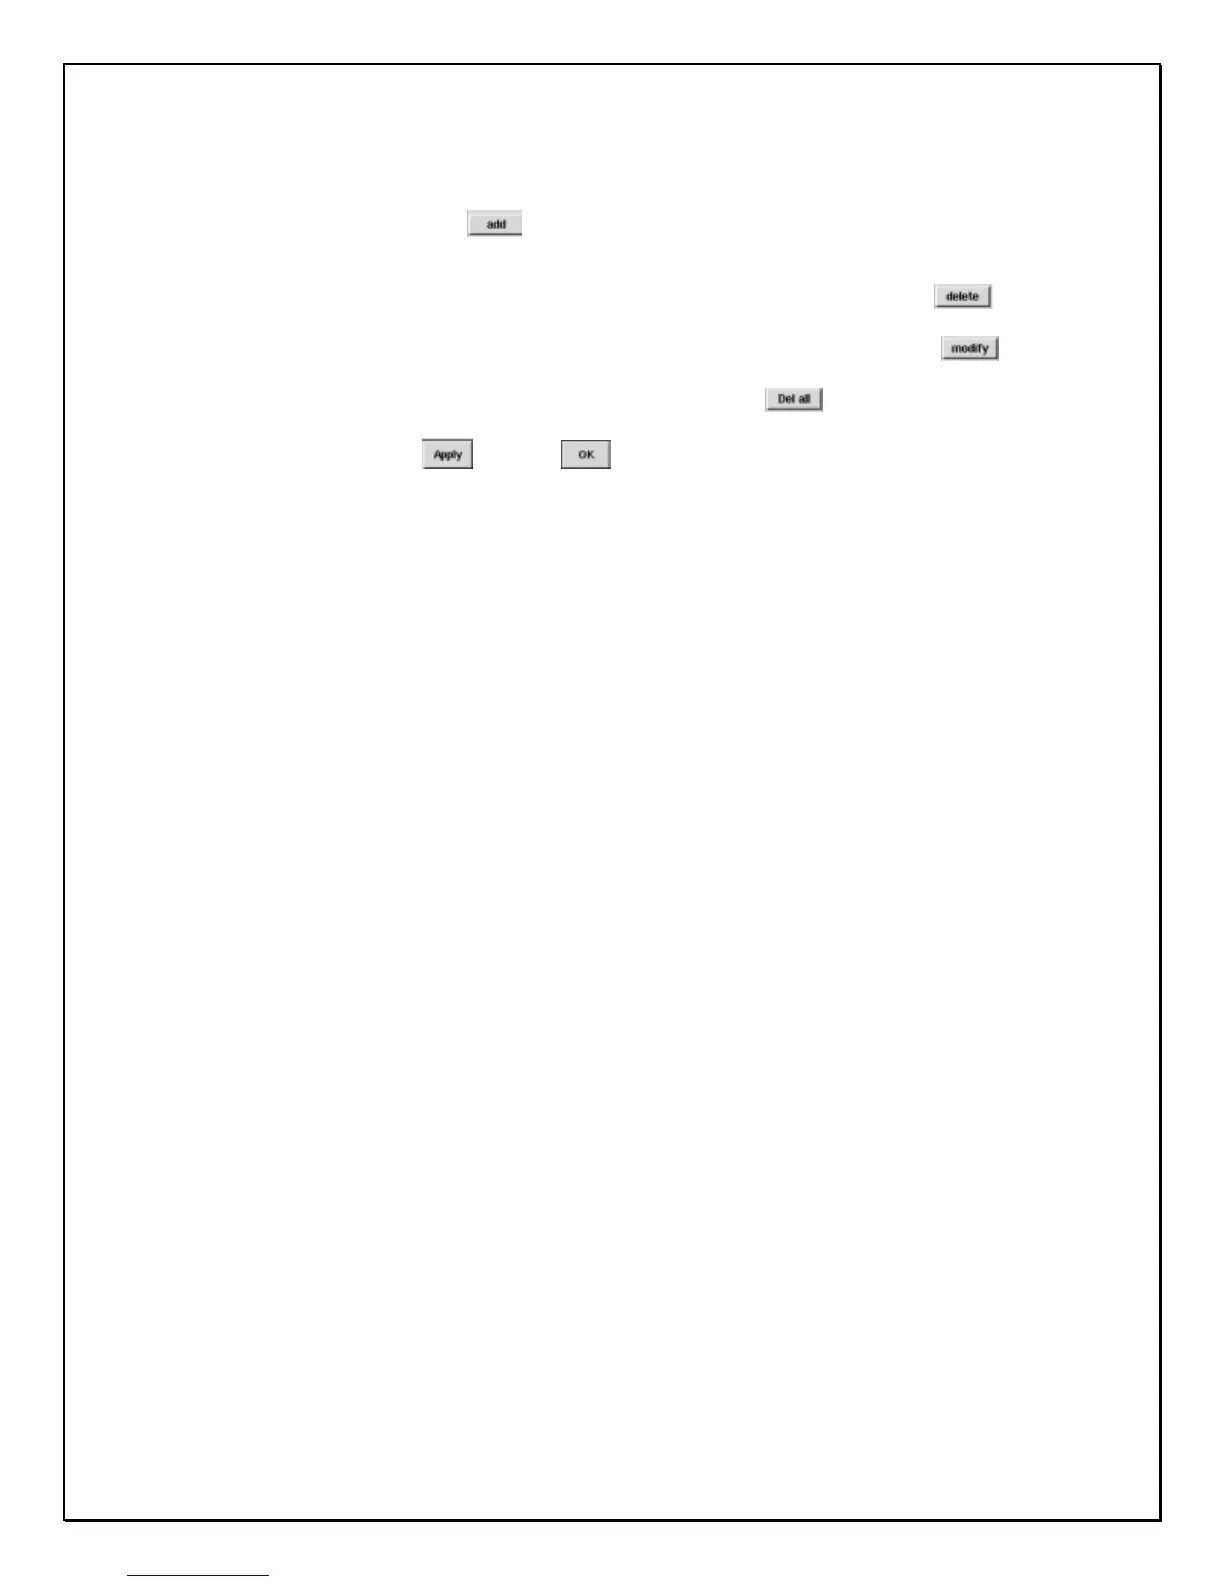
5. Click on the “Add” button. The relative information will be shown in the schedule
recording list
6. If you wish to delete a particular entry. Select the entry and the Delete button.
7. If you wish to modify a particular entry. Select the entry and the Modify button.
8. If you wish to delete all entries, click the “Del All” button.
9. Click “Apply” , and “OK” to confirm your changes. The screen will return to
viewer mode.