Business HSI Basic Installation
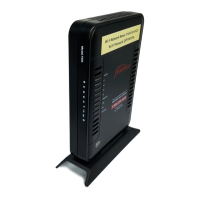
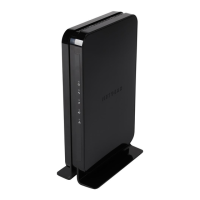
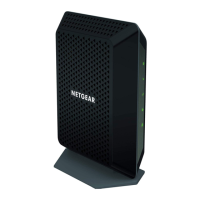
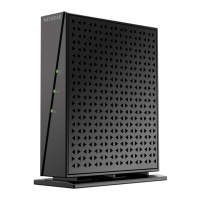
NETGEAR 7550
Technical Reference Guide v2.0
10
Gateway Configuration
Walled garden
An Internet connection that is restricted prior to authentication. The Frontier
Netgear 7550 gateway has a built-in walled garden, also known as the one-
time setup wizard. When the walled garden/setup wizard is successfully
completed, the customer should be able to surf the Internet.
Configure the
gateway
After the physical connections are made, follow these steps to complete the
one-time setup wizard:
Step Action
1 Turn the switch labeled
on the gateway’s back panel
to the On position.
Result: The modem boots and the DSL LED begins to blink
(training).
2 Wait for the
LED to be solid green (trained).
If ... Then ...
The LED is solid green Continue to step 3.
The LED stays flashing
(slow) green or off,
Check the physical
connections.
3 Open a web browser on the computer connected to the
gateway.
Result: The web browser should redirect to the gateway’s
one time setup wizard. If it does not, type a known URL (i.e.,
www.frontier.com, or www.yahoo.com) or 192.168.254.254
into the web browser address field.
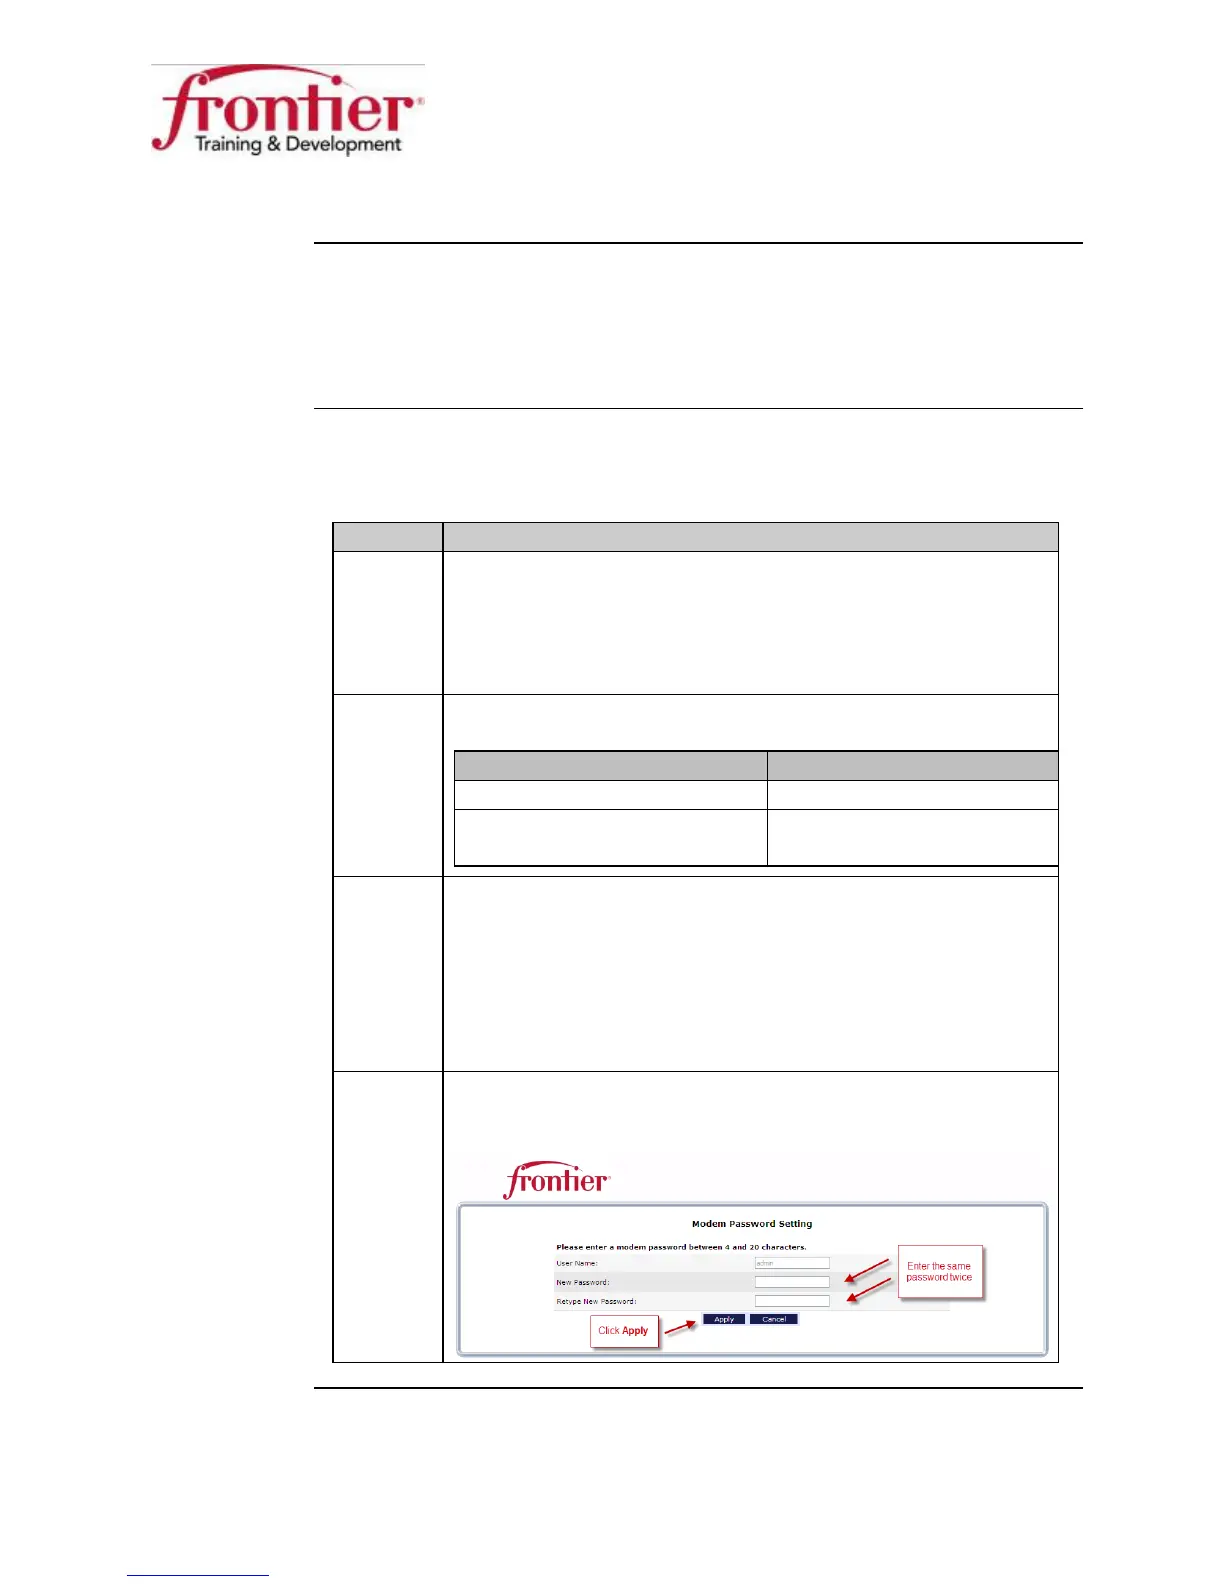
4 Enter
as the password in the
and
Retype New Password fields, and then click the Apply
button on the Modem Password Setting screen.
Continued on next page