Business HSI Basic Installation
NETGEAR 7550
Technical Reference Guide v2.0
37
Wireless Network Configuration, Continued
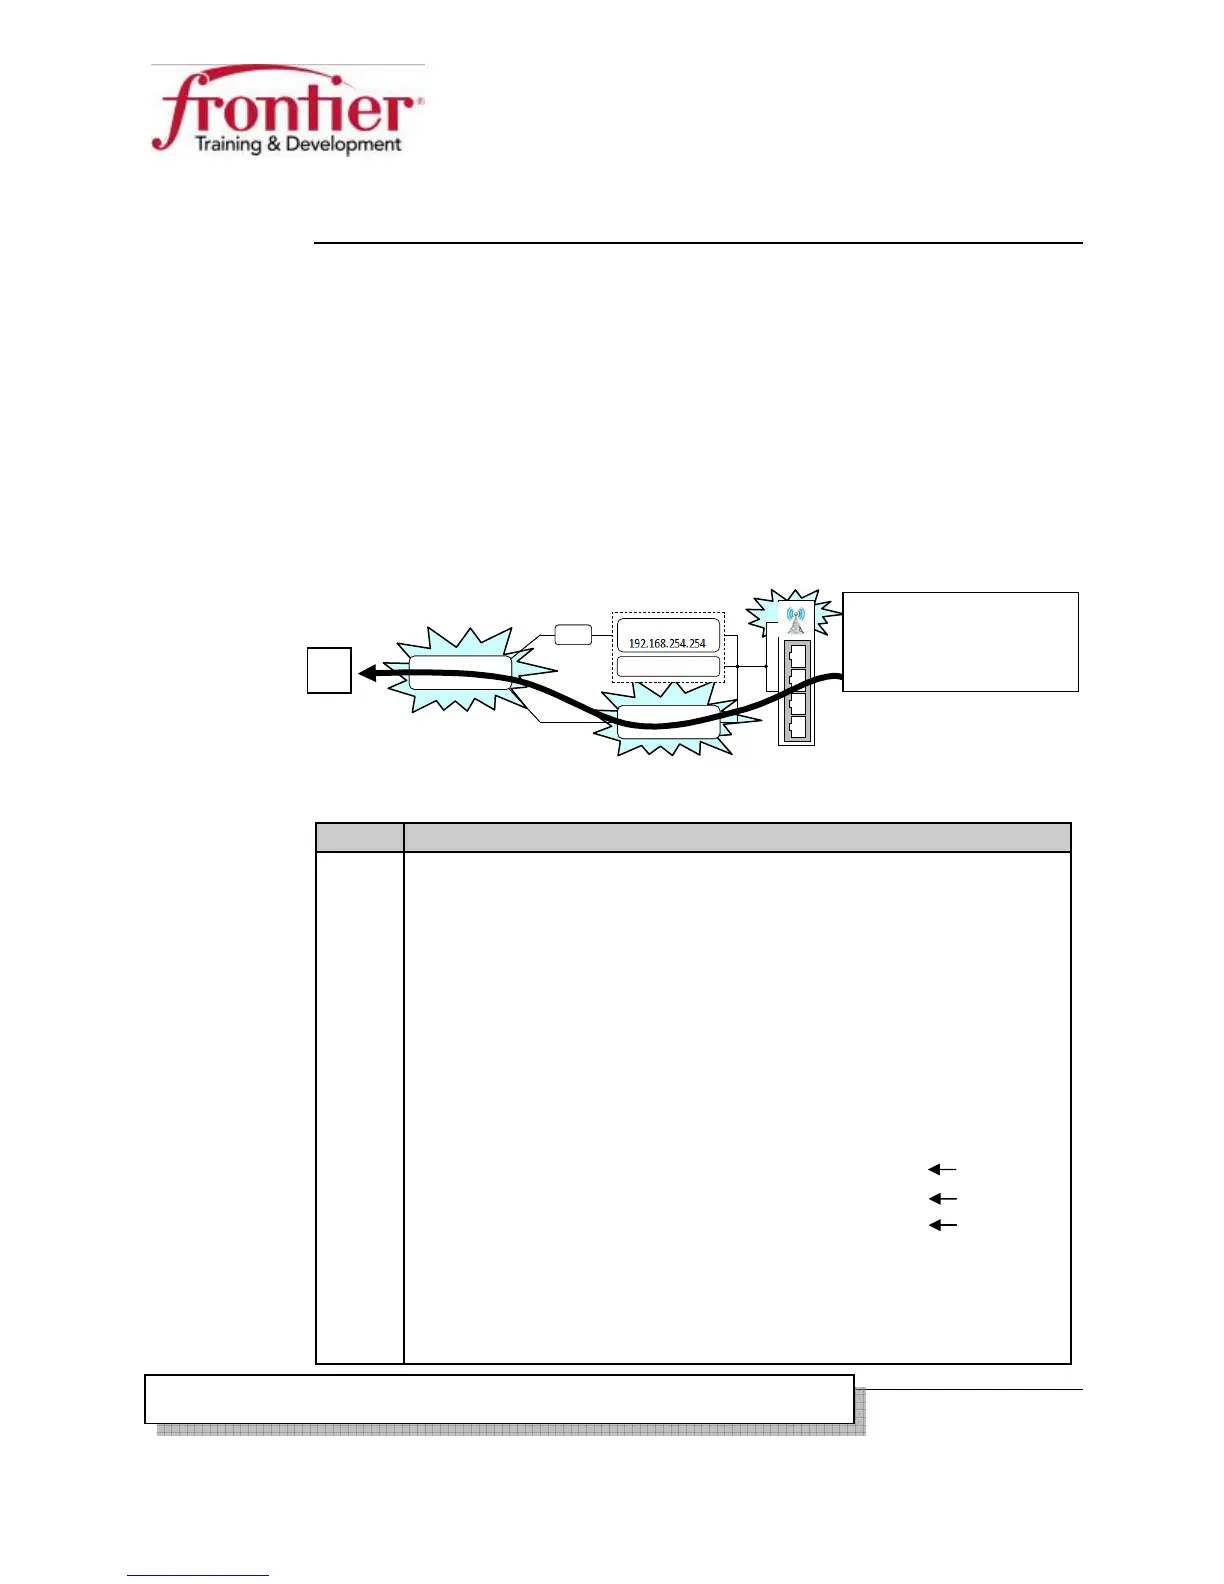
Test number 2
This will test for a working Public LAN.
Requirements:
• DSL trained (DSL light on solid)
• Laptop wireless OFF
• Laptop manually assigned IP address (from customer’s LAN block)
• Laptop manually assigned DNS address
• Laptop wired to the 7550 via an Ethernet cable
If we can reach the Internet, test 2 was successful.
(Public LAN & WAN IP works)
Follow the steps below to perform test 2.
Step Action
1 Your laptop’s TCP/IP properties must be set to use the following
address:
IP address: <LAN Network +2>
Subnet mask: *See Subnet Mask below
Default gateway: <LAN Network +1>
Use the following DNS server addresses:
Preferred DNS server: <Your area primary DNS address>
Alternate DNS server: <Your area alt. DNS address>
Ex.: Work order’s LAN Network: 173.84.136.
168
/30
Laptop’s IP address: 173.84.136.
170
Laptop’s Subnet mask: 255.255.255.252
Laptop’s default gateway: 173.84.136.
169
Subnet Mask: /30 255.255.255.252
/29 255.255.255.248
/28 255.255.255.240
Continued on next page
Public LAN
173.84.136.169
Private LAN
192.168.1.1
DHCP Server
NAT
WAN
74.42.86.10
Public LAN
173.84.136.169
Private LAN
192.168.1.1
DHCP Server
Private LAN
192.168.1.1
DHCP Server
NAT
WAN
74.42.86.10
Laptop (wired)
IP address manually
assigned
*For more info see Appendix A: Configuring Static IP into Computers