Manage Device Security
199
NETGEAR 24-Port Gigabit Smart Managed Pro Switch with PoE+ and 2 SFP Ports Model GS724TPv2
3. In the address field of your web browser, enter the IP address of the switch.
If you do not know the IP address of the switch, see Change the Default IP Address of the
Switch on page 9.
The login window opens.
4. Enter the switch’s password in the Password field.
The default password is password.
The System Information page displays.
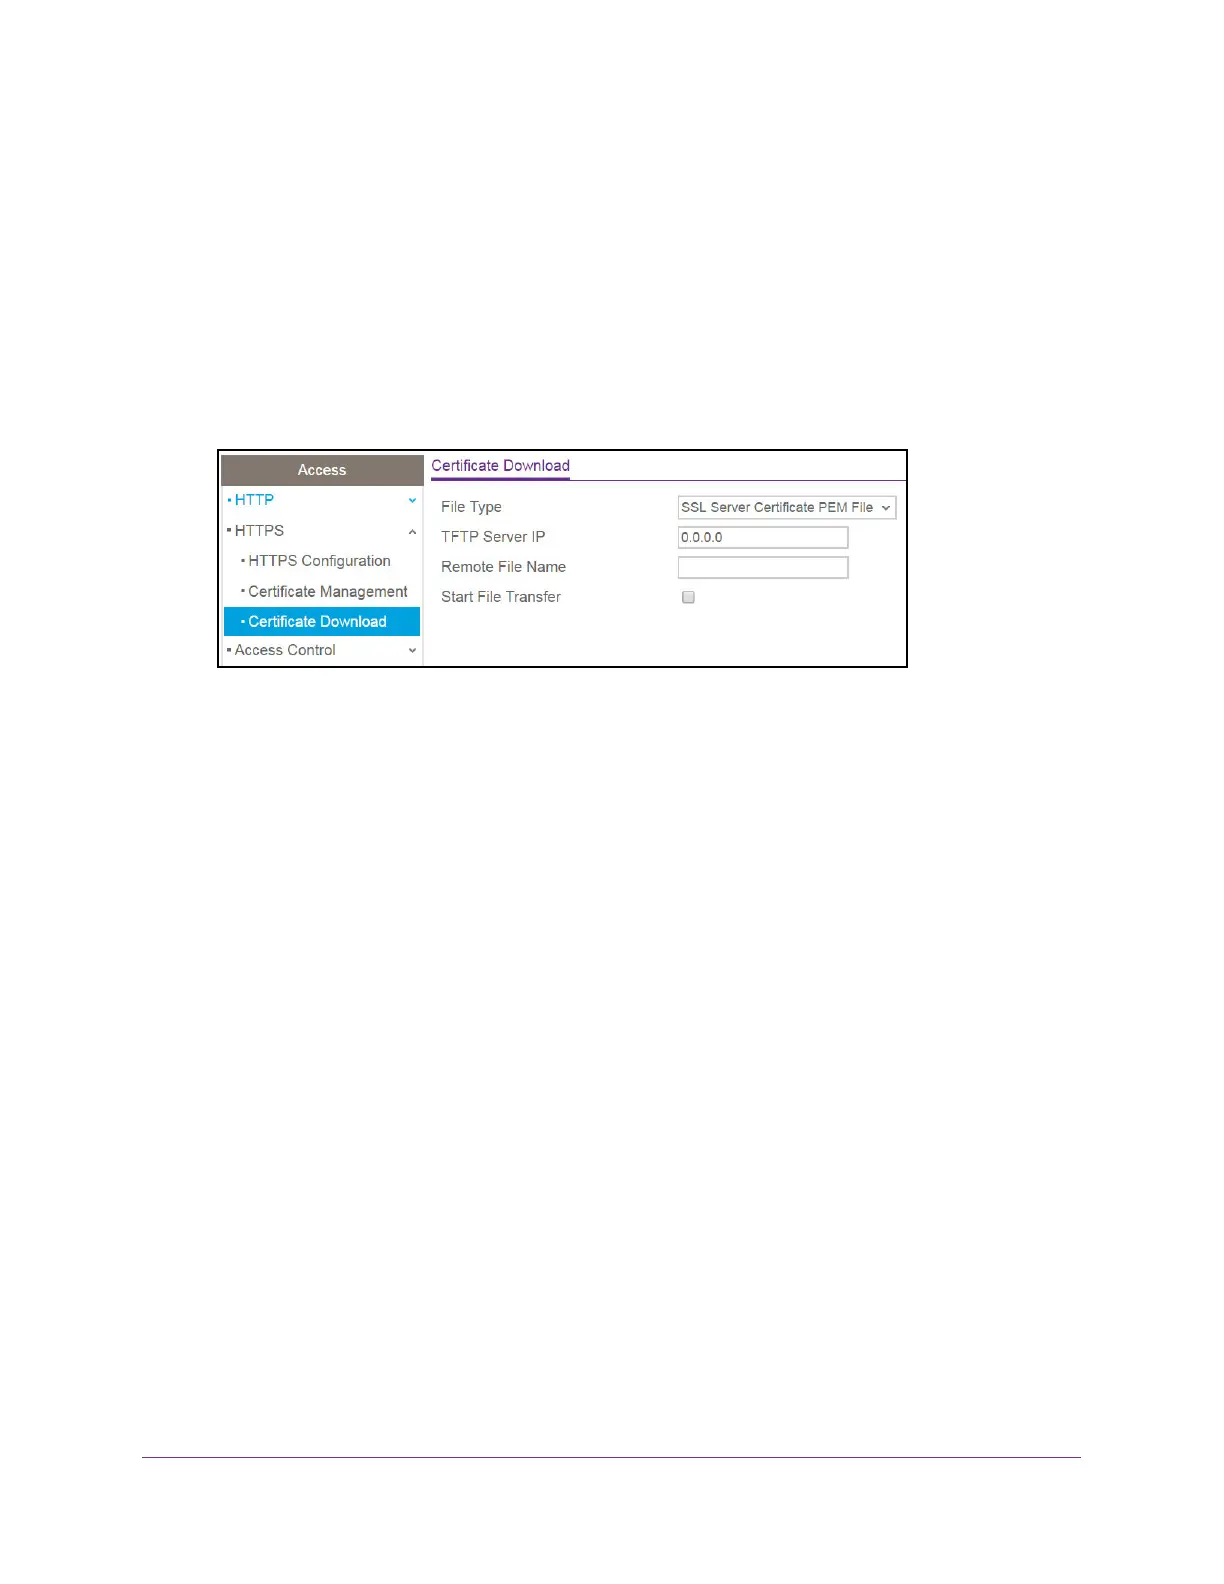
5. Select Security > Access > HTTPS > Certificate Download.
Note: By default, the selection from the File Type menu is SSL Server
Certificate PEM File. No other selection are available.
6. In the TFTP Server IP field, specify the address of the TFTP server.
The address can be an IP address in standard x.x.x.x format or a host name. The host
name must start with a letter of the alphabet. Make sure that the software image or other
file to be downloaded is available on the TFTP server.
7. In the Remote File Name field, enter the name of the file on the TFTP server to download.
You can enter up to 32 characters. The default is blank.
8. Select the Start File Transfer check box.
9. Click the Apply button.
The file transfer starts. A status message displays during the transfer and upon
successful completion of the transfer.
 Loading...