Initial Setup
30
802.11ac Wireless Access Point Model WAC120
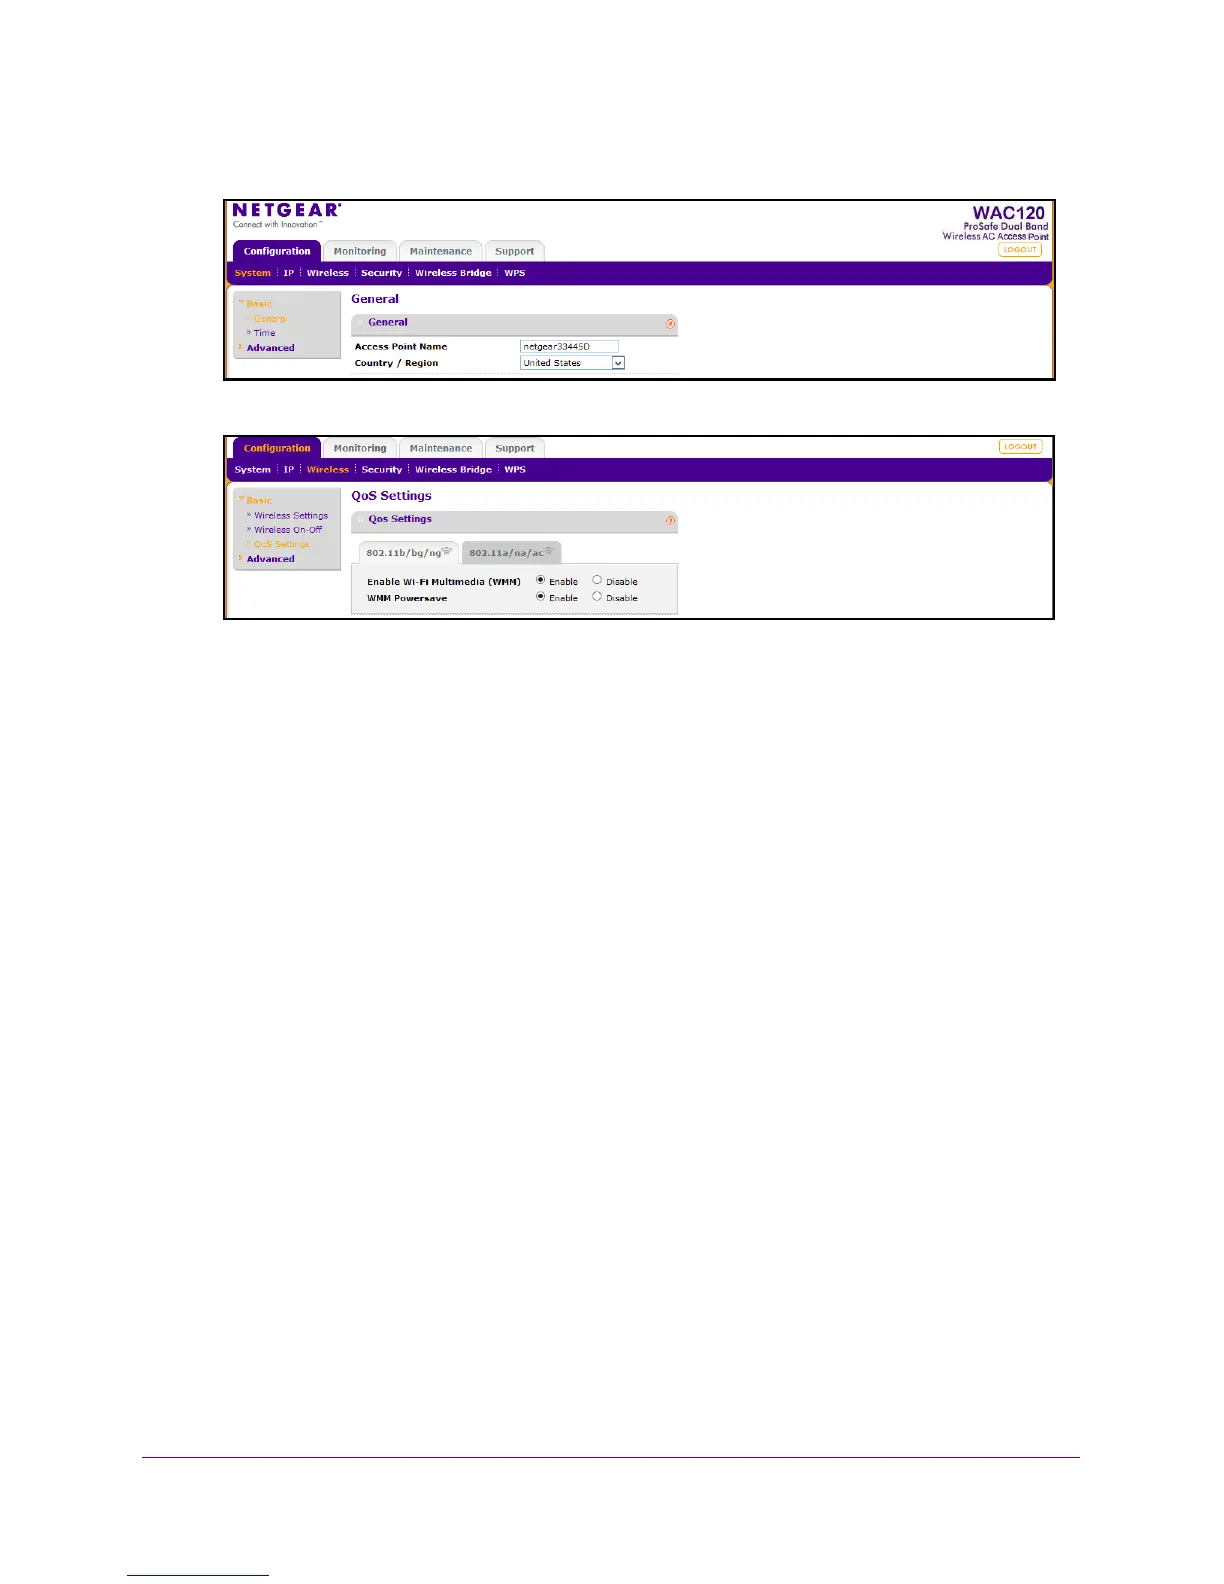
The General screen displays.
4. Select Configuration > Wireless > Basic > QoS Settings.
5. Select the Enable Wi-Fi Multimedia (WMM) Enable or Disable radio button.
6. Select the WMM Powersave Enable o
r Disable radio button.
7. Click the Apply
button.
Your settings are saved.
Deploy the Access Point
Before mounting the access point in a high location, first set up and test the access point to
verify wireless network connectivity.
By default, the DHCP client is disabled in the access point. If your ne
twork uses dynamic IP
addre
sses, you must change this setting. To connect to the access point after the DHCP
server on your network assigns it a new IP address, enter the access point name in your web
browser. The default name is netgearxxxxxx, where xxxxxx represents the last 6 bytes of the
MAC address. The default name is printed on the product label.
To deploy the access point:
1. Disconnect th
e access point from the computer that you used to configure it, and put the
access point where it will be deployed.
The best location is elevated, such as on a wall or ceiling or on the
top of a cubicle, at the
center of your wireless coverage area, and within line of sight of all the mobile devices.
2. Connect an Ethern
et cable from your access point to a LAN port on your router, switch, or
hub.
3. Connect the
power adapter to the wireless access point, and plug the power adapter into a
power outlet. The Power and LAN LEDs light, and the WLAN LED blinks.
 Loading...