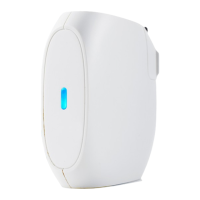
How to activate your netTALK VoIP phone service.
Guide (with screenshots)
https://nettalkconnect.com/resources/nt/pdf/nexgen-activation-guide.pdf
1. Visit https://nettalkconnect.com/user/login and sign in with your netTALK ID.
Your netTALK ID is the email address you used when you purchased the ezLINQ from
nettalkconnect.com.
2. If you purchased your ezLINQ from a third party seller and you have never created a
netTALK ID, then create your free netTALK ID now at
https://nettalkconnect.com/user/registration
3. After signing in, click on “Residential Phone” to see a list of all your VoIP accounts.
4. Find the new “NexGen” VoIP service that came with your ezLINQ.
5. Click on “Activate”
6. Step 1: Create an Alias for this VoIP service
a. Tip: Create an Alias that will quickly identify who will use the account or where
the account will be used. (i.e. John or Home)
7. Step 2: Select a phone number
a. Each ezLINQ comes with a free U.S. or Canada phone number.
8. Step 3: Register e911 Address
a. Enter the address where the device will be used.
9. Step 4: Set Up AutoPay
a. Enter your payment method.
10. Step 5: Setup & Configure - use the TALK App to assign the VoIP service to the ezLINQ.
11. Activation Complete!
Note: After activating your VoIP phone service, you can start using the VoIP phone service on
the TALK App to make and receive calls.
5

 Loading...