21
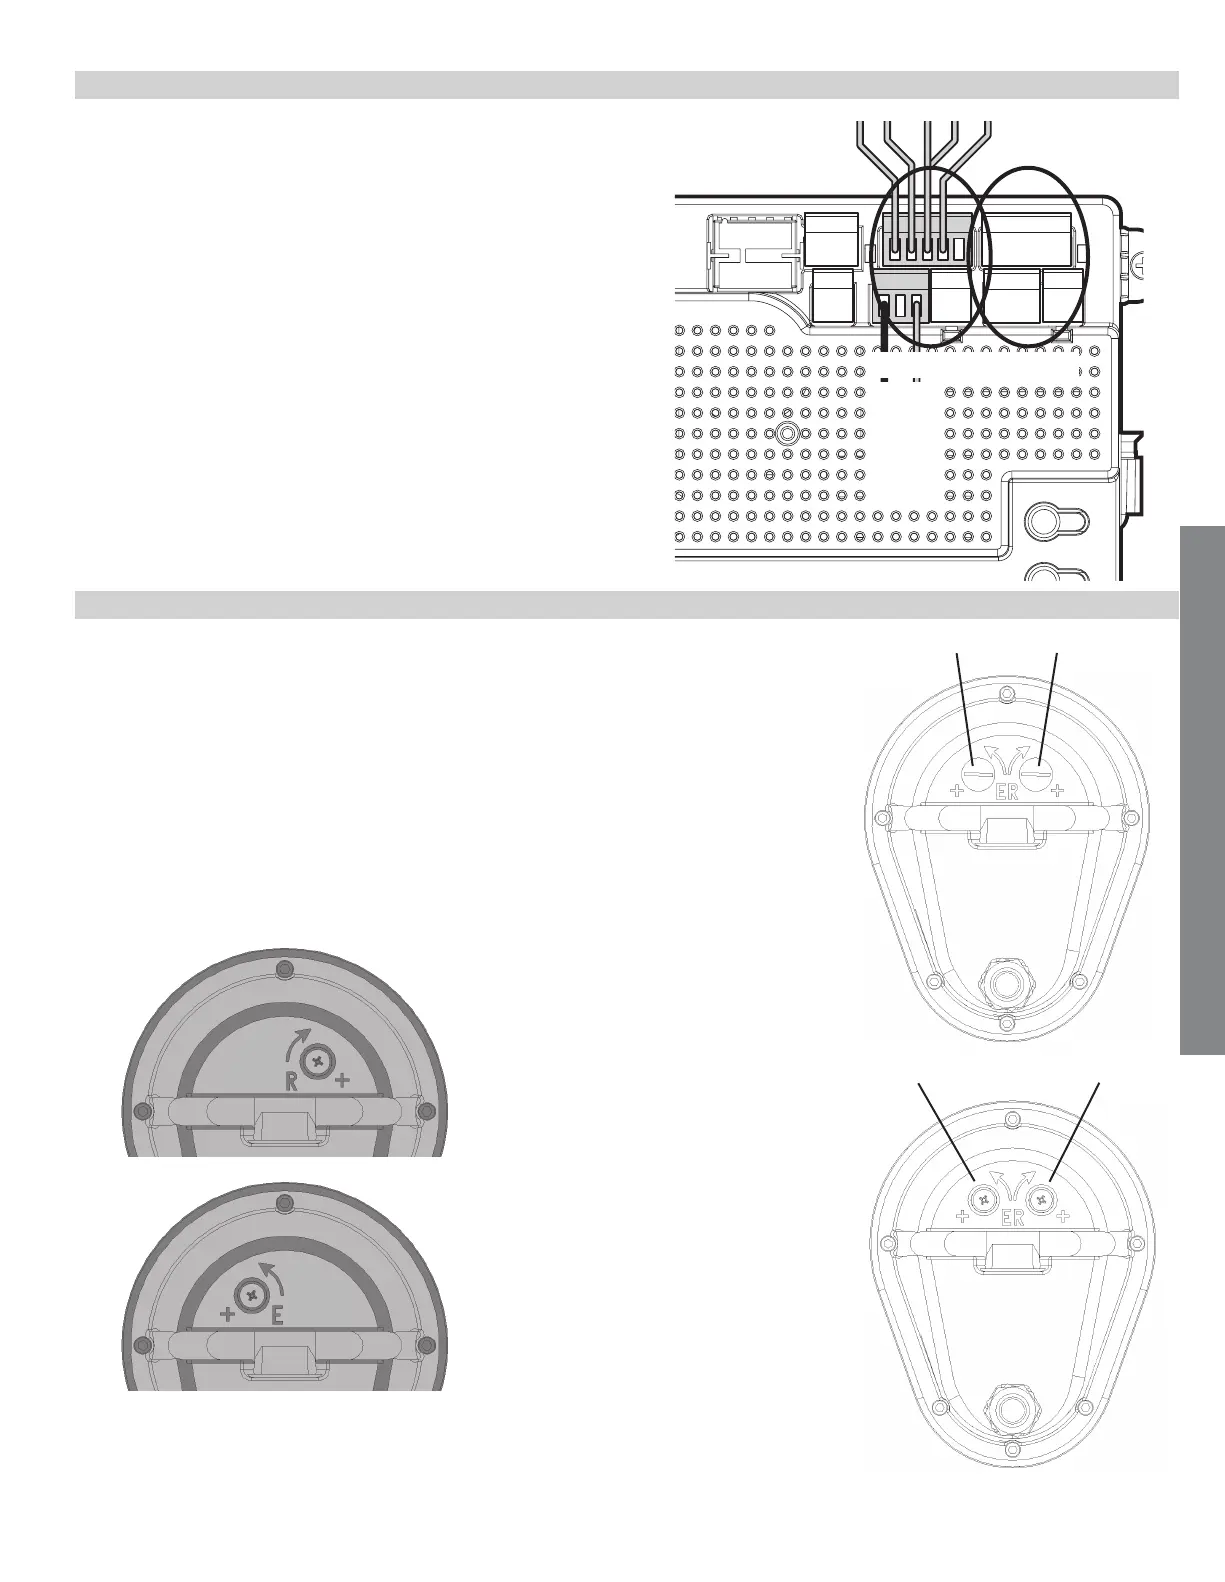
9.8 - LIMIT SWITCH ADJUSTMENT
Remove the limit screw end caps. A shown in the gure to the right.
NOTE: Do not extend the extension tube too far or you will risk unscrewing the
tube from the main drive screw.
EXTEND more: Turn the limit screw counterclockwise
EXTEND less: Turn the limit screw clockwise
RETRACT more: Turn the limit screw clockwise
RETRACT less: Turn the limit screw counterclockwise
Motor 1 Motor 2
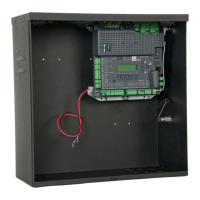
Install the 5 and 3-pin connector for motor 1 into the connection
labeled “Motor 1” on the controller as shown.
For a dual gate installation install the 5 and 3-pin and connector
for motor 2 into the connection labeled “Motor 2”.
Note: (Motor 1) - Make sure motor lead connector is plugged in
below the limit 5 pin terminal connector
9.7 - LIMIT AND MOTOR CONNECTION TO THE BOARD
Remove limit switch end caps
Extend limit screw Retract limit screw
RETRACT more:
Turn the limit screw clockwise
RETRACT less:
Turn the limit screw counterclockwise
EXTEND more:
Turn the limit screw counterclockwise
EXTEND less:
Turn the limit screw clockwise
15501K & 16501K INSTALLATION