- Enroll a password if desired.
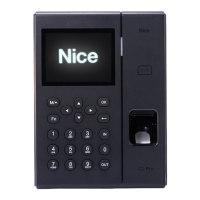
- The use of RFID card is optional. To enroll a card, swipe it at card's reader area, according
to the front layout and the field will be filled automatically.
- At admin's field, define if the user will be common (0-User) or Administrator (until 16 ).
- Select a group (described at page 75) for the user at the Group ID's field.
- To enroll a fingerprint, go to the enroll's field and press OK.
Follow the steps described previously at Enroll's menu.
- The mode's field enable the configuration of the verify mode of the access control.
The option System default enables the verify mode through fingerprint, ID + password and
Card.
The other options are only fingerprint, fingerprint + password, fingerprint + card, ID +
password, ID + fingerprint, ID + password + fingerprint, card, card + password, card +
password + fingerprint.
3 - Modify user
To modify a user, stay inside of the menu's option User, at the option Modify, you can edit all
the informations enrolled previously.