Mercury 310 Automated Gate System
Installation and Programming Manual
2424
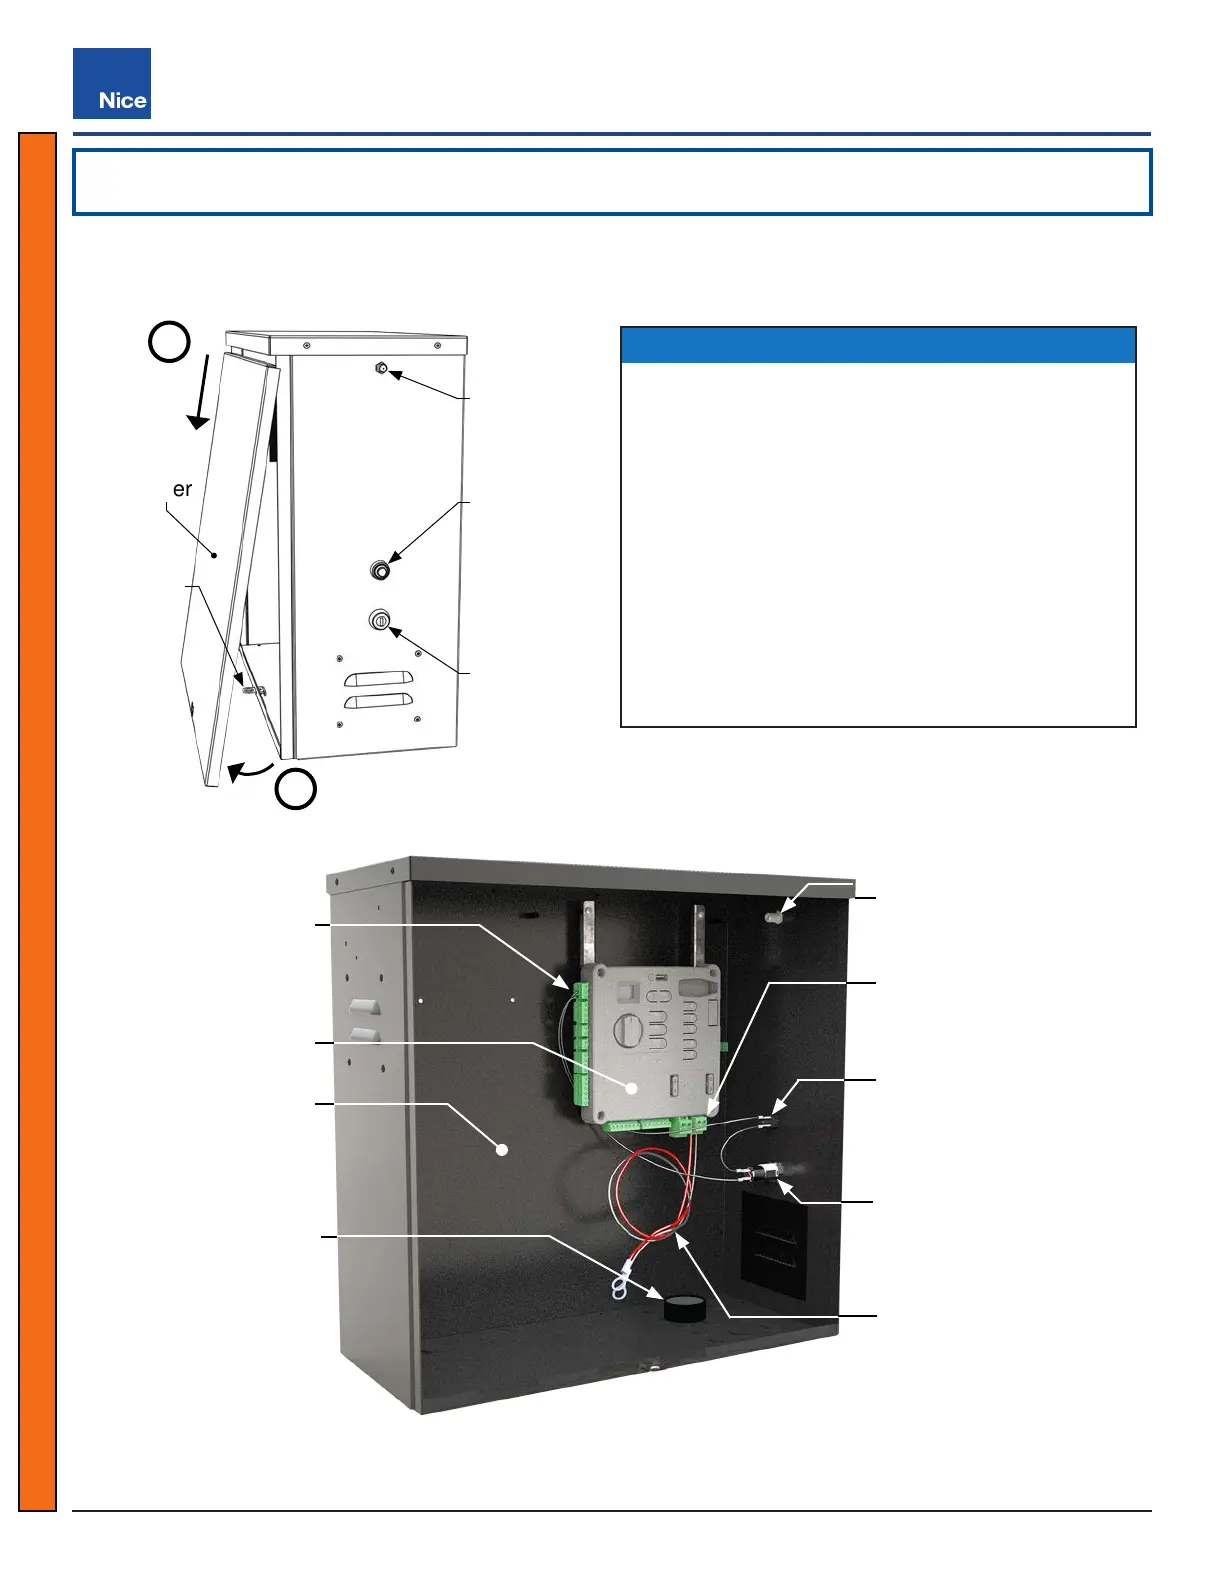
6: SOLARBOX310 INSTALLATION
To remove the front cover, unlock (if locked) from the padlock hasp, then swing out cover and pull it downward
to remove from the chassis (below).
NOTICE
The SolarBOX310 comes factory wired as follows:
’ Two wires (red & black with battery lugs) are
wired to the battery input connector for easy
attachment to a backup battery.
’ The gate control button is wired to the Remote/
Radio input on the controller for step-by-step
operation of the gate out-of-the-box.
’ A lock is wired between the gate control button
and remote input on the controller, so the gate
control button can be disabled by locking with a
key. Be sure to provide this key to the end user!
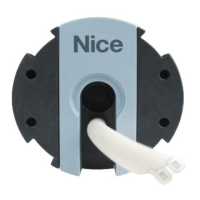
Antenna
Pass-Thru
Connector
Cover
Gate
Control
Lock
SWING
OUT
PULL
DOWN
1
2
Padlock
Hasp
Gate
Control
Button
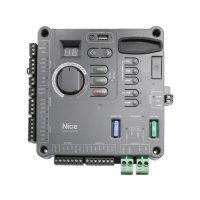
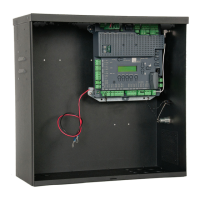
SolarBOX310
Antenna Pass-Thru
Connector
Accessory
Mounting Area
Audio
Alarm
SolarBOX310 Exterior (Top) and Interior (Bottom)
Battery Wires
(with lugs)
Gate Control Lock
Gate Control Button
Radio/Remote
Input Connector
Mercury 310
Controller
Battery Power Input
Connector
www.ApolloGateOpeners.com | (800) 878-7829 | Sales@ApolloGateOpeners.com