Mercury 310 Automated Gate System
Installation and Programming Manual
3030
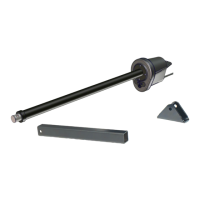
7: LINEAR ACTUATORS
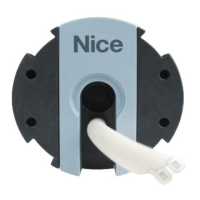
1. Refer to the linear actuator installation manual for the one used in the system and install (see note and
links on previous page).
2. For a single gate installation,
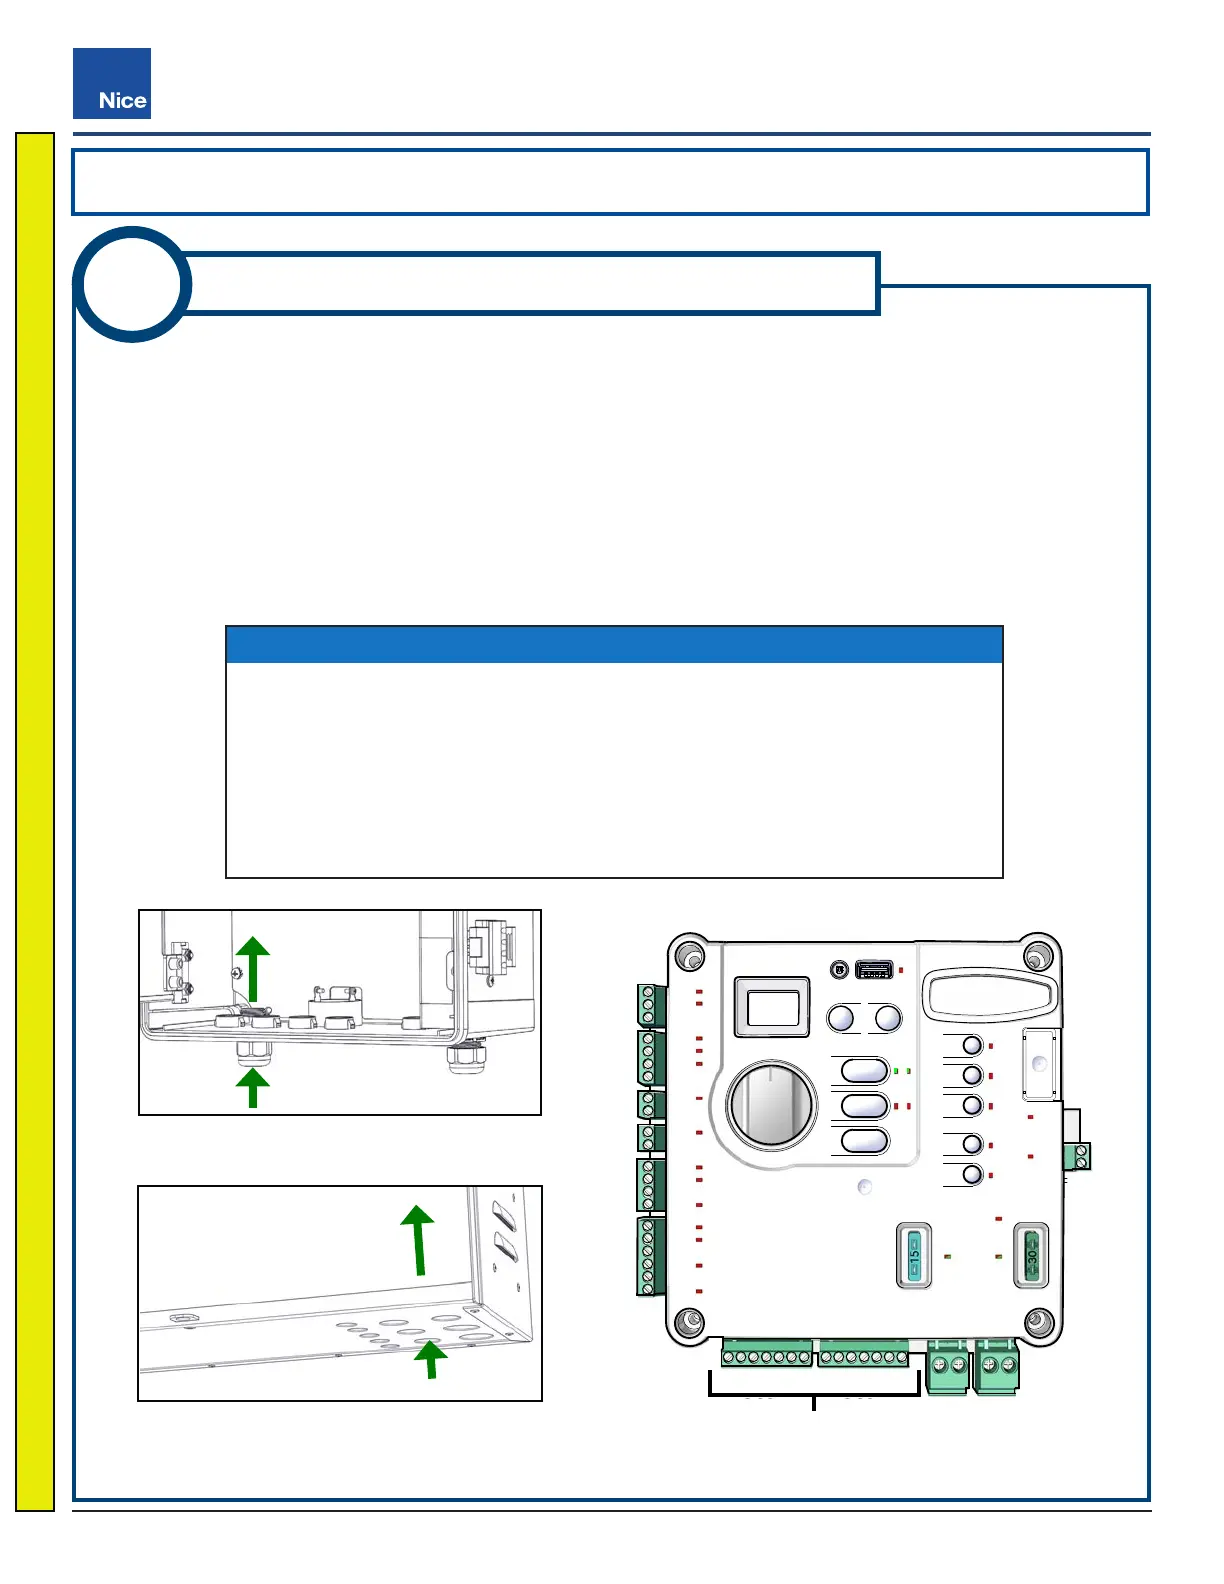
• ACBOX310: Run actuator cable through left cord grip and tighten (Detail A).
• SolarBOX310: Run actuator cable through conduit hole with grommet or strain relief (Detail B).
3. Strip actuator cable wires back 1/4” to 5/16” (7 to 8mm), twist, and wire into the Motor 1 connector screw
terminals on the controller (see image below). If a dual gate system, wire in the second actuator to the
Motor 2 connectors.
1
Install Linear Actuator and Run Cables
Actuator Connectors
Motor 1 Motor 2
DETAIL B: SolarBOX310 Actuator Cable
(Use grommet or strain relief)
Detail A: ACBOX310 Actuator Cable
NOTICE
For a DUAL GATE installation (in addition to the above steps):
1. Dig a trench across driveway deep enough to accommodate the longer
harness cable from the second actuator farthest from the control box.
2. Run the cable through a conduit and lay this in the trench.
3. Cover the trench and use asphalt patch if needed.
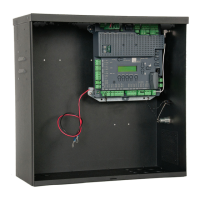
4. Run 2nd cable into the control box, and wire per diagram on next page.
Linear Actuators
www.ApolloGateOpeners.com | (800) 878-7829 | Sales@ApolloGateOpeners.com