139
Configuring Wireless LAN Settings from a Computer
Wireless Services
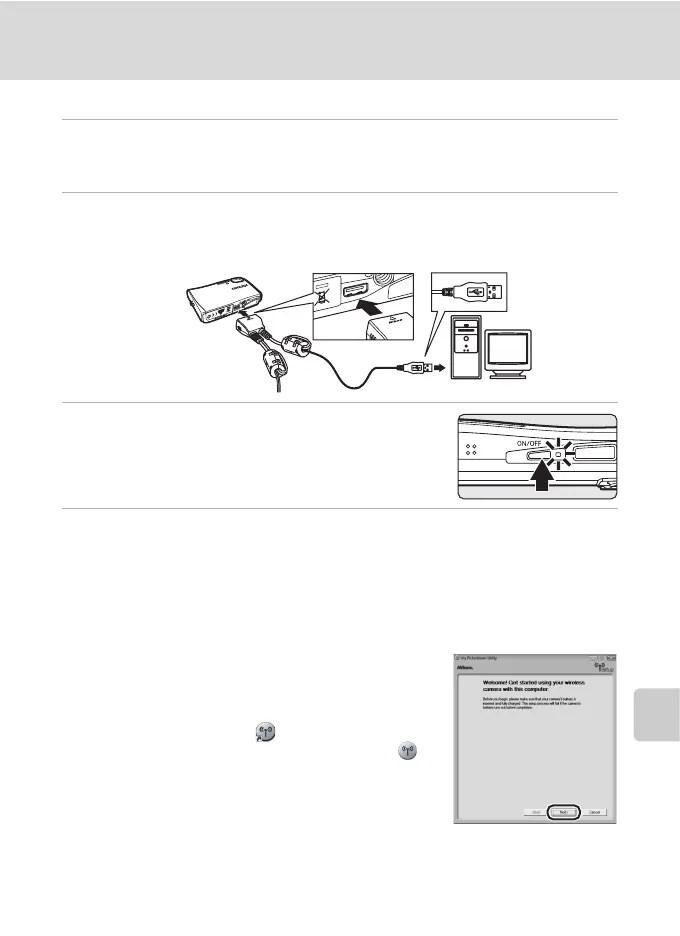
Connecting the Camera to the Computer
1 Confirm that the battery is fully charged and turn off the camera.
If the battery is exhausted while configuring a profile, settings will not be entered
correctly.
2 Connect the camera to the computer with the supplied audio
video/USB cable.
The computer must be equipped with a built-in USB port.
3 Turn on the camera.
Exit Nikon Transfer if it started automatically.
4 Start the Utility.
Follow the instructions below to start the Utility:
Windows: Start the computer and select [Start] > [All programs] > [my
Picturetown Utility] > [my Picturetown Utility].
Macintosh: Start the computer and open [Applications] > [Nikon Software] > [my
Picturetown Utility] folder, and double-click the [my Picturetown
Utility] icon.
When the Utility finishes loading, the screen shown at
right will be displayed. Take note of suggestions given
and click [Next].
You can also start the Utility by clicking the [my
Picturetown Utility] icon ( ) on the desktop
(Windows) or the [my Picturetown Utility] icon ( )
in the Dock (Macintosh).
j Connecting the Audio Video/USB Cable
When connecting the audio video/USB cable, be sure that the
connectors are oriented correctly. Do not use force when connecting the audio video/USB
cable. When disconnecting the audio video/USB cable, do not pull the connector at an angle.
Connection may not be recognized when the camera is connected to a computer via a USB
hub.
 Loading...