76
Connecting to a Computer
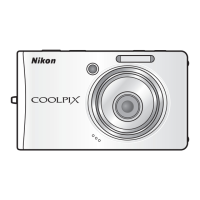
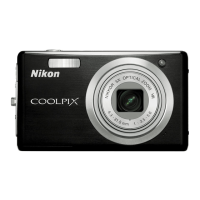
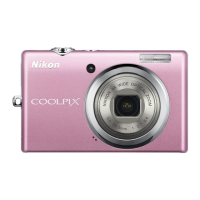
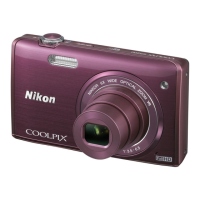
Connecting to Televisions, Computers, and Printers
Transferring Pictures from the Camera to a Computer
1 Start the computer to which Nikon Transfer has been installed.
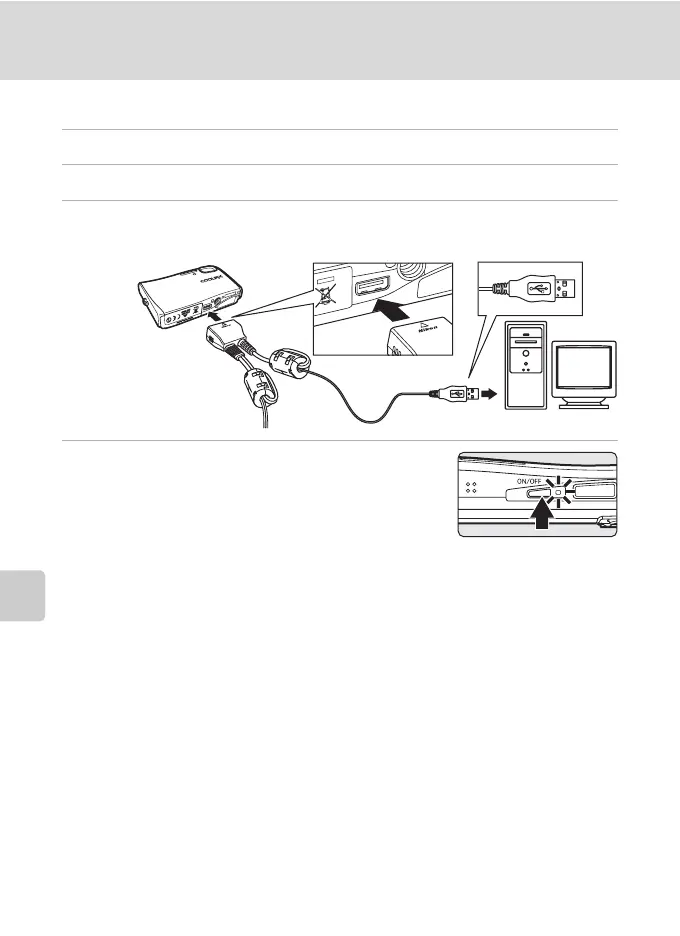
2 Turn off the camera.
3 Connect the camera to the computer using the supplied audio
video/USB cable.
4 Turn on the camera.
Windows Vista/XP
When the AutoPlay dialog is displayed, select [Copy
pictures to a folder on my computer using Nikon
Transfer] (Windows Vista) or [Nikon Transfer Copy
pictures to a folder on my computer] (Windows XP),
and click [OK] (Windows XP only). To bypass this dialog in the future, check
[Always do this for this device:] (Windows Vista), or [Always use this program for
this action.] (Windows XP).
Nikon Transfer will start.
Mac OS X
Nikon Transfer will start automatically if [Yes] was selected in the Auto-Launch
setting dialog when Nikon Transfer was first installed.
j Connecting the Audio Video/USB Cable
When connecting the audio video/USB cable, be sure that the connectors are oriented
correctly. Do not use force when connecting the audio video/USB cable. When disconnecting
the audio video/USB cable, do not pull the connector at an angle.
Connection may not be recognized when the camera is connected to a computer via a USB
hub.
 Loading...