Chapter 2 Microscopy
15
2
9
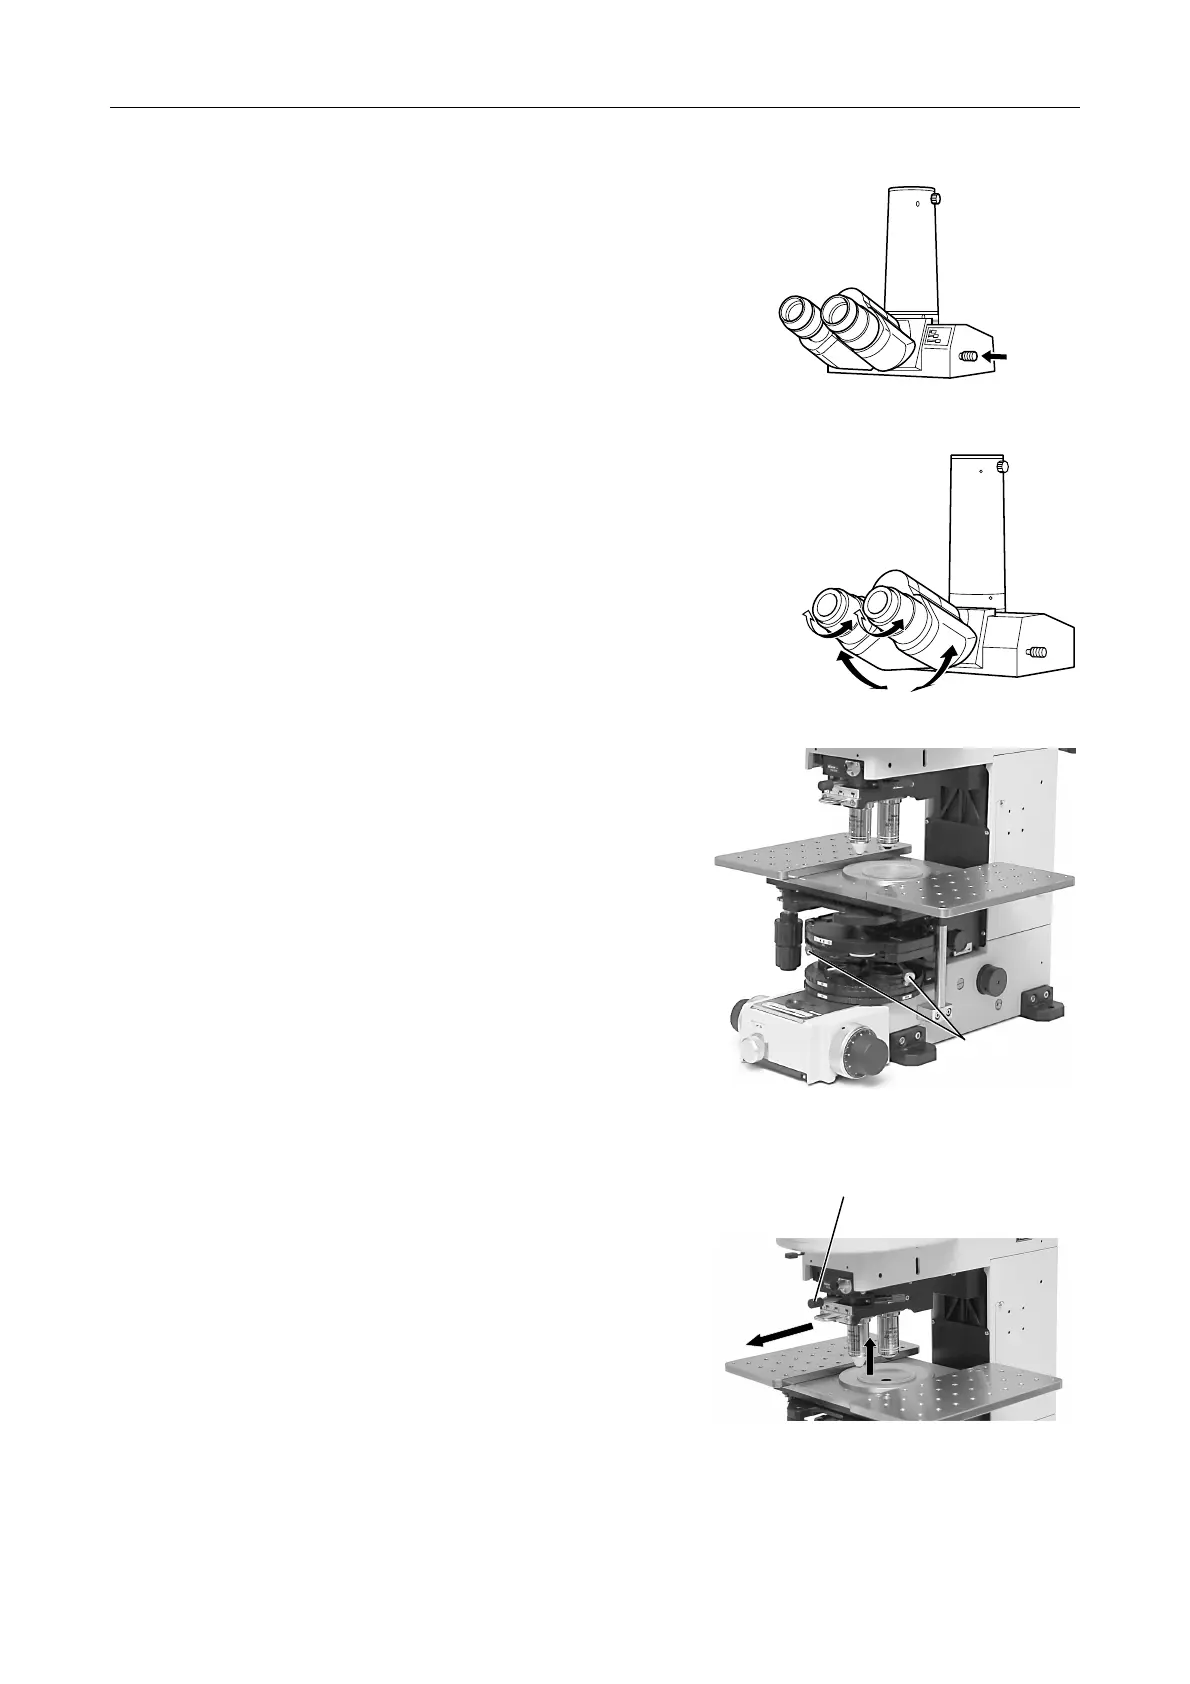
When the trinocular eyepiece tube is attached,
push in the optical path selector lever and select
the optical path to make 100% light go into the
binocular part.
Refer to Section 4.1 in Chapter 3, "Selecting the
Optical Path in the Eyepiece Tube (T Eyepiece
Tube, F Eyepiece Tube)."
10
Focus on the specimen with the coarse focus
knob and the fine focus knob.
11
Adjust the diopters and the interpupillary distance.
Check for your both eyes.
Refer to Section 4.2, "Diopter Adjustment" and
4.3, "Interpupillary Distance Adjustment" in
Chapter 3.
12
Focus and center the LWD condenser.
Refer to Section 5.1 in Chapter 3, "Focusing and
Centering the Condenser."
13
Move the objective vertical movement lever to the
center to retract the low magnification objective into
the upper position.
14
Pull the sliding nosepiece to the front to locate the
water immersion type objective into the optical path.
CAUTION:
Make sure to move the objective vertical
movement lever to the center position
when you change objectives between the
near side one and the far side one.
You cannot change objectives when the
objective vertical movement lever is placed
at the right or the left. If you attempt to
change objectives forcibly, the microscopy
may be damaged.
Condenser
centering screw
Push in
Move the objective vertical
movement lever to the center.
djust the diopters.
djust the interpupillary distance.
Pull