Chapter 4 Assembly
43
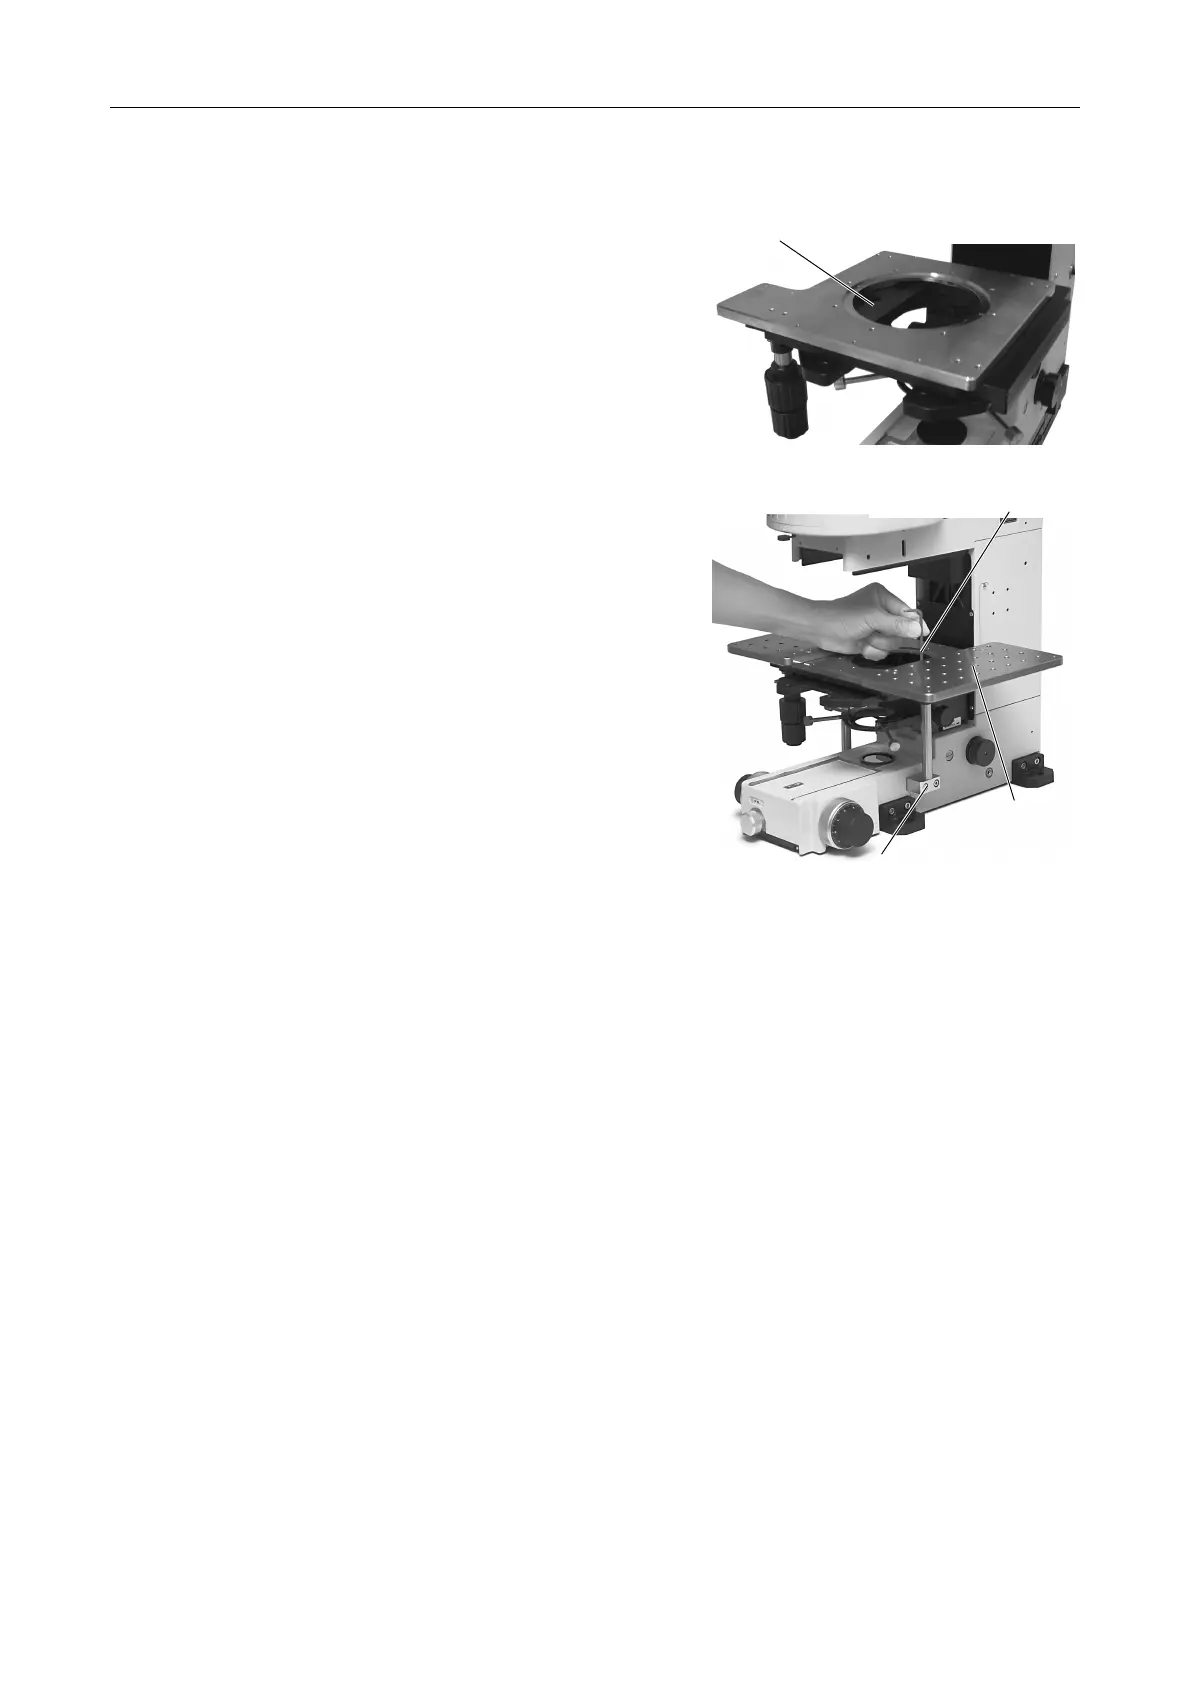
3 Attaching the auxiliary stage support
columns
(1) Move the stage left and right and
around so that you can access the
mounting hole for the auxiliary stage
support column.
(2) Hold an auxiliary stage support column
and bring it to the stage from below.
And then, align its screw hole and the
mounting hole.
(3) Insert a bolt into the mounting hole from
above. Tighten the bolt with a
hexagonal screwdriver to secure the
auxiliary support column to the stage.
Do the same for the opposite side.
(4) Insert a bolt into the threaded hole in
the bottom of the auxiliary support
column, tighten the bolt and secure the
auxiliary support column to the
microscope body. Do the same for the
opposite side.
* When the LWD condenser is attached, the
stage support columns cannot be
attached. You must attach the stage
support columns before attaching the LWD
condenser.
4 Attaching the stage support plates
Attach the stage support plate onto the
stage. And then, fix it with four bolts. Do the
same for the opposite side.
* Do the same for the opposite side.
Fix the auxiliary support
column to the stage.
Fix the auxiliary support column to
the microscope body.
Stage support
plate
Mounting hole for the auxiliary
stage support column