Chapter 4 Assembly
45
9
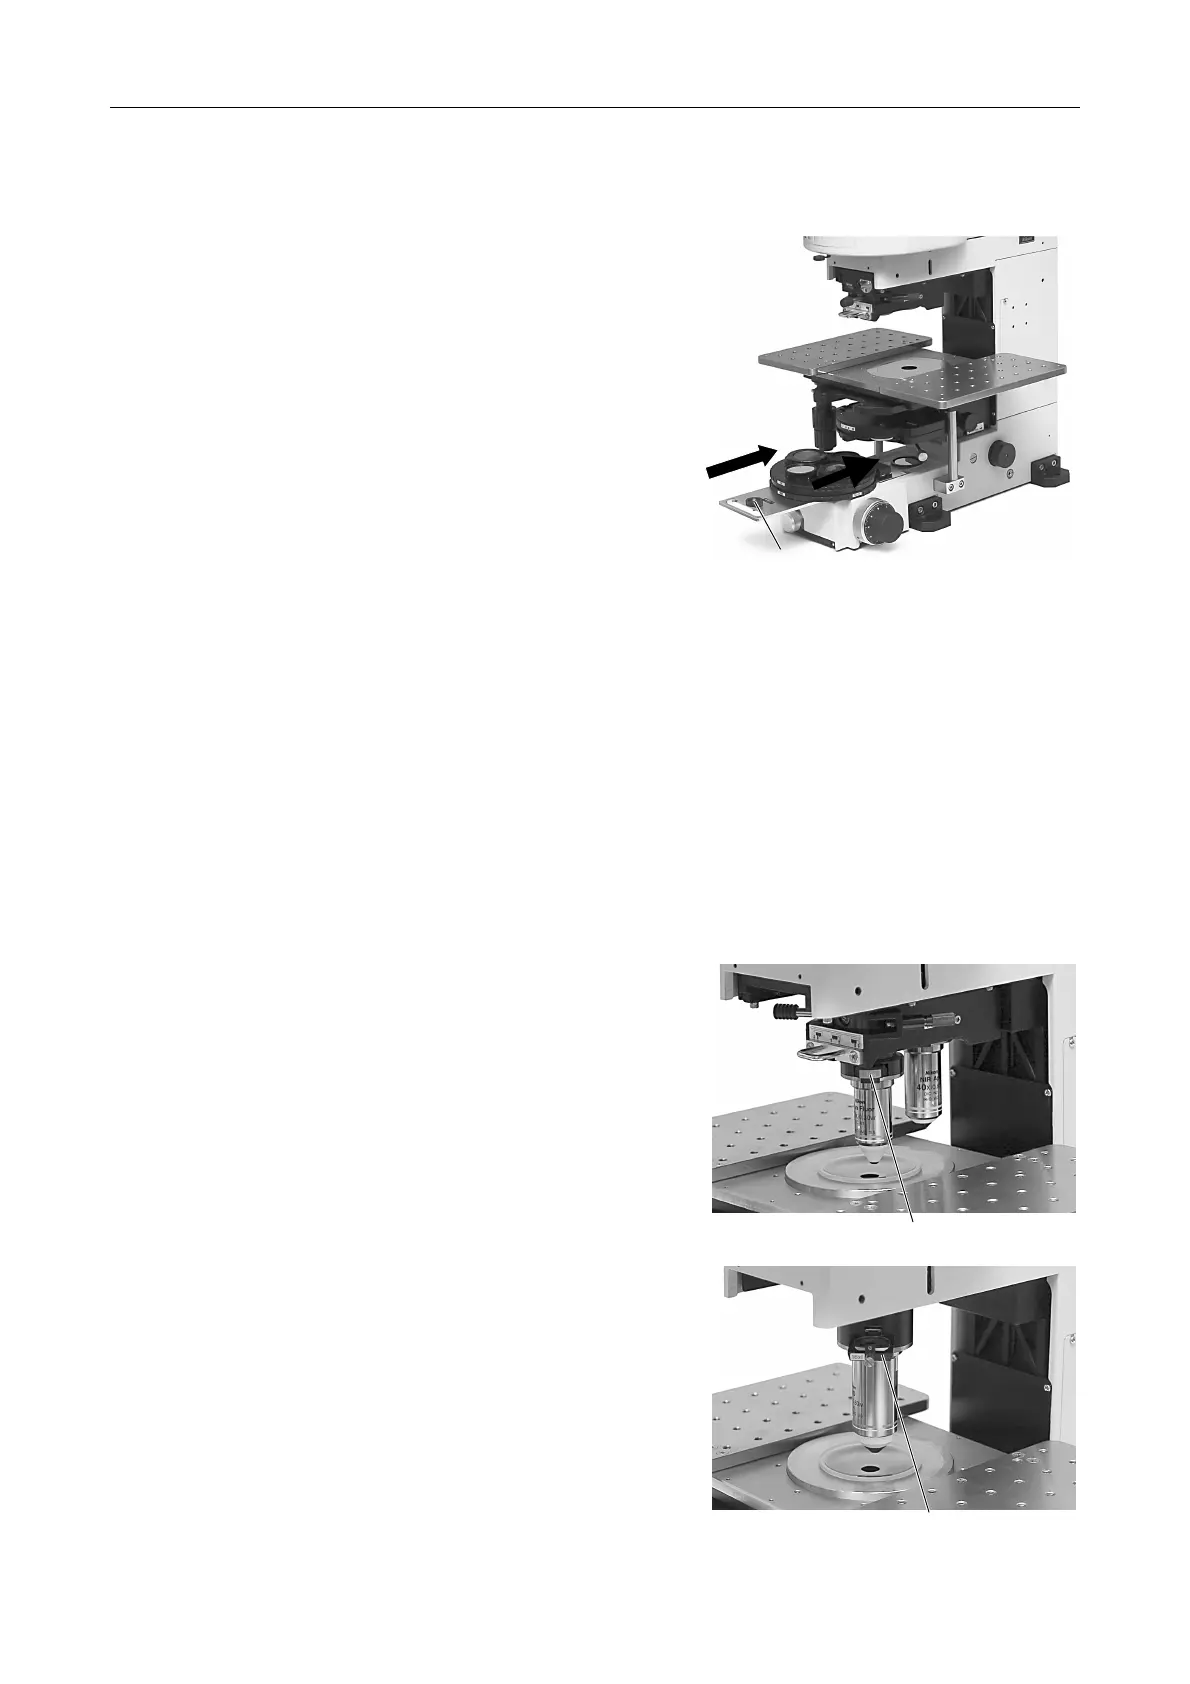
Attaching the polarizer turret
(1) Insert the polarizer turret into the receptacle
step on the microscope base.
(2) Tighten the clamp screw when the polarizer
turret reaches the limit.
10
Attaching objectives
For the sliding nosepiece
Rotate the coarse focus knob to move the nosepiece arm to the upper limit.
Move the objective vertical movement lever on the sliding nosepiece to the center. And then, screw
in the nosepieces.
For the sindle objective holder
Rotate the coarse focus knob to move the nosepiece arm to the upper limit. And then, screw in the LWD
16x water immersion type objective.
11
Attaching the DIC slider
For the sliding nosepiece
Set the objective into the optical path. Lower the
objective. You can see the DIC slider slot. Insert the
DIC slider into the slot.
Use the DIC slider that meets the specifications of
the objective.
For the sindle objective holder
Insert the DIC slider into the DIC slider slot at the
upper part of the clamp screw for the objective.
Clamp screw
DIC slider
DIC slider