ACCESS GATEWAY
System Administration 91
• DHCP Pool Start IP
• DHCP Pool Stop IP
13.
Enter the DHCP Lease Minutes.
14.
Select Public Pool or Private Pool, as required.
A “public” IP address will not be translated by DAT.
15.
If required, make this an IP Upsell Pool and/or the Default Pool by checking the appropriate boxes.
Do not allow pools to overlap.
16.
Optional, if the gateway router for the DHCP Pool is other than that of the DHCP Server IP, select
Specify and enter the IP address of the gateway router of choice.
17.
When finished establishing your DHCP Pools, click on the Back to Main DHCP
Configuration Page
to return to the previous page.
The existing lease pool and lease table are deleted and the Access Gateway reboots. The Access Gateway can
issue IP addresses to any DHCP enabled subscriber who enters the network.
Managing the DNS Options {DNS}
DNS allows subscribers to enter meaningful URLs into their browsers (instead of complicated numeric IP
addresses) by automatically converting the URLs into the correct IP addresses. You can assign a primary,
secondary, or tertiary (third) DNS server. The Access Gateway utilizes whichever server is currently
available.
Use the following procedure to set the DNS configuration options.
1.
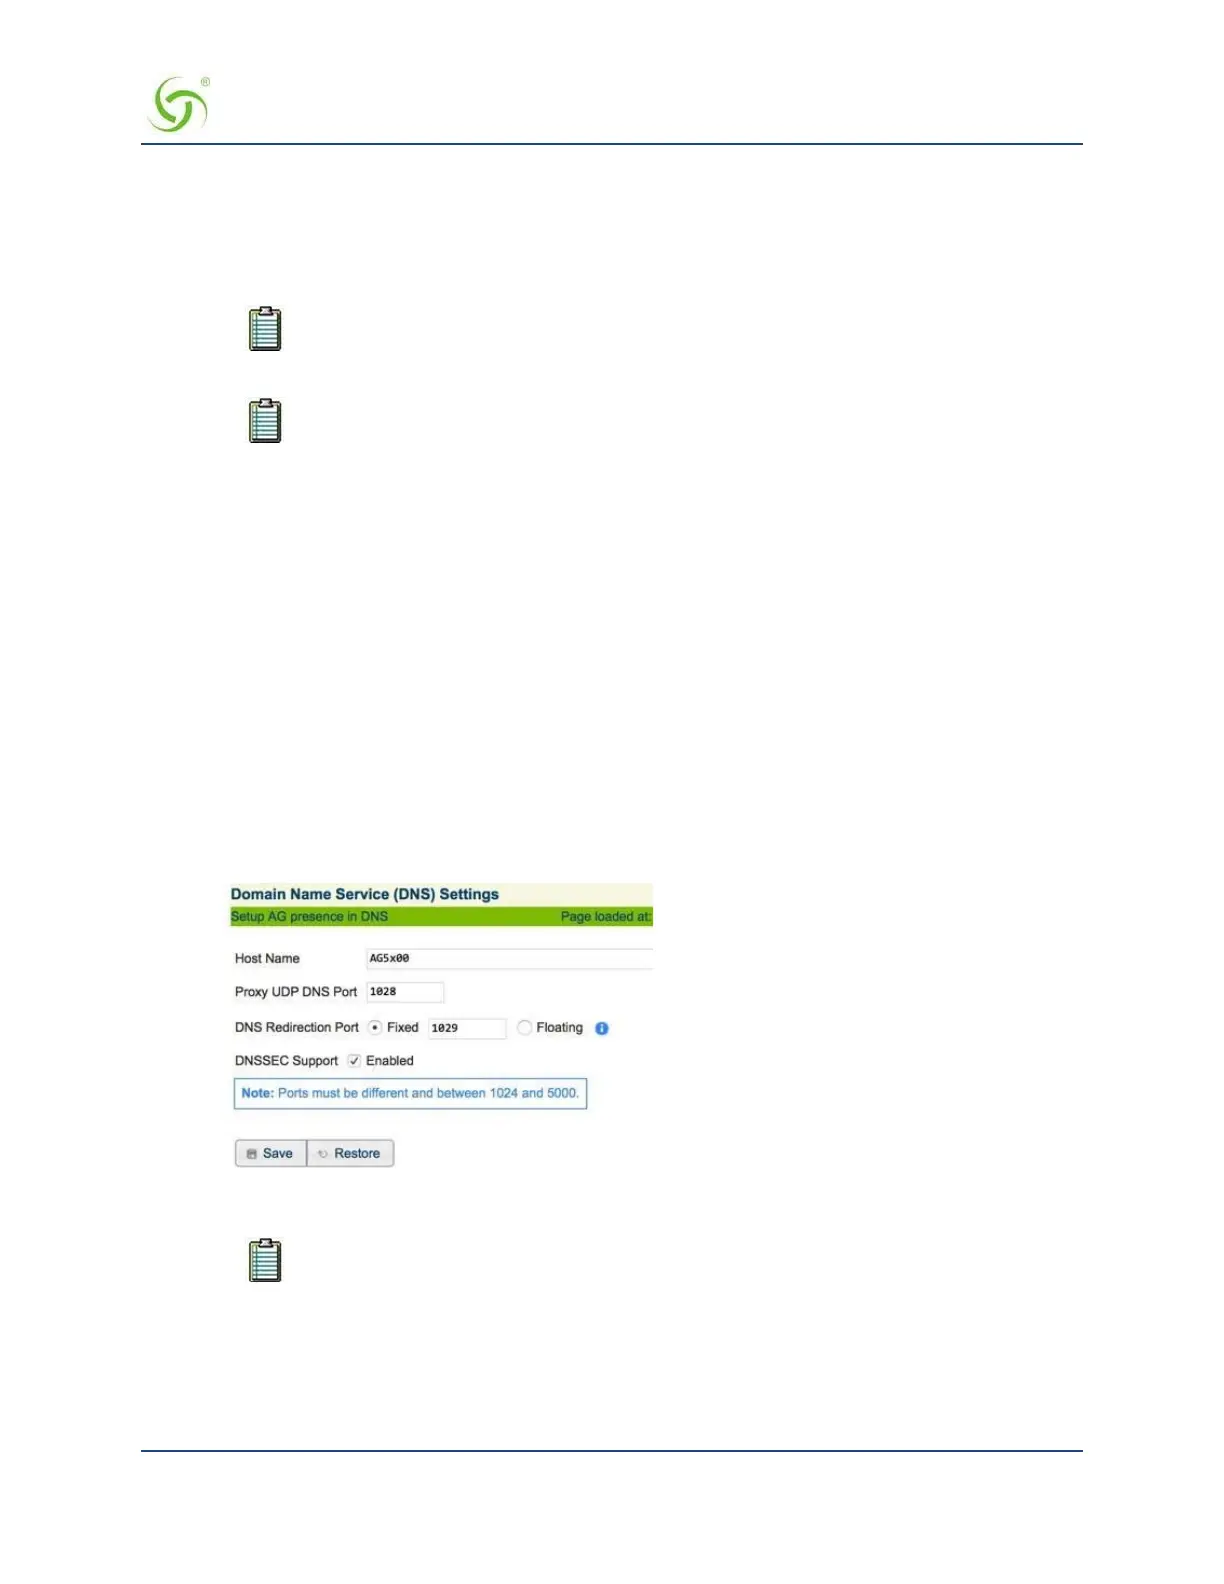
From the Web Management Interface, click on Configuration > DNS. The Domain Name System (DNS)
Settings screen appears:
2.
Enter the Host Name (the DNS name of the Access Gateway).
The host name must not contain any spaces.
3.
Enter a DNS Redirection Port and a Proxy DNS Port.
4.
Click on the Save button to save your changes, or click on the Restore button if you want to reset all the
values to their previous state.

 Loading...


