Setting Forward / Reverse
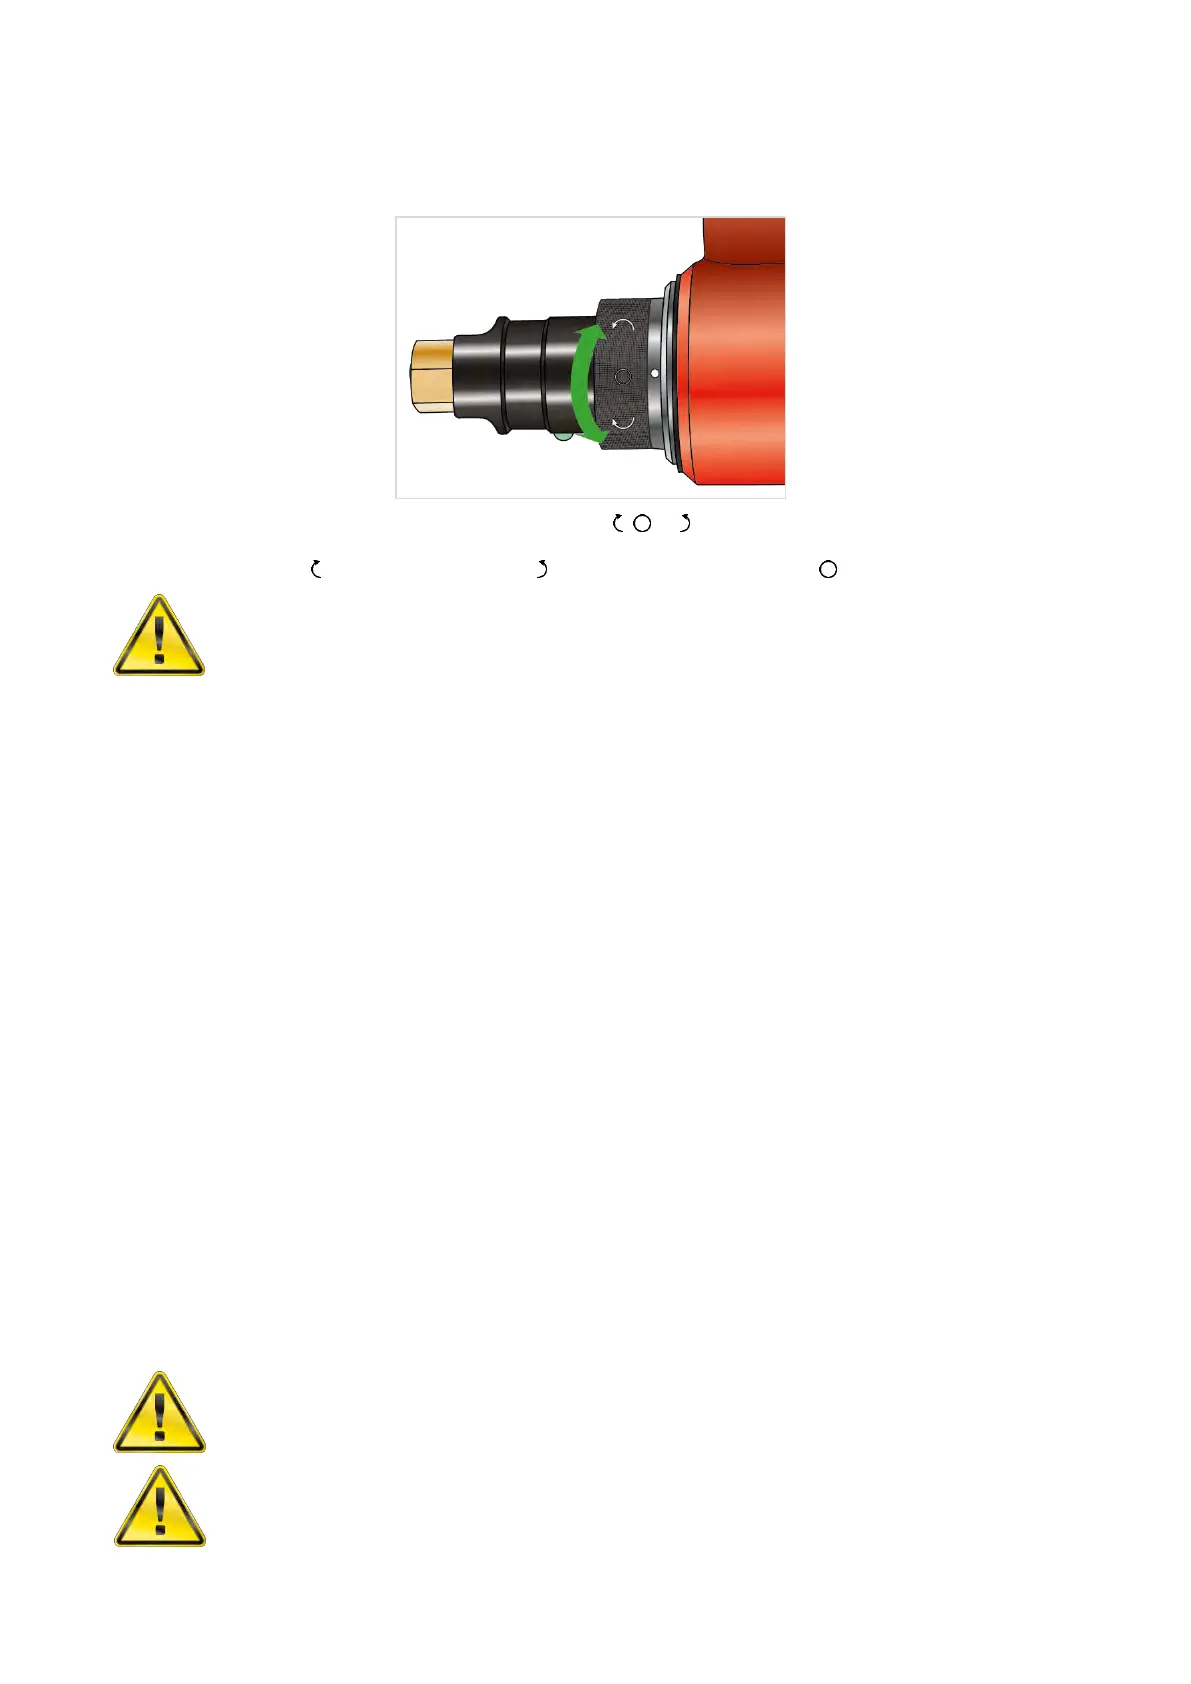
All tools are fitted with a direction collar, see Figure 9.
FIGURE 9 – Collar for , or operation
Rotate collar to select for forward (clockwise), for reverse (anti-clockwise) or for off.
WARNING: FAILURE TO FULLY ENGAGE THE FORWARD/REVERSE COLLAR WILL
RESULT IN DAMAGE TO THE SELECTOR VALVE.
Setting Torque for Fastener Tightening
The stall torque of these tools is determined by the air pressure set on an external lubro control unit.
Tools are supplied with an Air Pressure Graph which relates torque output to air pressure. Set the torque
output as follows:
1. Turn the collar, Figure 9, to select direction.
2. For Manual two speed tools (Part number *****.MTS) select ‘SLOW’ speed.
3. Establish the air pressure required using the Air Pressure Graph.
4. Ensure the drive square is able to free run.
5. Press and hold the trigger (‘J’ in Figure 2) and adjust the lubro control unit pressure until the correct
figure is shown on the gauge.
IMPORTANT: THE TOOL MUST BE FREE RUNNING WHILE ADJUSTING THE AIR PRESSURE TO
GIVE THE CORRECT SETTING.
WHILE THE TOOL IS FREE RUNNING CHECK THAT LUBRO CONTROL UNIT IS
SUPPLYING APPROXIMATELY SIX DROPS OF OIL PER MINUTE.
Setting Torque for Fastener Loosening
1. Ensure that the tool control system is set for the required rotation.
2. Establish maximum air pressure from the associated Air Pressure Graph or tool label.
3. Adjust the pressure regulator until the correct pressure is achieved.
WARNING: EXCEEDING THE MAXIMUM AIR PRESSURE WILL CAUSE OVERLOADING
AND MAY LEAD TO SERIOUS DAMAGE.
WARNING: CHANGING THE AIR PRESSURE AFTER SETTING THE PRESSURE
REGULATOR WILL CHANGE THE STALL TORQUE VALUE.