5
• Assembly requires two persons.
• Place all parts in a cleared area and remove the
packing materials. Do not dispose of the packing
materials until you nish all assembly steps.
• Assembly requires the following tool(s):
one Phillips screwdriver
one adjustable wrench
To avoid damaging parts, do not use power tools.
1.Go to www.iconsupport.eu on your
computer and register your product.
• activates your warranty
• saves you time if you ever need to
contact Customer Service
• allows us to notify you of upgrades
and offers
Note: If you do not have Internet ac-
cess, call Customer Service (see the
front cover of this manual) and register
your product.
STEP 1
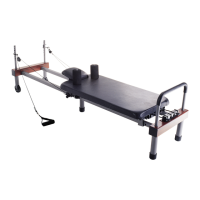
Firstly remove the limiting base (66)
from the rear end of rowing rail (4).
Insert the slide rest (38) onto the
rowing rail (4) from behind. And then
insert Cushion (11) on the rear end
of rowing rail (4).
Tighten the tail braced combination
(2) and Cushion (11) to the rowing
rail (4) with hexagon bolts (10) and
hex nut (49) .
Tighten the limiting base (66)to the
rowing rail (4) with limiting base axle
(65) at washer (67)and screw(68).
ASSEMBLY

 Loading...

