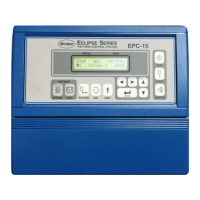
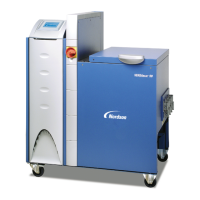
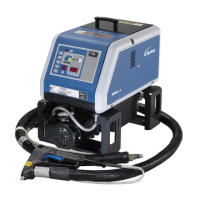
Operation
4-20
Part 1073401_07
E 2021 Nordson Corporation
To adjust the setpoint temperature of an individual component
1. Press and hold the Tank, Hose, or Applicator key for three seconds.
If the tank key was pressed, the left display indicates 1 (Flashing). If a
hose or applicator key was pressed, the left display indicates the number
of the first sequential hose or applicator (Flashing). The right display
indicates the current setpoint temperature of the component indicated in
the left display.
2. Scroll the left display to the number of the desired component.
The right display indicates the current setpoint temperature of the
component that you selected in the left display.
3. Press a right‐display scroll key.
The right display flashes.
4. Use the right‐display scroll keys to enter the setpoint temperature
recommended by the manufacturer of the hot melt. Refer to the technical
data sheet provided by the manufacturer of the hot melt to determine the
optimal setpoint temperature.
NOTE: If the right‐display scroll keys have no affect on the right display,
the melter is password protected. You must enter a valid password
before you can change setpoint temperatures. Refer to Entering the
Melter Password later in this section.
5. Do one of the following:
S To register the new setpoint temperature and then move on to change
the setpoint temperature of the next sequential component, press the
left‐display scroll key and then repeat steps 4 and 5.
S To register the new setpoint temperature and return to the automatic
scan mode, go to step 6.
6. Press any component key (tank, hose, or applicator).
The selected component begins to heat or cool to its new
setpoint temperature.
 Loading...