33
BMC II BISYNC Quick Reference Guide
Disk Crossover PCA Replacement
Procedure (NT6M72xx)
Procedure 4
Disk Crossover PCA replacement (NT6M72xx)
Step Description
CAUTION
Since all BMC PCAs are static sensitive, be careful when
handling them. Wear a wrist grounding strap when working
with the BMC.
WARNING
Since the BMC is powered up during this procedure,
observe all safety procedures for operations on live equip-
ment.
1 Make sure no polling is occurring. Wait for a low traffic period,
if possible.
2 Locate the failing Disk Crossover PCA and change the disk
mode to the other disk ONLY mode, if necessary. The other
disk is the one not in the same chassis as the suspected Disk
Crossover PCA. Enter (at the terminal):
>DSK MODE xx (cr)
where: xx - disk mode: AO - A ONLY
BO - B ONLY.
Proper response:
DISK MODE: AO (or) DISK MODE: BO
3 Place the BMC into an ONLY processor mode. The processor
mode should be the same as the DISK mode. At the Switch and
Status Panel of the BMC:
a. Press the A/B Select Switch to match the active disk drive.
b. Press the O/P Mode Select Switch to O.
c. Turn the Mode Switch to the right and release.
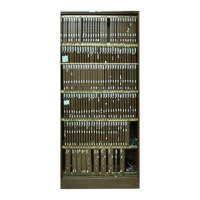
4 Loosen the slotted screws which fasten the outer edges of the
appropriate rear panel assembly to the cabinet.
5 Pull the rear panel away from the cabinet. Remove the front
panel of the chassis to improve cooling, if necessary. Put the
two panels in a safe place to prevent bending and scratching
6 Loosen the two screws at the top of the hinged card panel and
the screw at the bottom of the hinged card panel. Let it swing
slowly down from the top until it rests.