42
The Floor-tool
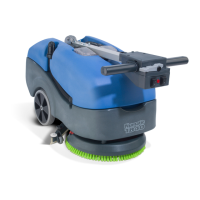
To clean the oor-tool, remove securing-pin and pull-free from the holder.
Rinse the oor-tool assembly with clean-water and ret.
Periodically the oor-tool blades should be examined and checked for wear and damage.
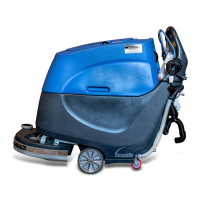
The blade removal is easy. Simply start by removing the four retaining pins (see Fig.39), turn the oor-tool over and
separate the blade carrier from the body (see Fig.40). Peel away the blades from their locating lugs (see Fig.41) and
examine or renew as required. Replacement is a reversal of the removal process.
Changing the Floor Tool Blades
ALWAYS ENSURE THAT THE MACHINE IS SWITCHED OFF PRIOR TO ANY
MAINTENANCE USING THE MASTER CONTROL ON/OFF KEY.
REMOVE THE KEY PRIOR TO ANY MAINTENANCE OPERATION.
!
!
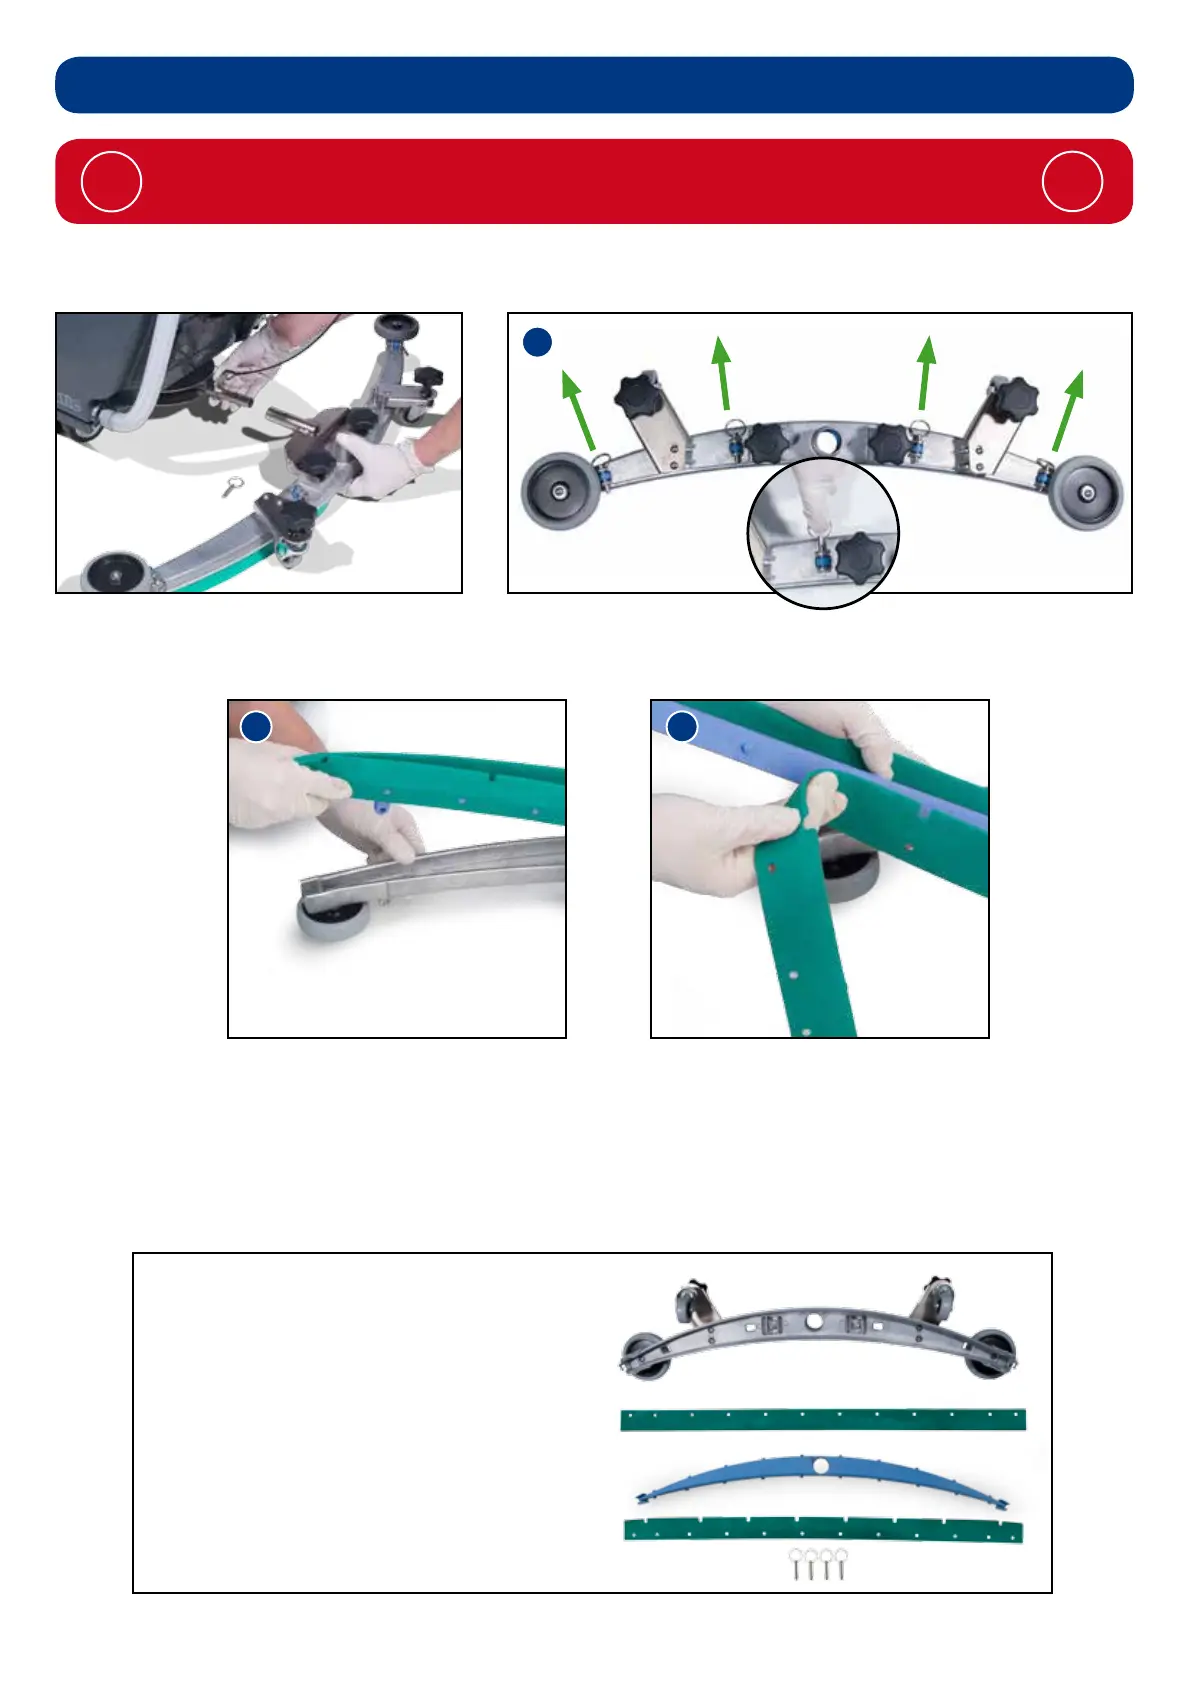
Floor-tool overview
1. Floor-tool main body
2. Rear blade
3. Blade carrier
4. Front blade (slotted)
5. Retaining pins x 4
1
2
3
4
5