3. ENGINE
3-
GENERAL
Special reference are made in the text for
procedures which are different for cylinder no. 1
and cylinder no. 2.
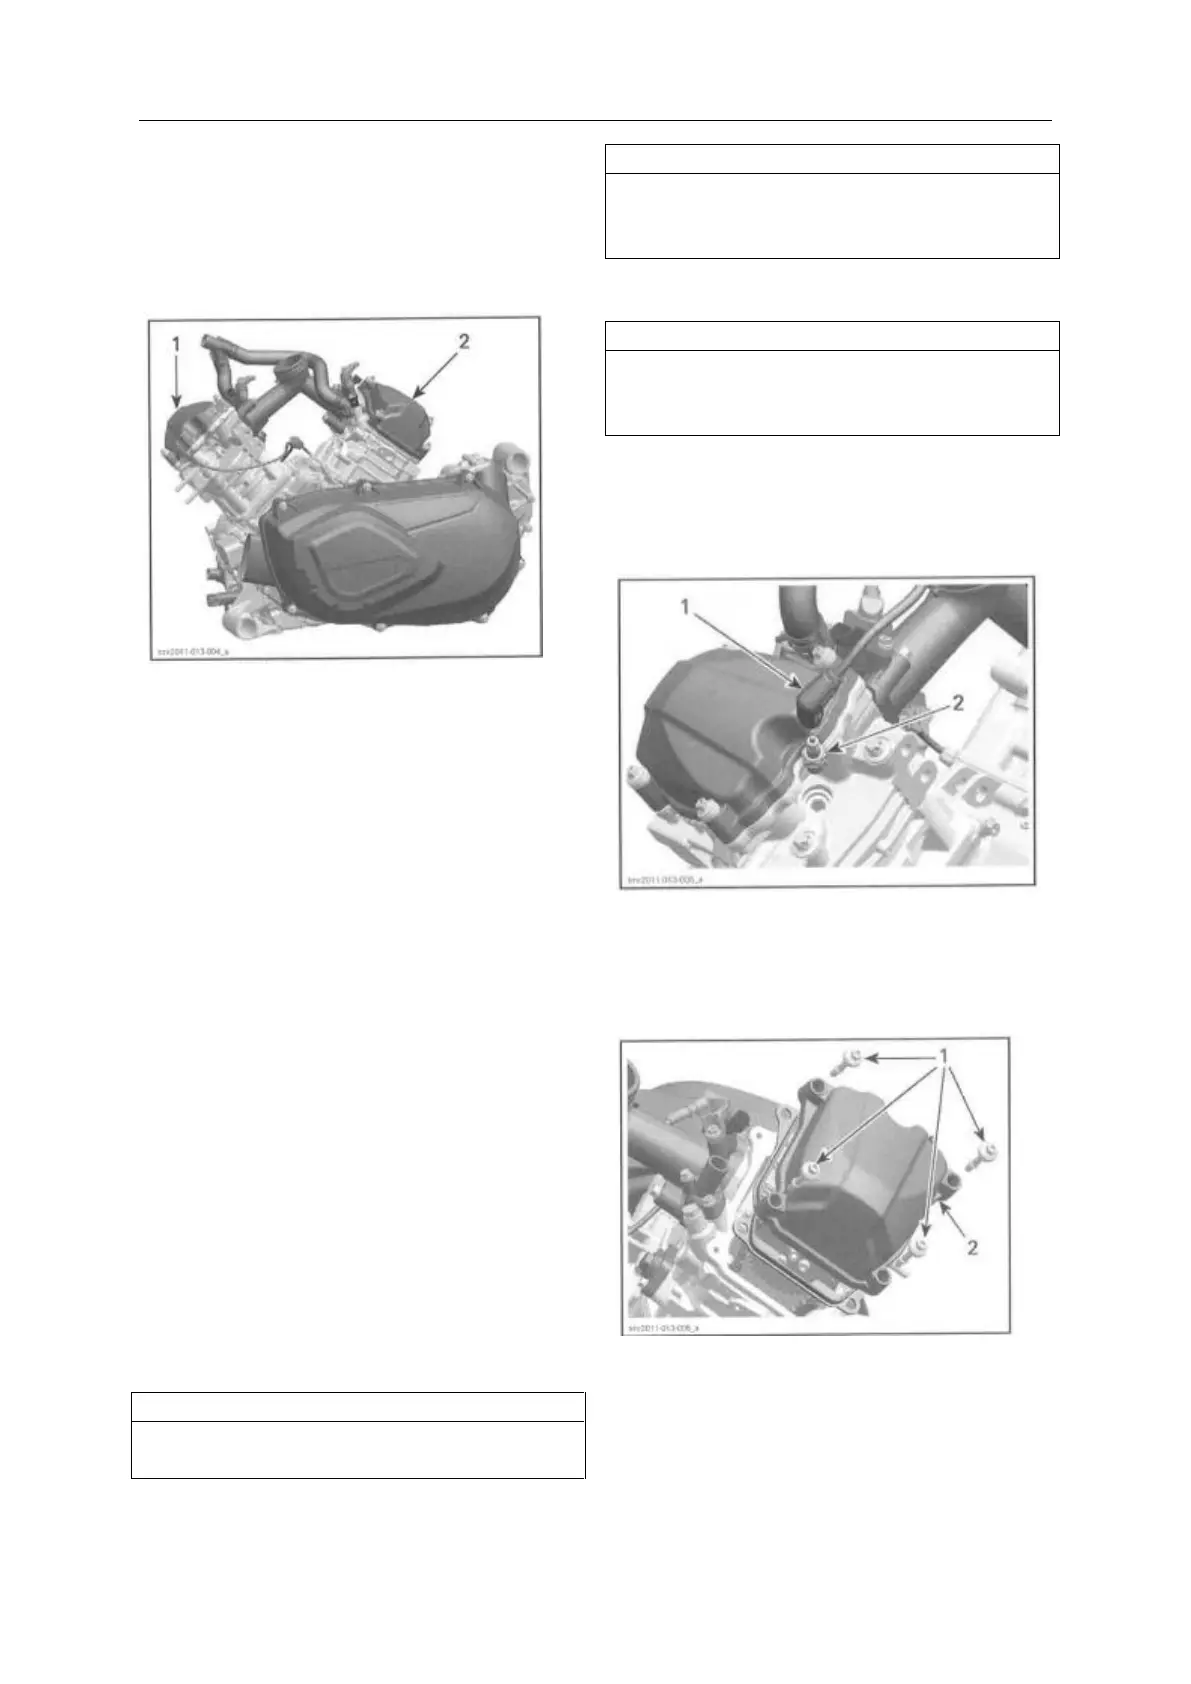
1. Cylinder 1 (front)
2. Cylinder 2 (rear)
When diagnosing an engine problem, always
perform a cylinder leak test.
NOTE: Even though the following procedures do
not require the engine removal, many illustrations
show the engine out of the vehicle for more clarity.
IMPORTANT: Note position of parts on
disassembly. This may help to find the root cause
of a problem. A component that is not replaced
should be reinstalled in the same position as
originally mounted.
INSPECTION
LEAK TEST
Before performing the cylinder leak test , verify
the following:
- Clamp(s) tightness
- Radiator and hoses.
NOTE: For best accuracy, the leak test should be
done with the engine at normal operating
temperature.
Prevent burning yourself on hot engine
parts.
Preparation
Disconnect battery
Always respect this order for
disassembly; disconnect BLACK (-)
cable first.
Remove radiator cap.
To prevent burning yourself only remove
the radiator cap by wearing the
appropriate safety equipment.
Unplug spark plug cable.
Clean spark plug area and remove spark plug from
cylinder head.
1. Spark plug cable
2. Spark plug
Remove valve cover.
1. Valve cover screws
2. Valve cover
Rotate crankshaft until piston is at ignition TDC.
To turn crankshaft, there are two possible
procedures.