13
Chapter 3
| Instrument Setup | Unpacking
3
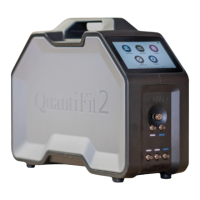
Instrument Setup
o Release the two latches on the front of the case by depressing a moveable lever under each
latch.
o Open the lid of the case
o Tubes and power supply will be found in the oblong cavities of the inner case
o Additional accessories may be stored in the provided spaces at the bottom of the case
·
There is a place for several adapter packages
·
Spare batteries
·
Cords, cables and tubes
o Carefully lift out the QuantiFit2 by holding the handle and the bottom of the instrument
·
Place the instrument on a solid, level surface with ample surface room
·
Connect the power supply into the back of the instrument, and the power cord to a wall
outlet (unless using a battery that has been properly charged)
·
Turn on the instrument with the rocker switch on the rear panel
·
Follow the startup wizard (during initial setup only)
·
Follow instructions for Daily Verification Check
·
Ready to test