42615101TH Rev.8 83 /
Oki Data CONFIDENTIAL
6
5
5
3
4
2
1
6
POWER
DRSIG
HVDLT
DRPOW
HOPKID HCL
FAN
2ND
DUP
COLORID
FSNS
SSNS
PE
OPE
Air
Claws B
Claws
A
Print engine
controller PCB
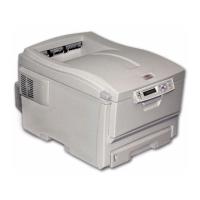
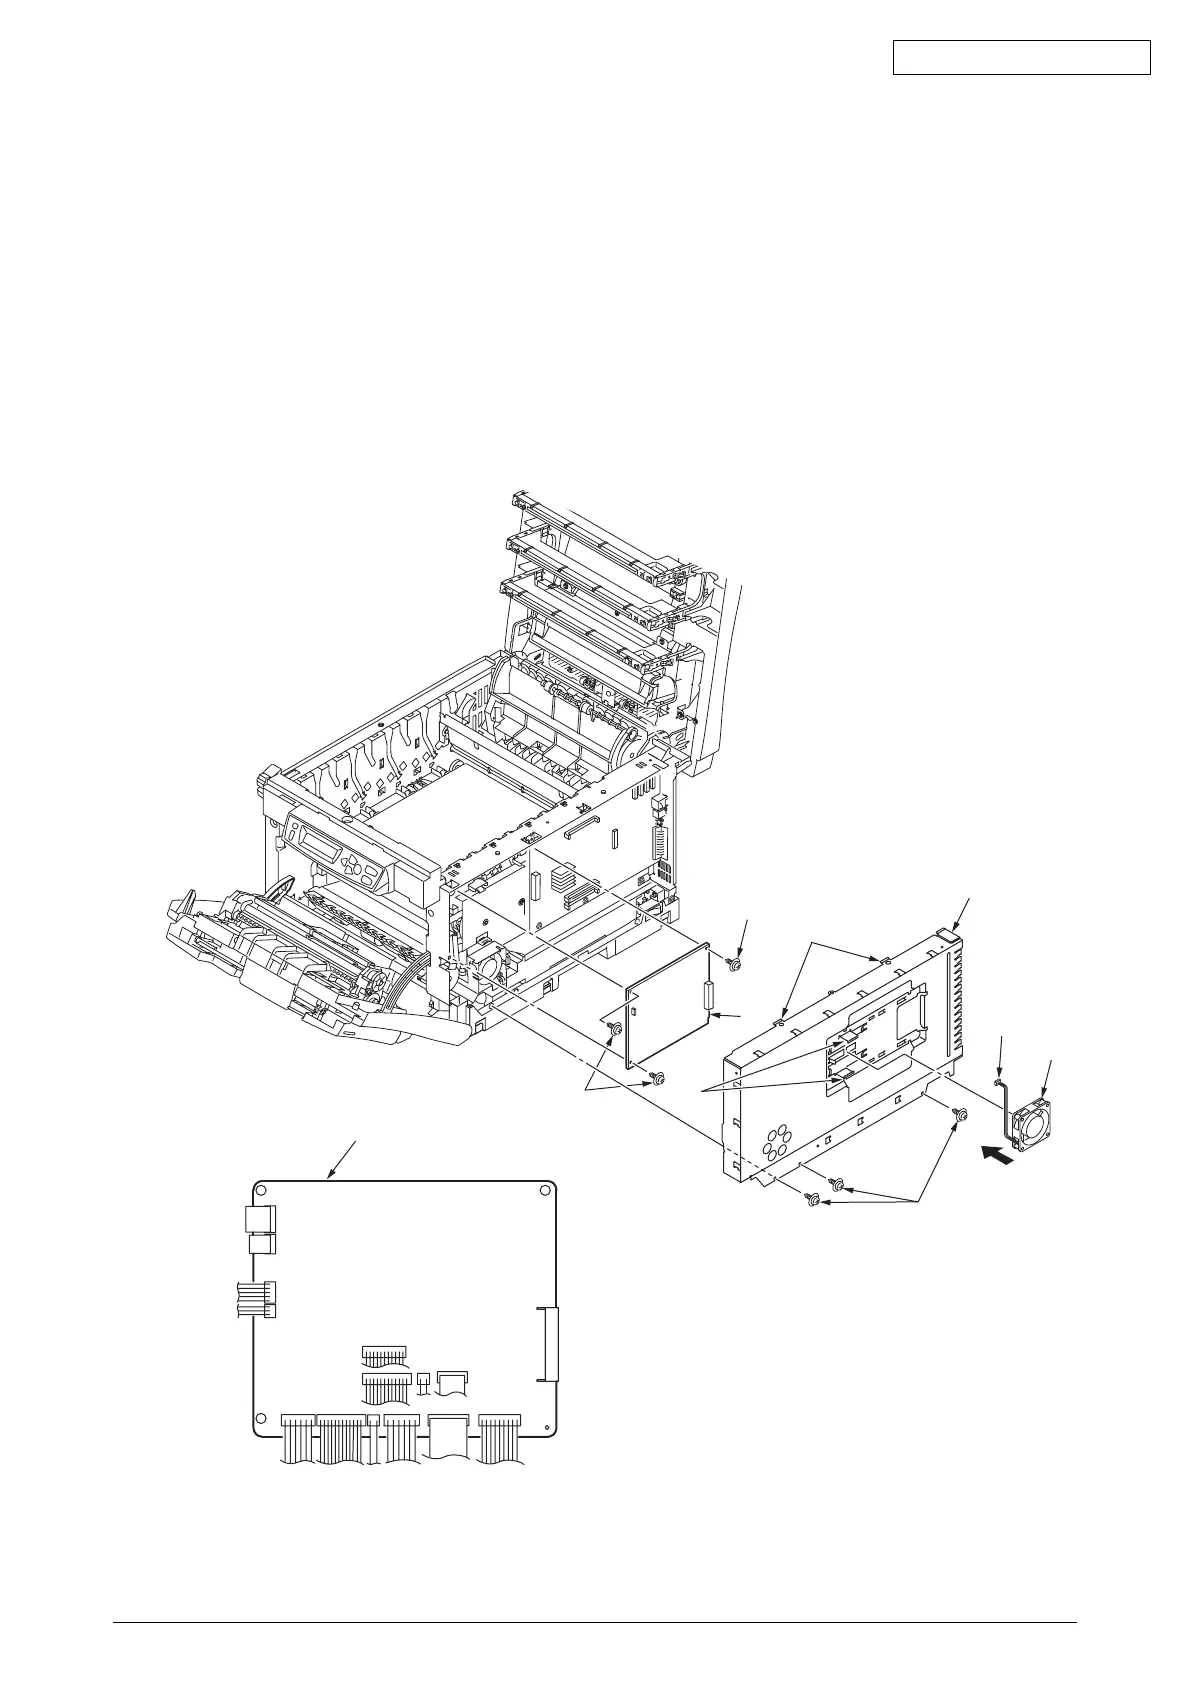
4.2.7 Print Engine Controller PCB
C5400
(1) Open the top cover.
(2) Remove the right side cover (see section 4.2.2).
(3) Remove the connector 1, and disengage the two hooks A of to detach the FAN (CU) 2.
(4) Remove the three screws (golden) 3 disengage the claws B and remove the plate-shield
Assy (PCL) 4.(Tool No.1)
(5) Remove the three screws (golden) 5 and all the connectors to detach the print engine
controller PCB 6.(Tool No.1)
Figure 4-2-7-1 Print Engine Controller PCB (C5400)
 Loading...