2.7.4 Color Registration Error Correction Test
This self-diagnostic menu is used for adjustment and to investigate cause of the color
registration error of the MFP.
1. Enter the self-diagnostic mode (Level 1) and press the (2) key or (8) key until
[TEST PRINT] is displayed in the top of the screen.
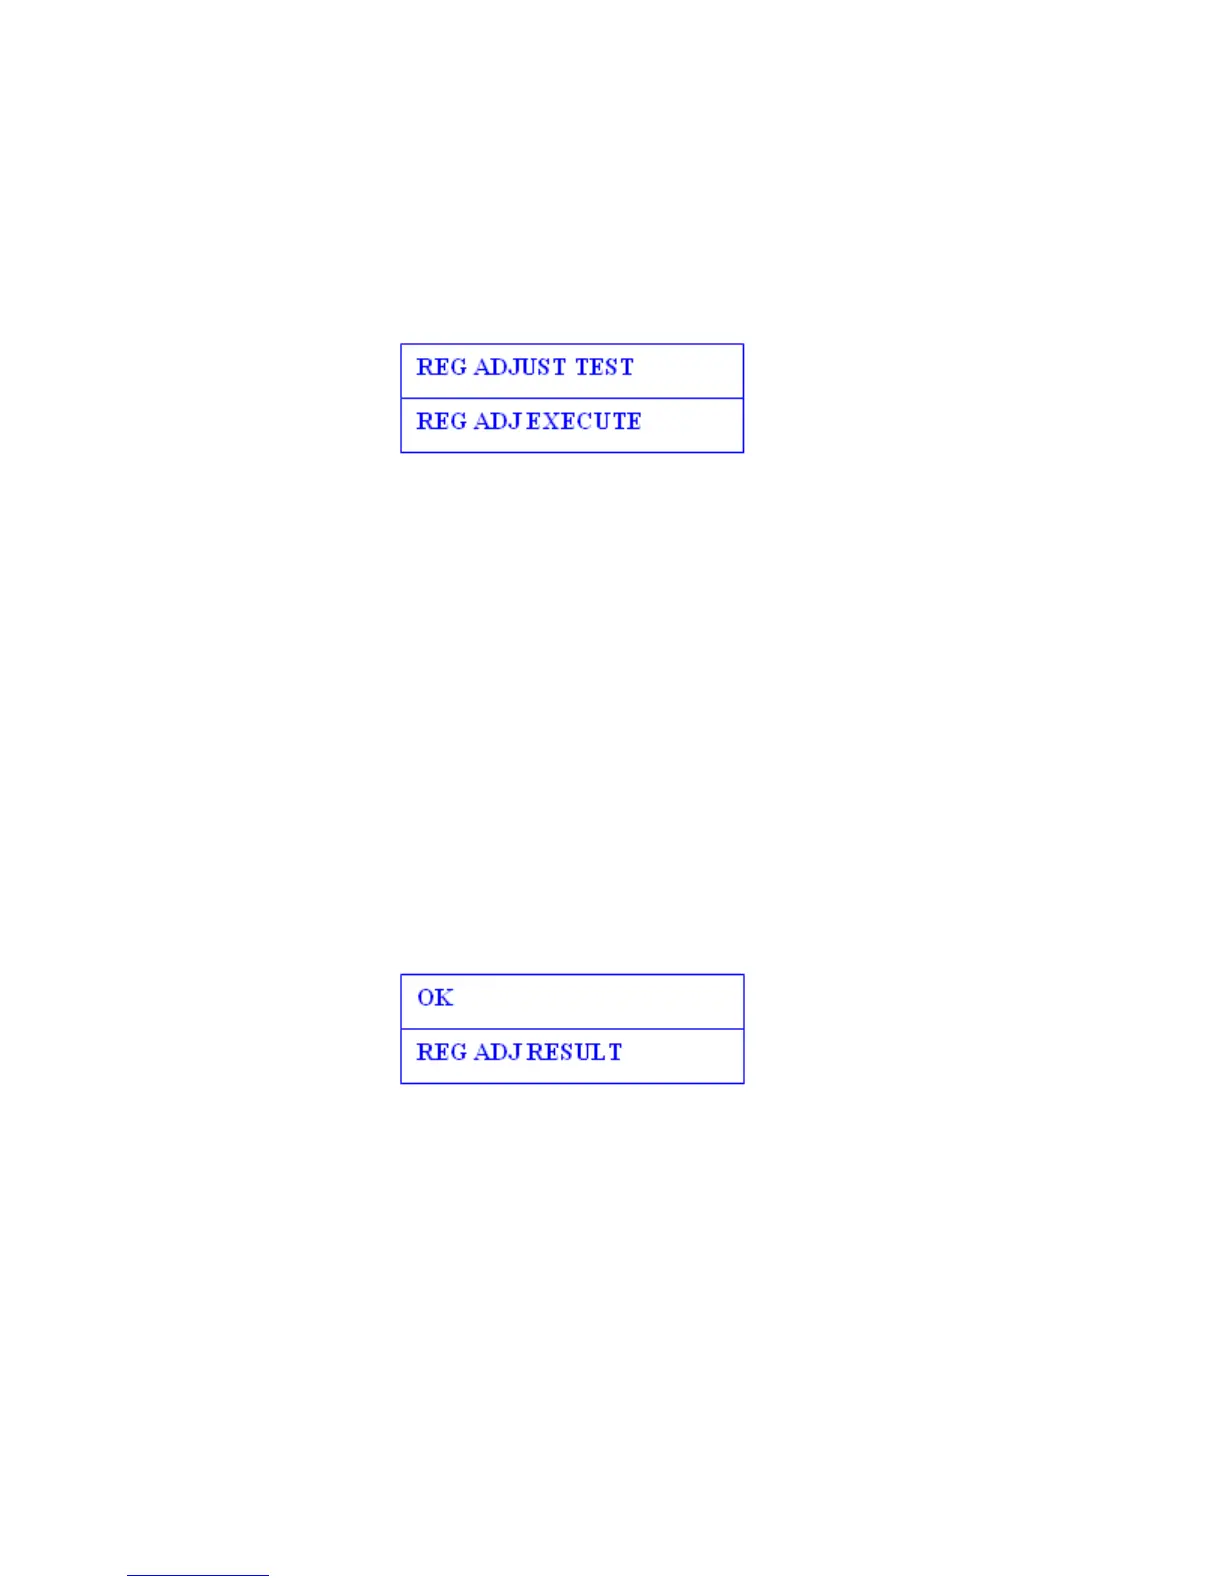
2. When the (6) key is pressed, the following message is displayed.
Press the (2) key or (8) key until the desired item is displayed.
3. When the (6) key is pressed, test of the item that is being displayed on the panel is
implemented.
<< When REG ADJ EXECUTE is executed >>
• The color registration correction test is implemented. (The [ON LINE] lamp
blinks.)
• When the test is complete, the test result (OK or error name) is displayed in the
upper column of the display window and **** RESULT is displayed in the
lower column of the display window.
When the (2) key is pressed, test results are incremented and displayed in order.
When the (8) key is pressed, test results are decremented and displayed in order.
When the (4) key is pressed, screen returns to the item 2 status.
• When the (#) key is pressed while the test in progress, the test is interrupted (the
[ON LINE] lamp lights) and screen returns to the item 2 status.
<< REG ADJ RESULT is executed >>
The key operations are the same as those above.
<< When BLT REFLECT TEST is executed >>
• The color registration error correction belt reflection test is implemented. (The
[ON LINE] lamp blinks.)
• When the test is complete, the test result (OK or error name) is displayed in the
upper column of the display window and **** RESULT is displayed in the lower
column of the display window.
The key operations are the same as those above.
39

 Loading...