EasyManuals Logo
Home>Oki>Printer>MICROLINE MX Series

Oki MICROLINE MX Series Quick Setup Guide

Oki MICROLINE MX Series
80 pages
To Next Page IconTo Next Page
To Previous Page IconTo Previous Page
Page #26 background imageLoading...
Page #26 background image
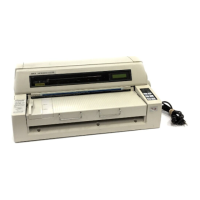
Install The Ribbon And Paper
26
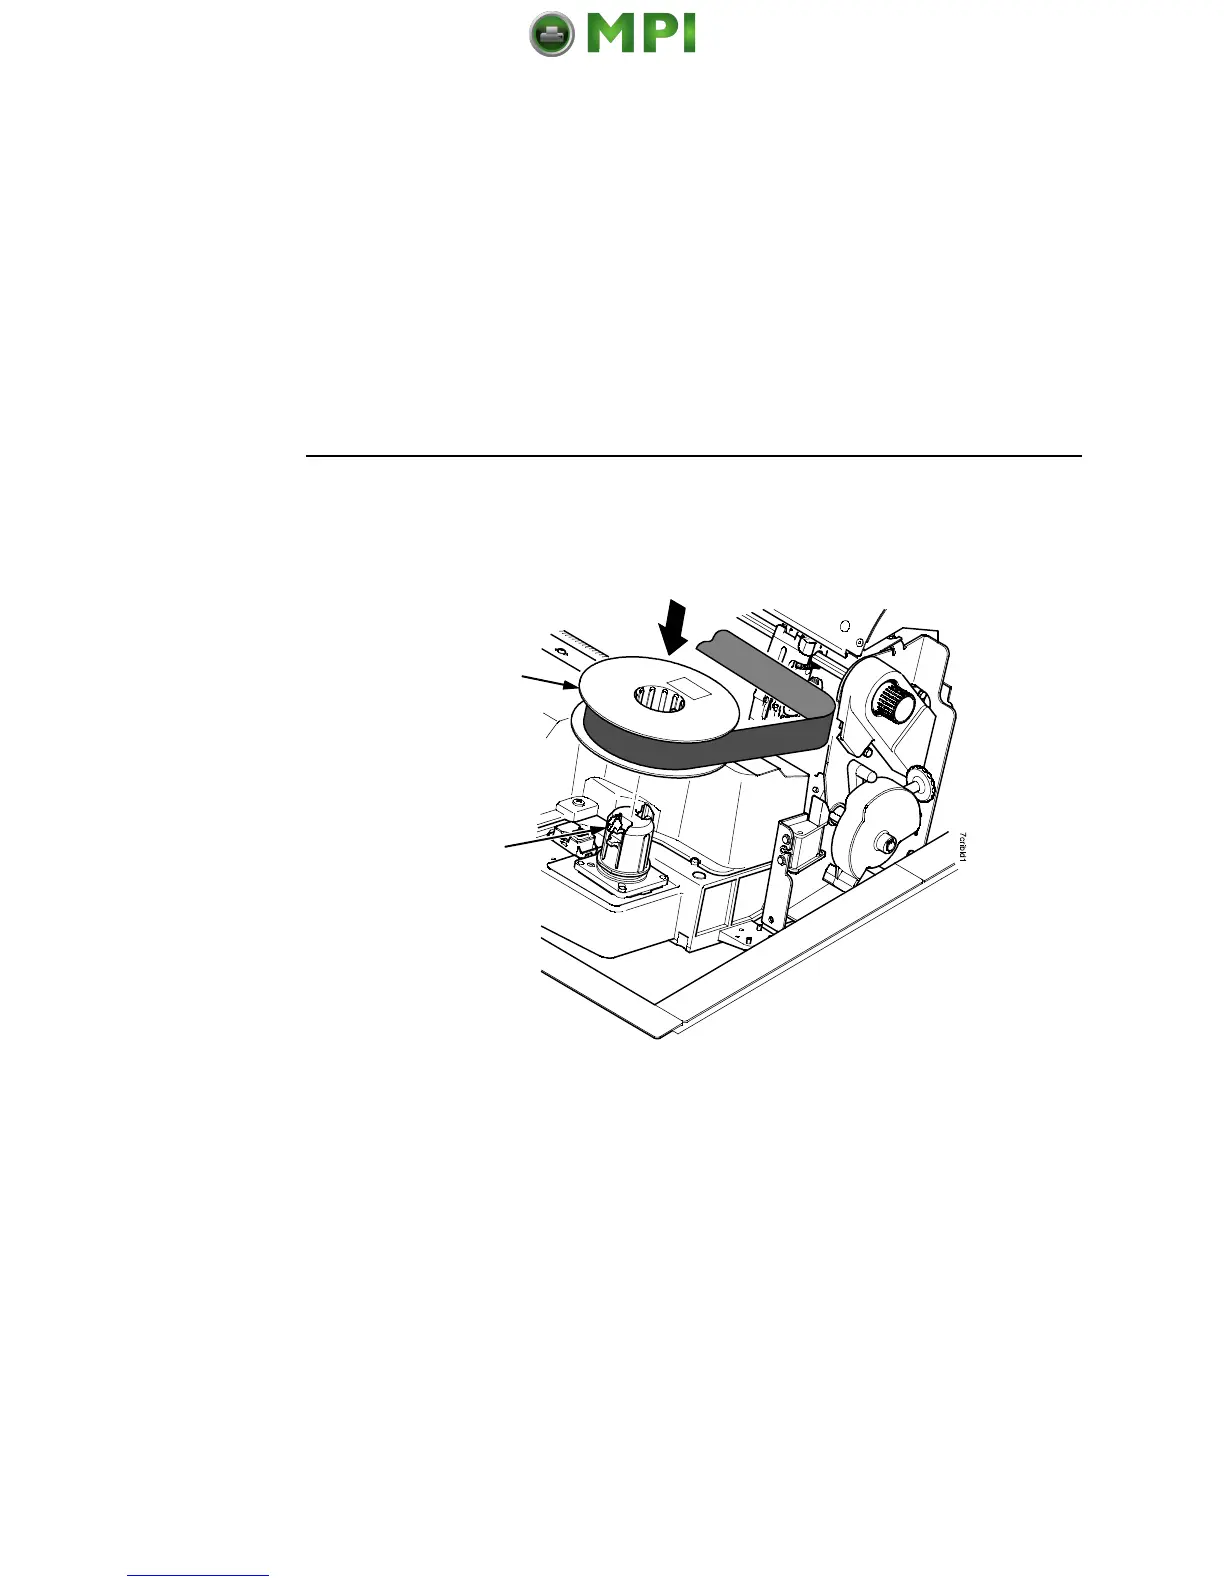
Figure 18. Loading the Ribbon
4. Place the full spool on the right hub. Be sure the ribbon feeds
off the outside of the spool.
5. Press the spool down until it snaps into place.
IMPORTANT
The full spool has a barcode label on the bottom side and a
date code label on the top. Once the sensor automatically
reads and logs the ribbon barcode, the Integrated Print
Management System starts to track ribbon usage.
If you remove the ribbon during the course of its life and want
to re-install the same ribbon, be sure to place the same spools
on the correct hubs. Do not reverse the spools. Be sure to
re-install the spool with the date code label on the top onto the
right hand hub.
Right Hub
Spool
Mantenimiento Periféricos Informáticos SL C/Canteras, 15 28860 Paracuellos de Jarama Tel: 00 34 917481604 WEB: https://mpi.com.es

Other manuals for Oki MICROLINE MX Series

Questions and Answers:

Question and Answer IconNeed help?

Do you have a question about the Oki MICROLINE MX Series and is the answer not in the manual?

Oki MICROLINE MX Series Specifications

General IconGeneral
BrandOki
ModelMICROLINE MX Series
CategoryPrinter
LanguageEnglish

Related product manuals