Android Application 33
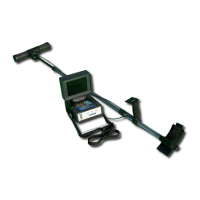
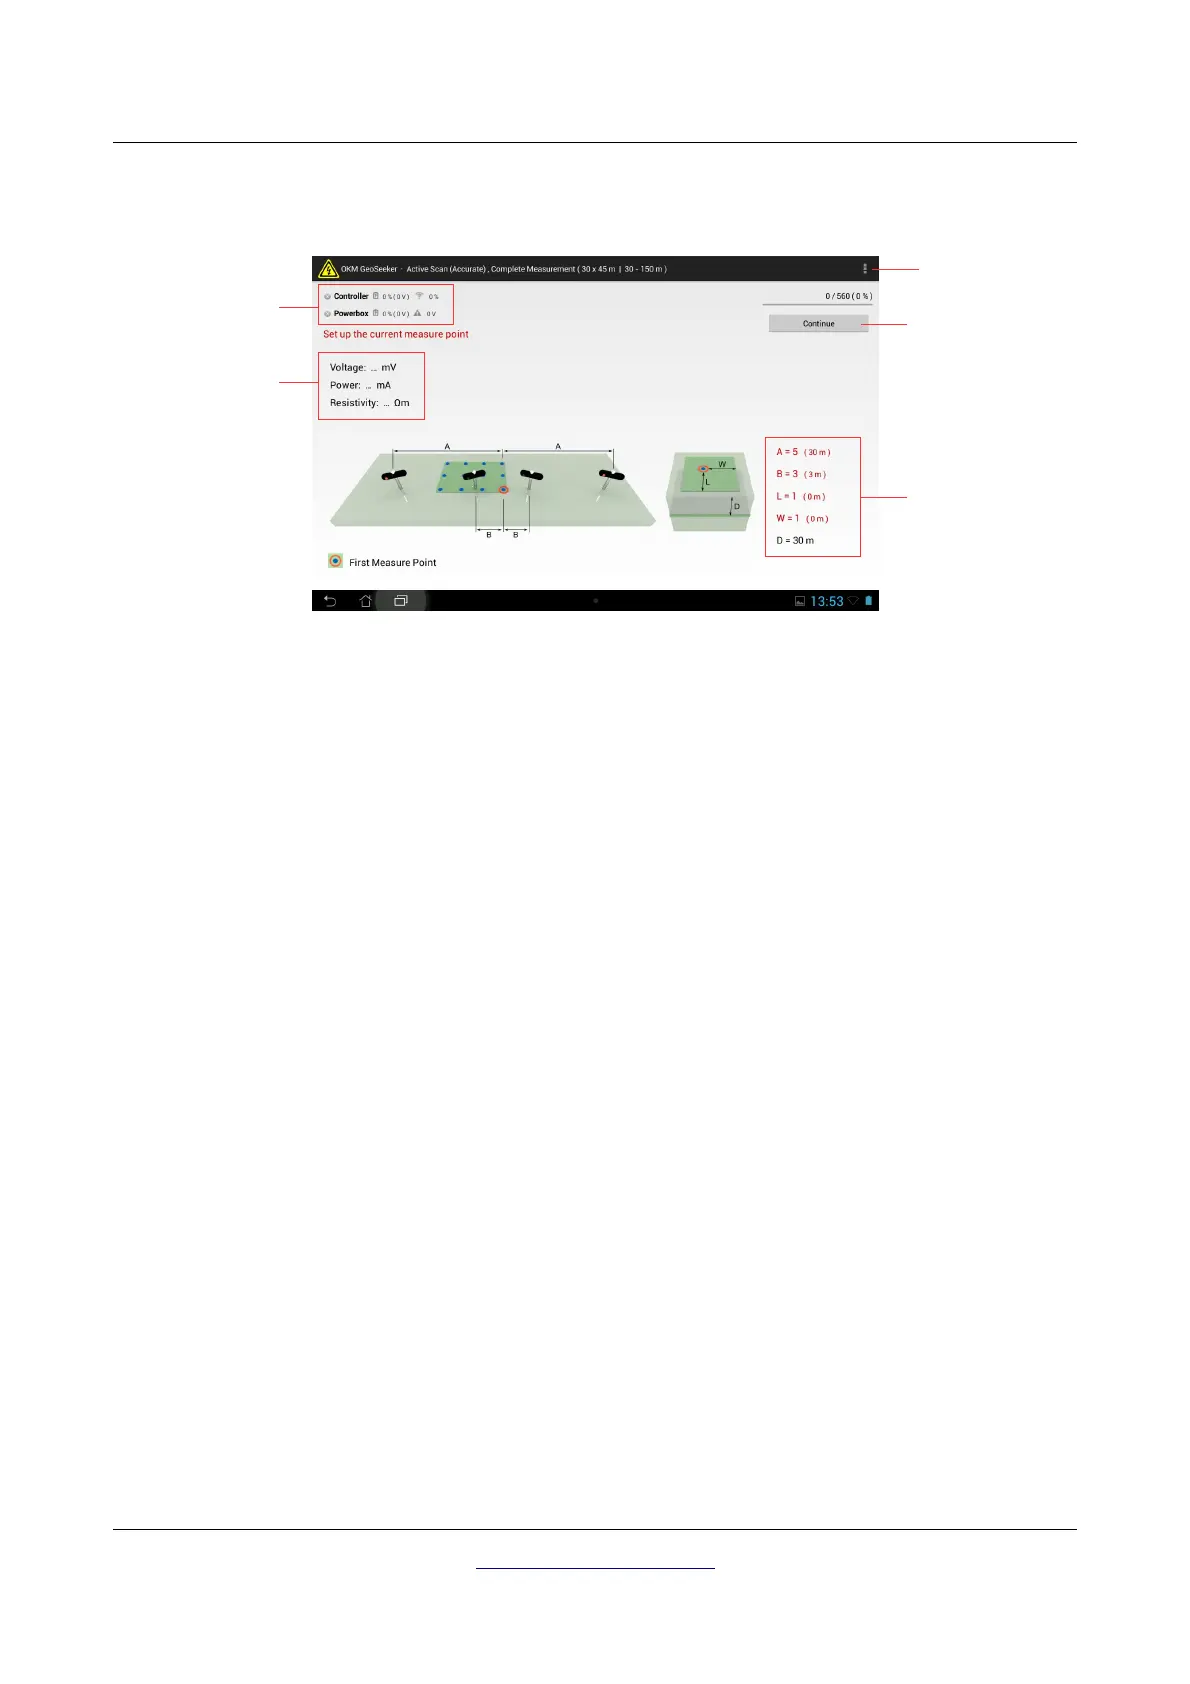
Finally you will see the screen from figure 5.9 where you can see how to set up all your electrodes. Just
read the information shown on this screen and prepare all your equipment according to it.
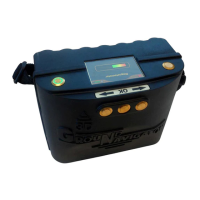
Status information: Here you can see the current operating state of your Power Box and Controller as
well as the current battery status.
Continue Button: After setting up your equipment according to the displayed instructions you tap on
this button to run a new measuring at the current scan point.
Measure Values: After measuring a scan point you will see the results immediately displayed on the
screen. The available measure values depending on the selected scan mode are:
• Active measurement: Voltage, Power and Resistivity
• Passive measurement: Voltage
Menu: Click on this menu button to change your units between meters (m) and feet (ft). This menu
button can be located at very different positions depending on your current Tablet PC or Android
version.
Cable Markers, Displacement: This is the place where you get proper information about the next scan
point (the scan point which will be measured after tapping the “continue” button). There is always an
indication of the cable marker where your electrode needs to be placed into the ground as well as the
final distance between Power Box or Controller in meters or feet.
If the number is written in red color than this value has changed in relation to the previous scan point.
There are following letters and meanings:
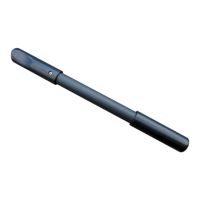
• A ... is the distance between left Power Electrode and Power Box as well as the distance between
Power Box and right Power Electrode in terms of distance markers (numbered from 1 to 15)
• B … is the distance between left Voltage Electrode and Controller as well as the distance
between Controller and right Voltage Electrode in terms of distance markers (numbered from 1
to 25)
OKM GmbH
www.okmmetaldetectors.com
 Loading...